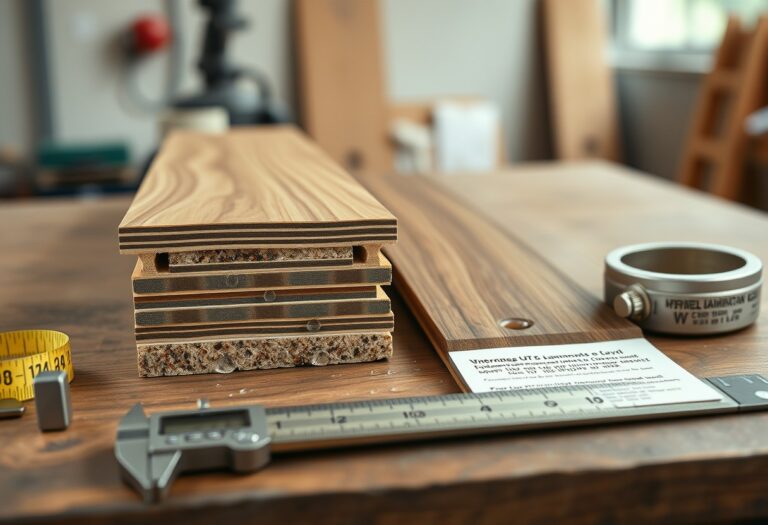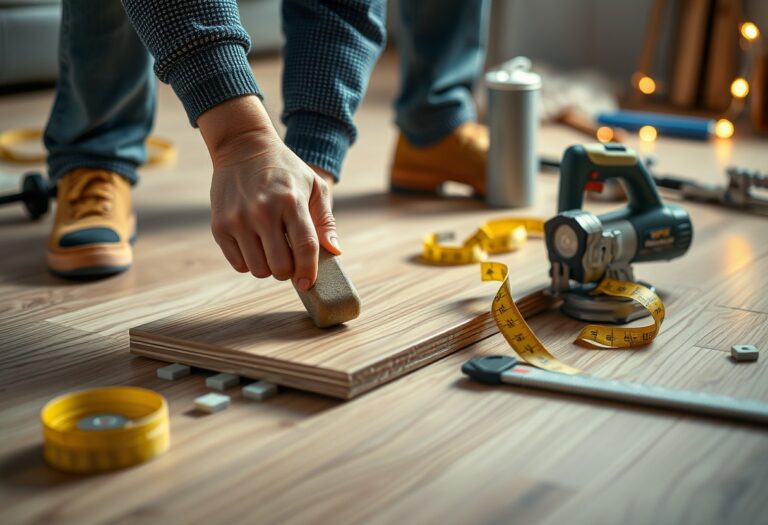

A clean flooring installation depends on more than accurate cuts: the right tools keep boards aligned, joints tight, and finished surfaces free of damage. Whether you are laying hardwood, laminate, or vinyl plank, a tape measure, suitable saw, tapping block, and spacers each serve a distinct purpose. The floor’s material and layout determine which tools belong at your work area.
Planning the Installation
Before flooring arrives, map the sequence of work around room access, delivery, and any required acclimation period. Confirm the product’s installation instructions, identify doorways and transitions, and decide where cartons will be stored without blocking the work area. A clear plan keeps materials available as each room is ready and prevents avoidable stoppages, such as discovering that a doorway must be cleared after the flooring has been staged there.
Measuring the Room and Calculating Materials
Measure each room’s length and width at several points, since walls are not always parallel, and use the largest practical dimensions to calculate the floor area. Break irregular layouts into rectangles, then add their areas; measure closets separately if they will receive the same flooring. Add the product manufacturer’s recommended allowance for cuts and waste, and account for plank direction, pattern matching, and transitions. Record measurements on a simple room sketch, including door openings and fixed cabinets.
Preparing the Subfloor and Work Area
Clear furniture, rugs, and loose debris, then inspect the subfloor for movement, damage, moisture, and uneven areas. Remove protruding fasteners and address squeaks or loose panels before covering the surface. Concrete installations require moisture conditions suited to the flooring product, while wood subfloors must be dry and firmly supported. Remove existing baseboards or plan a clean undercut at door casings, and keep cartons, extension cords, and debris out of the installation path.
- Confirm who will move appliances and reconnect them.
- Arrange a disposal route for removed flooring and packaging.
- Keep pets and household traffic away from the work zone.
Essential Measuring and Layout Tools
Accurate measurements and clear reference lines give each flooring course a consistent direction across the room. Use the walls, doorways, and fixed features as reference points, then transfer those measurements to the floor before placing material. A straight baseline makes it easier to spot drift early, while marked offsets keep joints aligned across adjoining areas. Small layout errors become conspicuous along long walls and at transitions, so establish your references before the first row goes down.
Tape Measures, Squares, and Chalk Lines
Measure room dimensions with a retractable tape measure, keeping the blade flat and taut to avoid a bowed reading. A framing square checks corners and supports perpendicular reference marks, while a combination square is useful for shorter measurements near door casings. Snap a chalk line between verified points to create a visible baseline across the subfloor. On long runs, confirm the line at both ends before snapping, since a misplaced anchor can skew an entire flooring course.
Spacers and Flooring Layout Tools
Wall spacers maintain the expansion gap specified for the flooring product, keeping the first course from pressing tightly against the perimeter. Use consistent spacer thickness along walls and around fixed obstacles, including pipes and columns, so the gap does not narrow as rows progress. Tapping blocks and pull bars also support accurate positioning during layout, especially where a wall limits hand access. Keep the manufacturer’s required gap consistent at doorways and along the longest wall.
| Tool | Layout use | Typical check |
|---|---|---|
| Tape measure | Room dimensions and offsets | Blade lies flat and taut |
| Framing square | Perpendicular reference marks | Corner alignment |
| Chalk line | Long straight baseline | Anchor points match measurements |
| Wall spacers | Consistent perimeter gap | Spacing follows product guidance |
Cutting and Shaping Tools
Accurate cuts keep flooring edges tidy where planks meet door jambs, wall profiles, and fixed obstacles. Choose a cutting tool that suits the flooring material and the shape of the cut, then support each piece firmly to limit splintering or chipped edges. A straight cut across a row calls for different equipment than a narrow notch around a pipe, and the right blade or knife keeps the finished edge clean against the room’s trim.
Flooring Saws and Utility Knives
For repeated straight cuts in laminate or engineered flooring, a flooring saw or miter saw with a fine-tooth blade produces consistent ends and reduces surface chipping. Set the board securely, mark the waste side of the cut, and keep the finished face oriented according to the saw’s blade direction. A sharp utility knife suits score-and-snap cuts on resilient vinyl planks; use a straightedge and make several controlled passes through the wear layer.
Jigsaws and Detail-Cutting Tools
Jigsaws handle curved notches and irregular cuts around radiator pipes, door casings, and floor vents. Fit a blade suited to the flooring material, clamp the plank, and cut slowly along the marked line to limit tear-out. For door jambs, an oscillating multi-tool with a flush-cut blade trims the casing base so the plank slides beneath it. A coping saw or fine-tooth hand saw works for small adjustments where a powered tool lacks clearance.
- Keep spare blades matched to the flooring material.
- Use a sacrificial backing board to support brittle plank edges.
- Mark pipe openings from the plank’s installed position.
Installation and Fitting Tools
Accurate fitting depends on choosing tools that transfer force to the flooring’s edge or fastening system without marking the finished face. Match each tool to the flooring type and the manufacturer’s installation method, since click-lock planks, tongue-and-groove boards, and nailed hardwood respond differently to impact and pressure. A controlled strike seats a joint more reliably than a forceful blow, while the right fastening tool keeps boards secure without splitting their edges.
Tapping Blocks, Pull Bars, and Mallets
For click-lock planks, place a tapping block against the edge specified by the flooring manufacturer, then strike it with a rubber mallet using short, controlled blows. The block spreads force across the joint and keeps the mallet from contacting the plank directly. At walls or other tight spaces, a pull bar hooks over the plank edge so you can draw the last row into place. Use a mallet suited to the block and flooring, since excessive force can crush locking profiles.
Flooring Nailers and Adhesive Applicators
Solid hardwood installations often require a flooring nailer matched to the board thickness and fastening profile. Position the nailer’s shoe firmly against the plank and use the specified cleat or staple, driving each fastener through the tongue at the manufacturer’s recommended angle. For glue-down flooring, select a trowel with the notch size specified for the adhesive, then spread only as much adhesive as you can cover within its working time. A correctly sized notch leaves consistent ridges beneath the flooring.
| Tool | Typical use | Key fitting detail |
|---|---|---|
| Tapping block | Seating click-lock joints | Match the block profile to the flooring edge |
| Pull bar | Closing joints near walls | Hook over the edge without crushing it |
| Flooring nailer | Fastening solid hardwood | Use the specified cleat or staple |
| Notched trowel | Spreading flooring adhesive | Follow the adhesive maker’s notch size |
Safety, Protection, and Cleanup Equipment
Keep protective gear and cleanup supplies close to the active work area so you can respond to hazards as they arise. A clear route between the cutting station and the installation area reduces trips over offcuts, while a stable place for waste bags keeps debris out of walkways. Set aside supplies for spills and sharp scraps before work begins, and keep these items separate from flooring materials and adhesives.
Eye, Ear, Knee, and Respiratory Protection
Wear safety glasses when cutting planks or trimming edges, and use hearing protection around saws and other loud equipment. Knee pads cushion your joints during repeated floor-level work, especially when you are fitting boards along walls. Choose a respirator suited to the dust or product exposure listed on the material’s label, and make sure it fits securely. Keep spare disposable masks and clean eye protection within reach at the work area.
Dust Control and Debris Removal
Capture dust at the source with a saw’s compatible extraction port or a dust extractor, then vacuum the floor before placing new material. A soft-bristle broom gathers larger scraps without scattering fine particles, while a shop vacuum handles dust and small debris. Put sharp offcuts, used blades, and adhesive-contaminated waste in suitable containers rather than loose trash bags. Keep cords, packaging, and cuttings out of doorways and the path between rooms.
- Place a first-aid kit near the work entrance.
- Use a sturdy bin for sharp offcuts.
- Keep a fire extinguisher accessible near powered cutting equipment.
Tool Care and Jobsite Readiness
Consistent tool maintenance keeps cuts clean and fittings accurate as installation progresses. Before work begins, wipe dust from measuring surfaces, confirm that saw fences are square, and remove adhesive residue from trowels. Keep replacement blades and charged batteries within reach, and return each tool to a marked storage spot between tasks. A clear setup also limits damage to flooring materials, particularly when you separate sharp cutting tools from cartons of planks.
Inspecting Blades, Batteries, and Cords
Inspect saw teeth and utility knife blades for chips, dull edges, or adhesive buildup before cutting flooring. Replace a blade that tears the wear layer instead of producing a clean edge. Check battery charge and fit, then examine power cords for cuts, exposed conductors, or loose plugs; remove damaged electrical tools from service. On a miter saw, verify that the blade is secure and the guard moves freely before making a test cut on scrap material.
Organizing Tools and Troubleshooting Common Issues
Keep frequently used tools together in a designated work area, with cords routed away from walkways and cutting stations. Store spacers, tapping blocks, and pull bars in a labeled container so they remain available during fitting. If a cut drifts, check the saw fence and blade condition; if a nailer misfires, inspect its fastener strip, air connection, or battery seating. A clean, unobstructed staging area keeps loose fasteners and debris out of plank joints.
| Check | What to inspect | Action |
|---|---|---|
| Cutting blades | Chipped teeth, dull edges, residue | Clean or replace before cutting |
| Batteries | Charge and secure fit | Charge or reseat as needed |
| Power cords | Insulation, plugs, exposed conductors | Remove damaged tools from service |
| Jobsite storage | Clear walkways and grouped accessories | Keep fitting tools in a marked area |
To wrap up
A smooth flooring installation depends on having the right tools ready for each stage, from measuring and marking to cutting, fitting, and cleanup. Your tape measure, chalk line, flooring cutter or saw, spacers, tapping block, and safety equipment each serve a distinct purpose. Match your tools to the flooring material and the room’s layout, and keep blades sharp and work surfaces clear. With accurate measurements and controlled cuts, you can finish with consistent joints and clean edges along the walls.