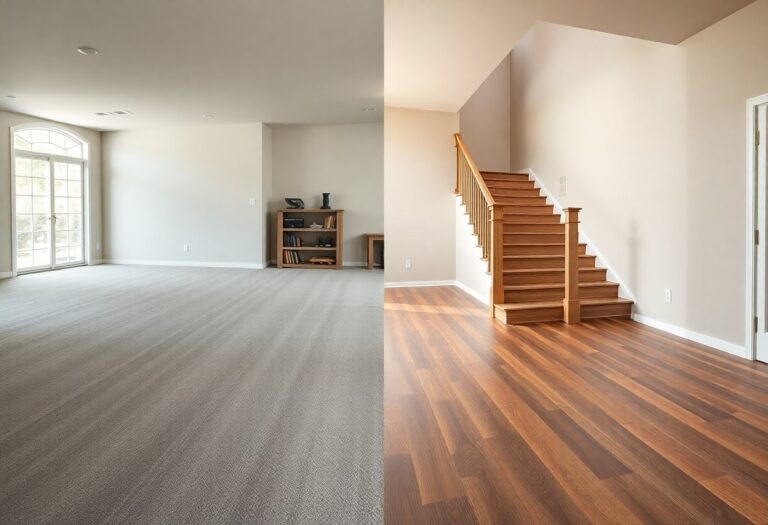
Many homeowners like you choose white oak for its durability, warm tones, and versatile finishes. This guide helps you assess species, grading, finishes, and installation so you select flooring that fits your style and daily life.
Identifying White Oak Types and Sawing Techniques
You can distinguish white oak varieties by grain, color, and growth patterns; sawing method alters appearance and stability. Plain-sawn shows cathedral grain, quarter-sawn offers medullary rays and durability, rift-sawn yields straighter lines. Use these cues to match aesthetic and performance needs.
- Grain appearance
- Dimensional stability
- Cost and availability
- Best room applications
| Plain-sawn | You see wide cathedral grain; budget-friendly; more seasonal movement. |
| Quarter-sawn | You get pronounced rays, increased stability, ideal for humid climates. |
| Rift-sawn | You notice straight, linear grain; balanced stability and refined look. |
| Solid construction | You can sand and refinish multiple times; thicker wear layer. |
| Engineered construction | You install over concrete or radiant heat with reduced movement. |
Solid vs. Engineered White Oak Construction
Choose solid white oak for thicker wear layers and multiple refinishes, and choose engineered for superior dimensional stability over concrete or radiant heat. Consider room humidity and installation type when deciding.
Understanding Plain, Rift, and Quarter-Sawn Cuts
Understand plain-sawn yields bold cathedral patterns, rift-sawn produces linear grain, and quarter-sawn reveals striking rays with greater stability and wear resistance.
Observe how each cut affects look and long-term performance for your home: plain-sawn delivers warmth and economy but shifts more with moisture; quarter-sawn offers tight boards, minimal cupping, and prominent ray figure; rift-sawn provides a clean, linear aesthetic favored in modern interiors. After weighing grain, stability, and cost, you can confidently select the cut that suits your home’s humidity and style.
Essential Factors in Selecting Your Planks
Balance grade, plank dimensions, finish, and installation to suit traffic and aesthetic goals.
- Grade affects look
- Width changes room scale
- Finish protects wear
Knowing which mix suits your household streamlines choice.
Grading Scales from Clear to Character Grade
Understand how clear, select, and character grades affect knot size, color variation, and resale appeal so you can choose the aesthetic that matches your home’s character.
Choosing Optimal Plank Widths and Lengths
Select wider planks in large, open rooms for a modern feel and narrower boards in compact spaces for proportion; you should weigh run length, transitions, and waste when planning.
Measure room length, doorway placement, and furniture runs so you can choose plank lengths that minimize joints; mixing long and short boards adds visual interest while reducing scrap, and consistent width helps maintain flow across adjacent rooms.
Weighing the Pros and Cons of White Oak
You should weigh white oak’s strengths and trade-offs to match your lifestyle and budget; the table below highlights key pros and cons to guide your choice.
Pros and Cons
| Pros | Cons |
|---|---|
| Excellent durability | Higher cost than many softwoods |
| Good moisture resistance | Shows scratches over time |
| Timeless grain and color | Color variation may require careful selection |
| Accepts stain evenly | Installation requires skilled labor |
| Long lifespan and resale appeal | Needs acclimation before installation |
| Widely available species | Can be heavy; subfloor prep often needed |
Advantages of Durability and Moisture Resistance
Durability and moisture resistance let you install white oak in kitchens, bathrooms, and busy hallways with less worry about warping, helping floors maintain their appearance under daily traffic.
Limitations Regarding Cost and Installation Complexity
Cost and installation complexity mean you may pay more upfront and often need professional installers to ensure proper acclimation, precise fitting, and a lasting finish.
Installation often requires acclimating boards to your home’s humidity, thorough subfloor leveling, and experienced installers; you should budget additional time and funds for site prep, precise cutting for complex layouts, and potential repairs, especially in older homes or rooms with irregular shapes.
Design Tips for Achieving Timeless Style
Choose white oak planks with varied widths and a natural finish to keep warmth and depth, and pair with neutral trim and classic furniture. The list below helps you prioritize elements.
- Vary plank widths for interest
- Stick to neutral palettes
- Mix classic and modern furnishings
Selecting Stains to Complement Natural Undertones
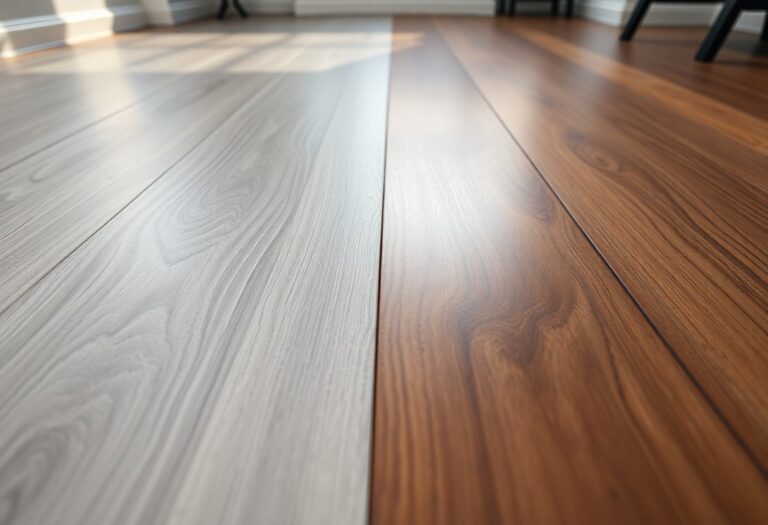
Select stains that enhance the oak’s warm or cool undertones; test samples across different lights so you can see how grain and hue shift in real rooms.
Coordinating Flooring with Modern and Traditional Interiors
Match your white oak tone to dominant finishes-lighter for modern, mid to darker for traditional-and use consistent metal and wood accents to unify rooms.
Balance scale and texture by pairing wide-plank white oak and matte finishes with minimalist furnishings for a modern feel, or choose hand-scraped textures and richer stains to complement ornate millwork; you should test samples next to cabinetry and textiles to confirm harmony across lighting conditions.
Step-by-Step Installation Planning
Plan your timeline, tools, and material quantities to prevent delays; verify subfloor condition, moisture levels, and acclimation windows so your white oak installs smooth and consistent across connected spaces.
| Step | Action |
|---|---|
| Measure | Measure room, calculate waste, mark sightlines |
| Acclimate | Acclimate boards 48-72 hours in the installation room |
| Prepare | Level, clean, and verify subfloor moisture within tolerance |
| Fasten | Choose nail, staple, or adhesive by subfloor and plank type |
Subfloor Preparation and Material Acclimatization
Check the subfloor is clean, dry, and flat to within 3/16″ over 10 feet; allow your planks to acclimate in the installation room at recommended humidity and temperature for 48-72 hours before fastening.
Layout Strategy and Fastening Methods
Establish a layout aligned with sightlines, stagger end joints at least 6 inches, and select nail, staple, or adhesive based on subfloor and plank thickness to secure your boards correctly.
Choose plank orientation that complements the room-parallel to the longest sightline or incoming light-and run boards perpendicular to joists when nailing. You should leave a 3/4″ expansion gap at all walls and use an appropriate underlayment or vapor barrier over concrete. Use the manufacturer’s fastener spacing-typically 6-8 inches at edges and 8-10 inches in the field-and predrill near ends to prevent splitting.
Maintenance Guidelines for Lasting Beauty
You should adopt regular inspections, control humidity between 35-55%, wipe spills immediately, and use protective pads to keep white oak floors looking their best.
Preventative Care and Daily Cleaning Protocols
Daily, you should sweep with a soft broom and vacuum using a hardwood-safe attachment to remove grit; use a damp microfiber mop and avoid harsh chemicals to protect the finish.
Refinishing Cycles to Preserve Wood Integrity
Schedule refinishing every 7-15 years depending on wear; you can use light sanding and recoating to restore appearance while preserving wood integrity.
Inspect the finish annually, note deep scratches or areas where the protective coat has thinned, and choose screening with a buff and recoat for light wear or full sanding to bare wood for heavy damage; you should match abrasives, follow proper grit progression, and select a finish-water-based or oil-modified-that complements the original sheen to preserve grain clarity and longevity.
Conclusion
Taking this into account, you can choose white oak flooring that balances grain, finish, and hardness to suit your home’s style and traffic; selecting proper grade, finish, and installation ensures enduring beauty and resale appeal.