647-374-5660

Exploring Beauty, Durability, and VersatilityLaying Vinyl Plank Flooring

Contact Us
Now!!!

    When it comes to refreshing the look of your space, laying vinyl plank flooring can be an excellent choice. Known for its durability, ease of installation, and stylish appearance, vinyl plank flooring offers a practical solution for both residential and commercial settings. If you’re considering taking on this project yourself, understanding the process and preparing adequately can ensure a smooth installation and a beautiful finish.

    Preparing for Installation

    Before you start laying vinyl plank flooring, preparation is key. The first step involves assessing and preparing your subfloor. Vinyl plank flooring requires a clean, dry, and level surface to adhere properly. If your subfloor is uneven, you might need to use a leveling compound to create a smooth base. It’s also essential to ensure that the subfloor is free from moisture, as excessive dampness can lead to problems with the vinyl over time.
    Next, let your vinyl planks acclimate to the room’s temperature and humidity for at least 48 hours before installation. This helps prevent issues such as expansion or contraction once the planks are laid. During this acclimation period, keep the planks in the room where they will be installed to allow them to adjust to the room’s conditions.

    Choosing the Right Tools

    Having the right tools on hand can make laying vinyl plank flooring a much smoother process. You’ll need a few essentials, including a tape measure, a utility knife, a straightedge, a rubber mallet, and spacers. While some vinyl plank flooring options feature a click-lock system that requires minimal tools, others might need adhesive or additional equipment. Make sure you review the manufacturer’s instructions for any specific tools or materials required.

    The Installation Process

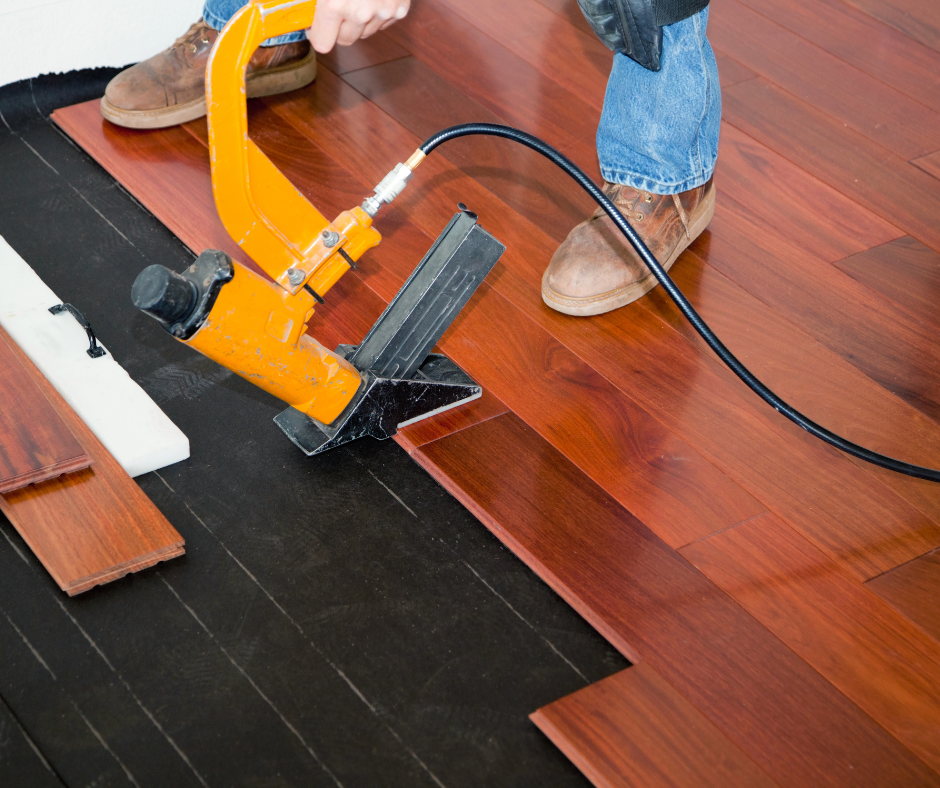
    Once you’ve prepared your subfloor and gathered your tools, you’re ready to start laying vinyl plank flooring. Begin by planning the layout of your planks. It’s often recommended to start in the center of the room or along a straight wall, working your way outwards. This ensures a more balanced and symmetrical appearance, especially if your room isn’t perfectly square.
    If your vinyl planks feature a click-lock system, simply align the planks and press them together until they snap into place. For glue-down vinyl planks, apply adhesive according to the manufacturer’s instructions and press each plank into the adhesive, ensuring a tight fit. As you lay each plank, use a rubber mallet to gently tap it into place and eliminate any gaps.

    Handling Corners and Edges

    Dealing with corners and edges can be one of the trickier aspects of laying vinyl plank flooring. To fit planks around corners or obstacles, measure and cut the planks carefully. A utility knife and a straightedge will help you make precise cuts. Take your time with these cuts to ensure a snug fit, as gaps or uneven edges can detract from the overall appearance of your flooring.
    If you encounter door frames or other fixtures, you may need to make additional adjustments. For a professional finish, use a trim or molding to cover any gaps between the flooring and the wall or fixtures. This not only improves the appearance but also helps to protect the edges of the vinyl planks.

    Conclusion

    In summary, Laying Vinyl Plank Flooring is a manageable project that offers both aesthetic and practical benefits. With careful preparation, the right tools, and a methodical approach, you can achieve a professional-looking finish that transforms your space. Whether you’re updating your home or outfitting a commercial area, vinyl plank flooring provides a durable and stylish solution. By following these guidelines, you can enjoy the beauty and functionality of your new floors with confidence.

    one stop shop for everything !!!

    Delivery

    Read More

    installations

    Read More

    Custom Colors

    Read More

    financing

    Custom color

    we are hiring