Exploring Beauty, Durability, and VersatilityLaying Vinyl Plank Flooring Kanata

Contact Us
Now!!!

    If you’re considering a flooring upgrade in your home, laying vinyl plank flooring in Kanata can be an excellent choice. This versatile and stylish flooring option combines the beauty of hardwood with the durability of vinyl, making it perfect for various spaces in your home. Whether you’re a seasoned DIY enthusiast or a first-time installer, this guide will help you navigate the process of laying vinyl plank flooring smoothly.

    Why Choose Vinyl Plank Flooring?

    Before diving into the installation process, it’s important to understand why vinyl plank flooring is such a popular option. For homeowners in Kanata, vinyl offers an array of benefits. It is resistant to moisture, making it suitable for kitchens, bathrooms, and even basements. Additionally, vinyl planks are easy to clean and maintain, which is a significant advantage for busy households.
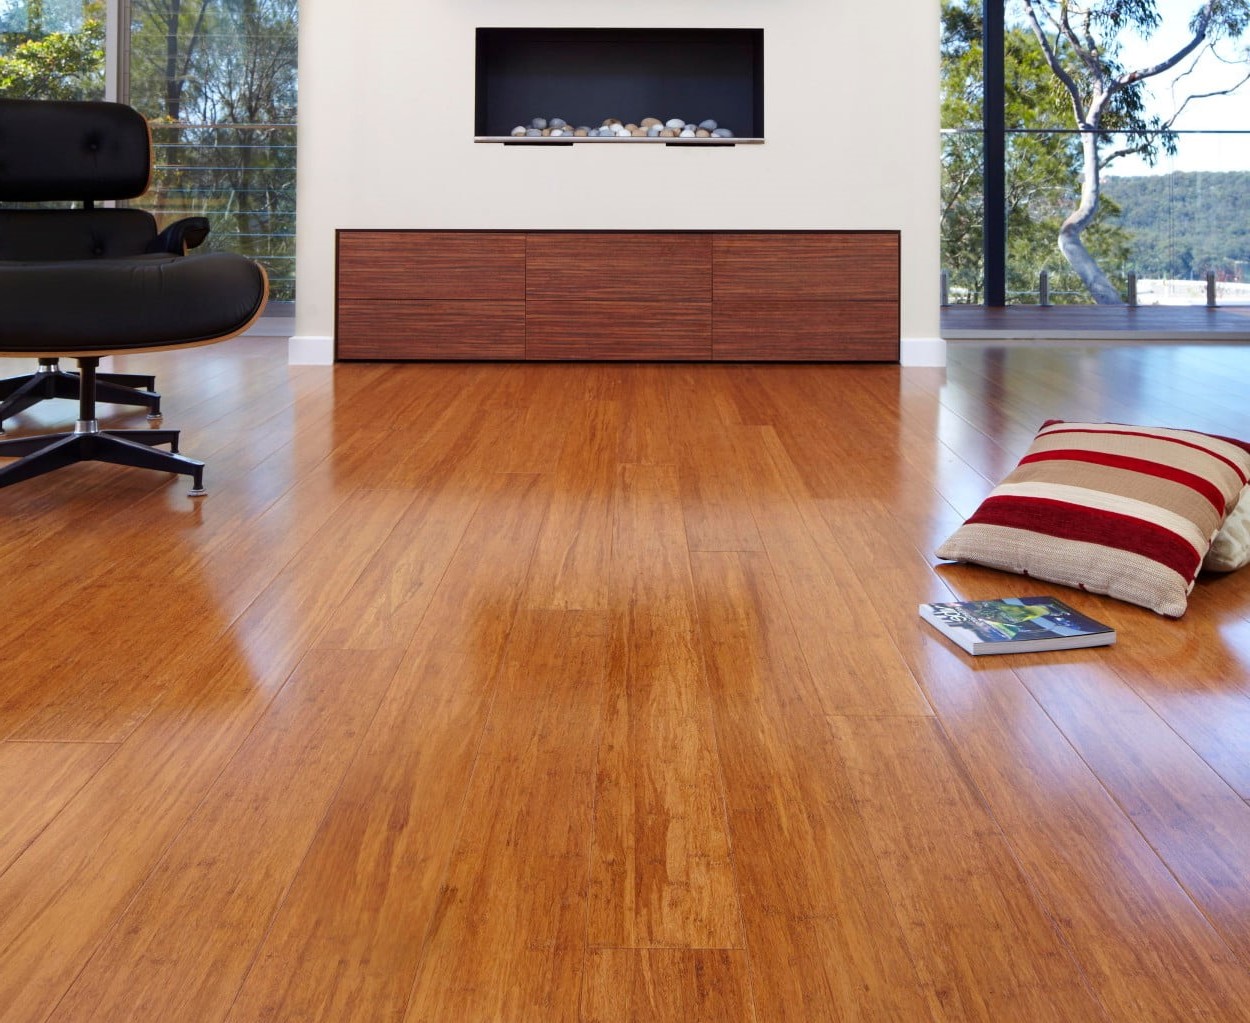
    Another appealing aspect is the wide variety of styles available. Whether you prefer the rustic charm of oak or the sleek look of modern gray tones, there’s a vinyl plank option that can complement your home’s décor beautifully. This flexibility makes it a favored choice for many Kanata residents looking to enhance their living spaces.

    Preparing for Installation

    Before you start laying vinyl plank flooring, preparation is key. Begin by measuring the area where you plan to install the flooring. This will help you determine how much vinyl you’ll need to purchase. It’s advisable to buy a little extra to account for mistakes or future repairs.
    Next, ensure that your subfloor is clean, dry, and level. Any debris, moisture, or uneven surfaces can affect the final look and durability of your flooring. If you find any imperfections in the subfloor, consider leveling it out with a suitable compound.
    Once your space is prepped, gather the necessary tools. You will typically need a utility knife, measuring tape, straightedge, and a tapping block for installation. Having everything on hand will streamline the process and make it more efficient.

    Laying Vinyl Plank Flooring

    Now that you’re prepared, it’s time to start laying vinyl plank flooring. Begin by laying the first row of planks along the longest wall in the room. This is generally the best approach as it helps create a visually appealing alignment. Make sure to leave a small gap between the planks and the wall to allow for expansion, which is crucial given Kanata’s varying humidity levels.
    To connect the planks, use the click-lock mechanism common in many vinyl plank products. Align the tongue of the first plank with the groove of the next and gently push down until they click into place. If you encounter any resistance, double-check the alignment before forcing the planks together.
    As you work your way through the room, continue laying each row, ensuring that the seams are staggered for a more natural look. A staggered pattern not only enhances aesthetics but also adds stability to the flooring. If you reach the end of a row and need to cut a plank to fit, use your utility knife to measure and cut carefully.

    Maintenance Tips

    Now that you’ve successfully laid vinyl plank flooring in Kanata, maintaining it is crucial for long-lasting beauty. Regular cleaning is straightforward—just sweep or vacuum to remove dirt and debris. For deeper cleaning, a damp mop with a gentle cleaner designed for vinyl is usually sufficient.
    It’s also wise to place mats at entryways to reduce the amount of dirt tracked onto the flooring. This simple step can significantly prolong the life of your new vinyl planks.

    Conclusion

    In summary, Laying Vinyl Plank Flooring Kanata is a rewarding project that can dramatically enhance the look and feel of your home. With its combination of style, durability, and ease of maintenance, vinyl plank flooring is an ideal choice for various spaces.

    one stop shop for everything !!!

    Delivery

    Read More

    installations

    Read More

    Custom Colors

    Read More

    financing

    Custom color

    we are hiring