Exploring Beauty, Durability, and VersatilityDIY Hardwood Flooring Installation Tips

Contact Us
Now!!!

    Taking on a home improvement project can be incredibly satisfying, especially when the results bring warmth, beauty, and lasting value to your home. If you’re planning to upgrade your floors and are up for a challenge, learning a few smart DIY hardwood flooring installation tips can go a long way. Installing hardwood floors yourself is totally doable with the right preparation, tools, and a little patience. And when it’s all said and done, you’ll have a beautiful space you can proudly say you created with your own hands.

    Preparing for Installation

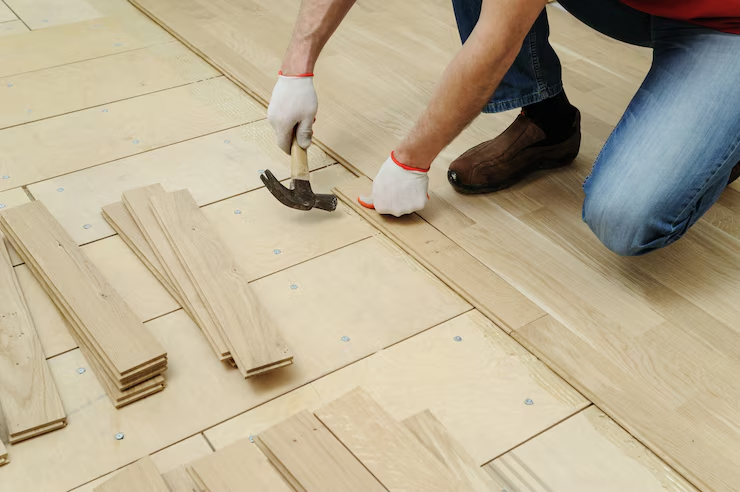
    Before you even pick up a nail gun or measuring tape, take some time to prepare your space. One of the most important DIY hardwood flooring installation tips is to start with a clean, dry, and level subfloor. Any bumps, moisture, or debris underneath can affect how well the flooring lays and how long it lasts. Depending on your existing flooring, you may need to remove carpet, old wood, tile, or even glue. 
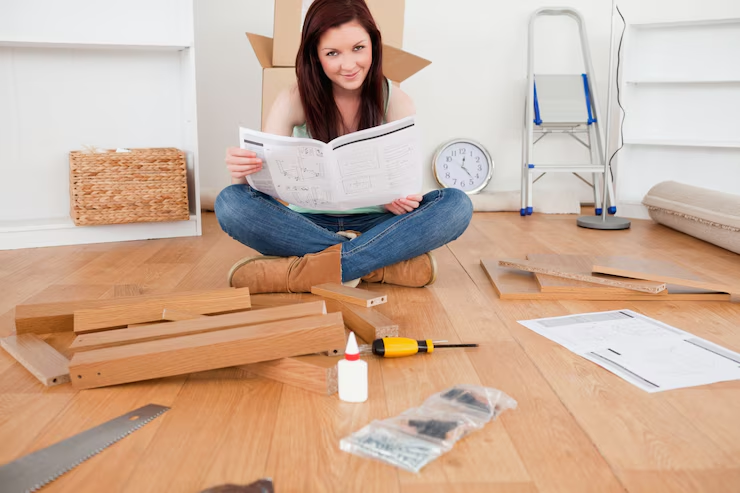
Next, allow your hardwood flooring to acclimate in the room where it will be installed. Wood reacts to changes in temperature and humidity, so it needs a few days to adjust to your home’s environment. Skipping this step can lead to problems later on, like gaps or buckling.

    Choosing the Right Tools and Materials

    One of the best DIY hardwood flooring installation tips is to invest in or rent quality tools. At a minimum, you’ll need a measuring tape, chalk line, saw (miter or table saw for straight cuts, jigsaw for notches), pry bar, tapping block, spacers, and possibly a nail gun or flooring stapler, depending on your installation method. If you’re floating the floor, you’ll need underlayment and possibly adhesive.
    Be sure to have enough flooring on hand, including extra for mistakes and future repairs. It’s standard to purchase about 10 percent more than the actual square footage of your room. Also, consider any trim, thresholds, or moldings you might need to finish the edges cleanly.

    Installation Basics and Best Practices

    Once your prep work is complete, it’s time to start installing. One of the most helpful DIY hardwood flooring installation tips is to take your time with the first row. That row sets the foundation for everything that follows, so it needs to be perfectly straight and securely fastened.
    Leave expansion gaps between the flooring and the walls—typically around a half inch. Wood expands and contracts with seasonal changes, and these gaps help prevent buckling. Spacers can keep your rows even while maintaining the necessary buffer around the edges.

    Dealing with Obstacles and Finishing Edges

    No room is ever perfectly square, and obstacles like door frames, vents, or uneven walls are all part of the challenge. One of the most practical DIY hardwood flooring installation tips is to take your time making careful cuts around these areas. Using a jigsaw can help with tight corners or curved edges. For door frames, undercutting the casing slightly allows the plank to slide under for a clean look.

    Conclusion

    Installing your own hardwood floors can be a challenging yet highly rewarding project. With the right mindset, tools, and a few reliable DIY Hardwood Flooring Installation Tips you can transform any room into a warm and elegant space. From the initial planning stages to the final trim, every step is a chance to put your personal touch on your home.

    one stop shop for everything !!!

    Delivery

    Read More

    installations

    Read More

    Custom Colors

    Read More

    financing

    Custom color

    we are hiring