

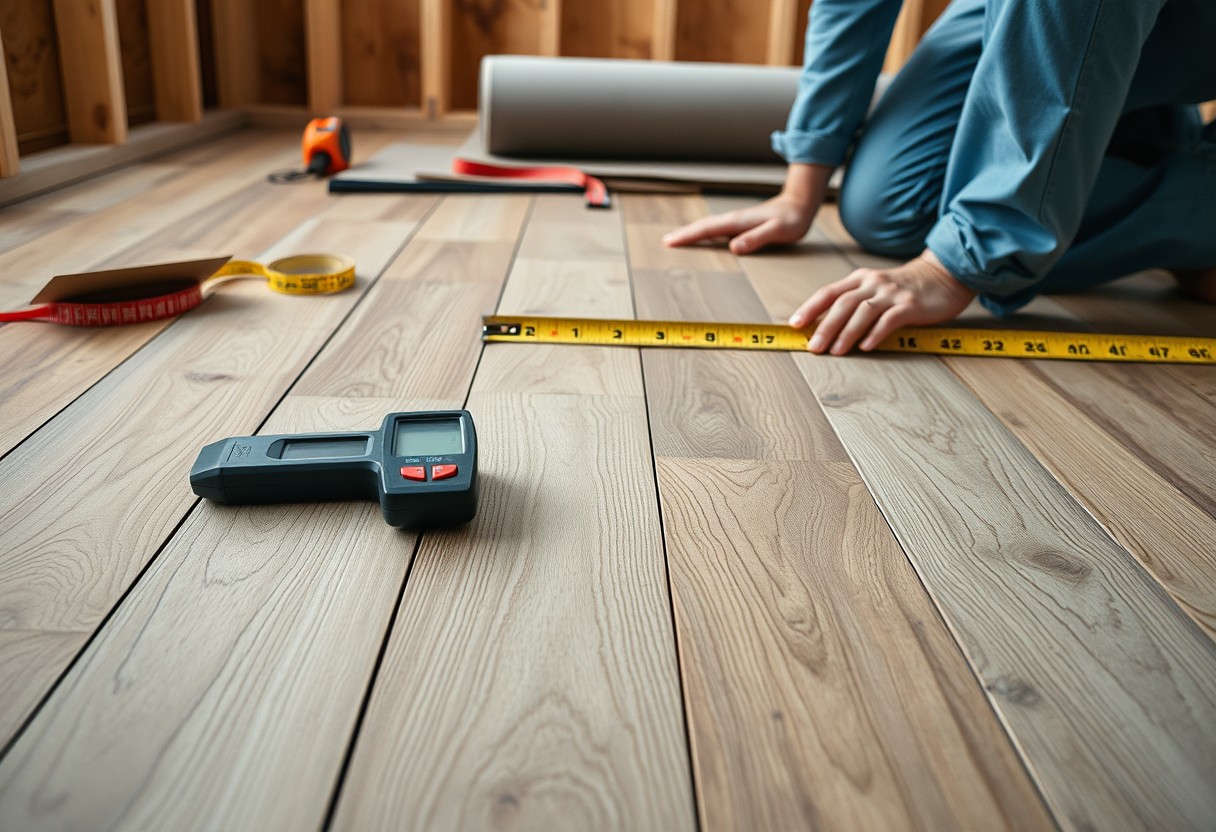
Flooring choices can redefine your space, but missteps in selecting vinyl flooring often lead to premature wear, mismatched aesthetics, or installation setbacks. You may overlook subfloor conditions, misjudge traffic needs, or choose a style that clashes with your lighting. Recognizing these common errors early ensures your selection enhances both function and design, delivering lasting satisfaction.
Assessing Your Environment: Critical Factors for Material Selection
Every space presents unique demands that directly influence the performance of your vinyl flooring. High humidity, heavy foot traffic, and subfloor composition all determine which product will endure. A basement with moisture concerns requires different material than a sunroom with temperature swings. Selecting the right vinyl means aligning its properties with your room’s reality. Recognizing these environmental variables prevents premature wear, warping, or installation failure.
- Moisture exposure dictates core material suitability
- Traffic intensity affects wear layer requirements
- Subfloor flatness impacts installation success
- Temperature fluctuations influence expansion gaps
Analyzing foot traffic and wear layer thickness
High-traffic areas like hallways or retail spaces demand thicker wear layers to resist scuffing and indentation. A residential kitchen may perform well with a 12-mil layer, while a commercial waiting room benefits from 20 mil or more. Your daily use patterns determine the necessary protection. Thinner coatings may suffice in guest bedrooms where activity is minimal.
Evaluating moisture levels and subfloor conditions
Bathrooms, basements, and laundry rooms expose flooring to persistent dampness, making waterproof cores like SPC or WPC vital. Concrete subfloors may emit moisture vapor, requiring a vapor barrier. Uneven or damaged substrates lead to creaking or separation over time. Proper preparation ensures long-term stability.
Concrete slabs in older homes often develop cracks or slight slopes that compromise adhesion. You must test moisture levels with a calcium chloride kit or relative humidity probe before installation. Floating floors over underlayment tolerate minor imperfections, but glue-down applications demand near-perfect flatness. Ignoring these conditions risks buckling, mold growth, or delamination within months.
How to Distinguish Quality: Comparing SPC and WPC Options
Understanding the structural differences between SPC and WPC flooring helps you make an informed decision based on your space’s needs. While both are waterproof and durable, their composition affects performance under real-world conditions.
| SPC (Stone Plastic Composite) | A rigid core made from limestone powder, PVC, and stabilizers offers high density and dimensional stability, ideal for high-traffic areas and spaces with temperature fluctuations. |
| WPC (Wood Plastic Composite) | Contains a foamed core with wood derivatives and vinyl, providing a softer underfoot feel and better sound absorption, suited for residential living areas and bedrooms. |
Understanding core density and structural stability
Core density directly influences how well the plank resists indentation and holds up under heavy furniture or foot traffic. SPC’s limestone-based core is denser, minimizing expansion and contraction, especially in rooms with concrete subfloors or underfloor heating.
Identifying high-quality photographic layers and textures
Look for flooring with a high-resolution image layer that mimics natural materials without repeating patterns too frequently. A well-textured surface, aligned precisely with the printed grain, enhances realism and hides scuffs.
A premium photographic layer uses advanced printing technology to capture the subtle variations of real wood or stone. The best products pair this with an embossed or hand-scraped surface that matches the visual grain, creating a tactile experience that stands up to close inspection in natural light.
Essential Tips for Accurate Measurement and Budgeting
Measure each room in feet and multiply length by width to determine square footage. Include closets and irregular spaces to avoid shortages. Always order 10% extra for cuts and mistakes. Any miscalculation can lead to delays or mismatched batches down the line.
- Use a digital laser measurer for precision
- Sketch a rough floor plan with dimensions
- Double-check measurements before ordering
- Factor in furniture layout to minimize seams
Calculating waste factors to avoid project delays
Rooms with multiple angles, columns, or alcoves increase off-cuts. Diagonal installations can require up to 15% more material than standard layouts. Knowing the pattern and direction of your plank placement helps anticipate excess needs and prevents mid-project supply gaps.
- Allow 5-7% waste for rectangular rooms
- Add 10-15% for diagonal or herringbone patterns
- Account for doorways and built-in cabinetry
- Keep one unopened box for future repairs
Accounting for underlayment, trim, and transition costs
Underlayment affects comfort, sound, and moisture resistance, with prices varying by thickness and material. Transition strips between rooms and edge trims are often overlooked but necessary for a finished look. These extras can add $0.50 to $2.00 per square foot to your total.
A mid-sized SaaS firm renovating a 400-square-foot office space might spend an additional $300 to $600 on underlayment and trim when choosing premium acoustic pads and custom color-matched reducers. Some vinyl planks require specific manufacturer-recommended underlayments, so verify compatibility before purchase. Skipping proper trim can result in exposed edges and uneven junctions, especially where flooring meets carpet or tile.
How to Prepare for a Flawless Installation
Proper preparation ensures your vinyl flooring performs as expected over time. Conditioning the material and verifying subfloor integrity are non-negotiable steps that directly influence stability and longevity. Skipping these stages risks warping, gapping, or adhesion failure, especially in areas with fluctuating humidity or temperature.
Following proper acclimation protocols for temperature stability
Allow your vinyl planks or tiles to adjust to the room’s environment before installation. This period helps the material stabilize, minimizing expansion or contraction after placement.
| Flooring Type | Recommended Acclimation Time |
| SPC (Stone Polymer Composite) | 24-48 hours |
| WPC (Wood Plastic Composite) | 24 hours |
| Glue-down vinyl sheets | 48 hours |
Ensuring subfloor leveling and moisture barrier placement
A flat, clean, and dry subfloor is important for a smooth vinyl installation. Uneven surfaces cause visible lippage between planks, while moisture can lead to mold or adhesive breakdown, particularly over concrete.
Use a 6-foot straightedge to check for high and low spots; any deviation greater than 3/16 inch over 10 feet requires correction with a self-leveling compound. Over concrete slabs, install a vapor barrier with taped seams to block ground moisture. In basements or humid climates, a moisture test using a calcium chloride kit helps confirm whether a barrier is necessary. Failure to address these conditions often results in premature flooring failure, even with high-quality materials.
Avoiding Aesthetic Errors in Layout and Design
Visual appeal hinges on thoughtful layout planning, not just material choice. Installing planks without considering how light, furniture placement, or room shape affects perception can disrupt the intended look. You avoid mismatched expectations by visualizing the final arrangement before cutting a single plank.
Planning plank distribution to prevent repetitive patterns
Randomizing plank sequences stops unnatural repeats that draw the eye. You open each box and mix lengths from several packs during installation to achieve a natural wood-like variation, especially in click-lock vinyl with pre-cut planks.
Selecting the right plank width for your room size
Narrow planks enhance the sense of length in small or narrow rooms, guiding the eye along the space. You choose wider planks in large, open areas to mirror the scale of the room and create a more grounded, custom-built impression.
Wider planks in a compact room can overwhelm the space, making it feel chopped or unbalanced. You match the plank dimension to the room’s proportions-narrower widths for hallways or bathrooms, broader options for living areas-to maintain visual harmony. A mid-sized SaaS firm retrofitting its office common area saw improved spatial perception after switching from 9-inch to 6-inch planks in a confined lounge.
Maintaining Your Investment for Long-Term Durability
Protecting your vinyl flooring starts with consistent, appropriate care tailored to its surface. Routine maintenance prevents premature wear and preserves appearance, ensuring the material performs well across years of use in high-traffic or moisture-prone areas.
Implementing safe cleaning practices to protect the finish
Clean spills promptly using a soft cloth and a pH-neutral cleaner, avoiding harsh chemicals or abrasive scrubbers. Excess water can seep into seams, so always use a damp mop rather than a soaking wet one to maintain the integrity of the wear layer.
Utilizing protective measures against furniture indentations
Heavy furniture can compress vinyl over time, especially in dining or living areas. Use wide, non-staining floor protectors under legs to evenly distribute weight and prevent permanent dents in the surface.
Furniture with narrow or pointed legs exerts concentrated pressure, increasing the risk of indentations. Opt for protectors made of felt with a broad base, replacing them periodically to avoid grit buildup that can scratch the floor. A mid-sized SaaS firm retrofitting its office space reported noticeable improvements in floor condition after switching to larger protectors under conference tables.
Final Words
Choosing vinyl flooring requires attention to subfloor conditions, wear layer thickness, and compatibility with your space’s humidity levels. Installing without acclimating planks can lead to warping, especially in basements or kitchens. You avoid costly errors by verifying product specifications, measuring rooms twice, and reserving extra material for cuts. A mid-sized SaaS firm retrofitting its office space reduced waste by 18% simply by optimizing layout plans before purchase.