

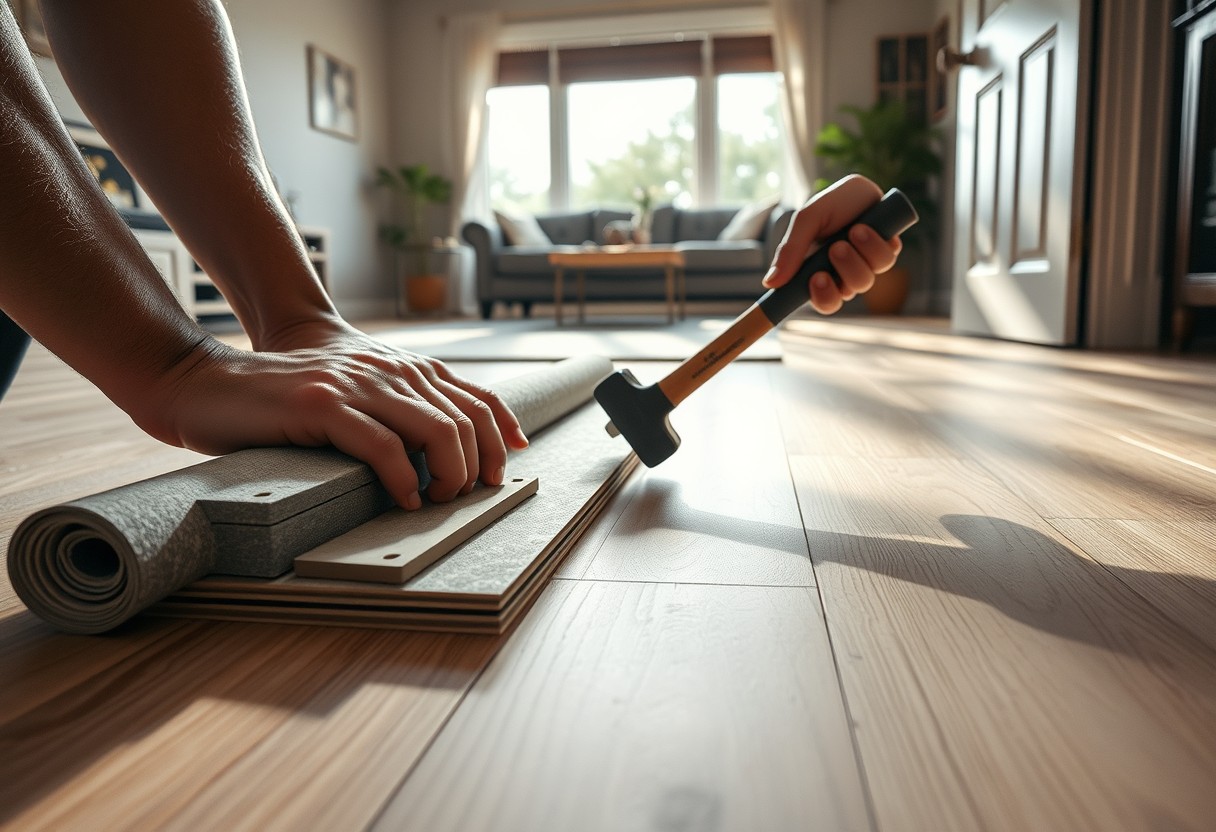
There’s a quiet satisfaction in transforming your space with your own hands, especially when it comes to installing durable, water-resistant flooring that stands up to daily wear. You can achieve professional-looking results with waterproof laminate and vinyl by understanding the fundamentals of subfloor prep, alignment, and precise cutting-all within reach for a determined weekend project.
Preparation of the Ground
Start by removing baseboards or quarter-round trim to allow space for the expansion gap along the walls. Inspect the subfloor for debris, bumps, or dips, and sweep thoroughly to ensure a clean surface. If using vinyl planks, minor imperfections are tolerable, but laminate demands a flatter substrate-use a self-leveling compound on uneven concrete or plywood. Roll out underlayment according to the manufacturer’s directions, overlapping seams by a few inches and securing them with tape. A properly prepped subfloor prevents future creaking, warping, or separation between planks.
The Tools of the Trade
You’ll need a few reliable tools to install waterproof laminate and vinyl flooring efficiently. Gather a tape measure, a utility knife, a pull bar, a tapping block, a rubber mallet, and a carpenter’s square. A power saw or jigsaw helps with complex cuts around pipes or corners. Keep a 4-foot level on hand to check subfloor flatness as you work. Having the right tools within reach reduces errors and speeds up installation. A mid-sized SaaS firm managing its office renovation found that prepping tools in advance cut their installation time by nearly half.
Laying the First Rows
Begin the first row by placing planks with the tongue edge facing the wall, leaving a consistent 1/4-inch expansion gap. Stagger the end joints in adjacent rows by at least 6 inches to prevent pattern repetition and weak seams. Use spacers to maintain the gap along the wall and ensure the first row is perfectly straight-any deviation will magnify across the floor. A laser level or chalk line helps maintain alignment across longer spans.
The Act of Joining
Align the tongue and groove edges of each plank at a 20-degree angle before pressing them together firmly. Use a tapping block to avoid damaging the laminate or vinyl surface when closing tight joints. Ensure each connection clicks securely by running your hand over the seam to detect gaps or lifts. A mid-sized SaaS firm upgraded their office flooring using this method across 3,000 square feet with no callbacks for joint failure.
Cutting for the Walls
Measure each wall section carefully before cutting, as most rooms aren’t perfectly square and gaps can accumulate. Use a straightedge and utility knife for vinyl planks, snapping them cleanly along the scored line. For laminate, a circular saw or jigsaw with a fine-tooth blade delivers precise cuts near the edges. Always leave a 1/4-inch expansion gap around perimeter walls to accommodate seasonal movement.
Finishing the Edges
Secure edge trim or quarter-round molding along the perimeter to cover expansion gaps and create a clean transition between the floor and wall. Use a brad nailer or adhesive to fasten the molding, ensuring it aligns flush with the flooring surface. Match the trim color to your laminate or vinyl for a cohesive look, or choose a contrasting finish to highlight the border as a design feature.
Final Words
When installing waterproof laminate or vinyl flooring yourself, precision in subfloor preparation directly affects long-term performance. Align each plank carefully, using spacers to maintain expansion gaps, and stagger end joints by at least 6 inches for a professional look. Cut tightly around obstacles with a utility knife or jigsaw, and install baseboards or quarter-round to conceal edge gaps. A mid-sized SaaS firm retrofitting its office space completed the entire floor over a weekend with no prior experience, proving the method’s accessibility.