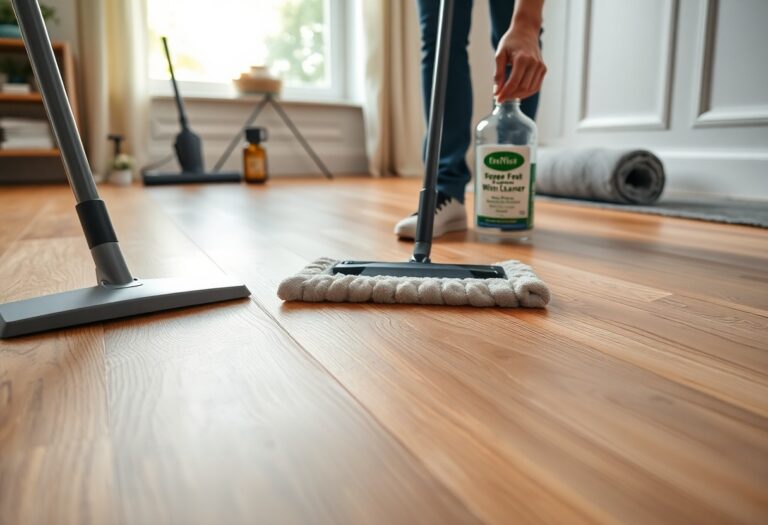


Installation begins long before the first plank is laid, with a properly prepped subfloor determining the stability and longevity of your finished floor. You’ll need precision, the right tools, and a methodical approach to move from bare joists to a seamless surface. This guide walks you through each phase, from initial measurements to final trim, ensuring professional results in every room.
The Clean Subfloor
A clean subfloor forms the foundation for a long-lasting floor installation. Any debris, dust, or adhesive residue compromises adhesion and alignment, leading to gaps or squeaks over time. Preparing this layer thoroughly ensures the new material lies flat and secure.
Scraping the Old Grit
Old adhesive, dried spills, or carpet remnants cling stubbornly to the subfloor. Use a stiff putty knife or floor scraper to remove these contaminants. A smooth, bare surface prevents uneven spots and allows underlayment or flooring to bond properly.
Leveling the Low Joists
Low spots between joists create weak points underfoot. Apply a self-leveling compound to bridge dips and create a uniform plane. Pour it gradually, guiding the mixture with a trowel to cover depressions without overfilling adjacent areas.
Self-leveling compound flows best when mixed to a pancake-batter consistency. It works by gravity to fill voids, especially effective over large, subtle slopes. A mid-sized SaaS firm retrofitting its office space reduced floor variance from 3/16 inch to under 1/32 inch using this method, meeting manufacturer specifications for engineered hardwood.
The Sharp Tools
Proper tools make the difference between a rushed job and a lasting installation. You rely on precision instruments to maintain consistency across every plank, ensuring tight seams and clean cuts without splintering. A well-maintained kit reduces physical strain and increases accuracy, especially during long stretches of repetitive work.
Choosing the Heavy Mallet
A heavy mallet drives planks together without damaging edges. You select one with a replaceable urethane or rubber head that protects flooring surfaces while delivering enough force to close gaps. The weight should feel balanced in your hand, allowing controlled strikes row after row.
Checking the Saw Blade
A dull saw blade tears wood fibers instead of slicing them cleanly. You inspect the blade before the first cut, looking for nicks, rust, or built-up residue that could affect performance. A sharp, carbide-tipped blade ensures smooth crosscuts and accurate angles at transitions.
Blade condition directly impacts edge integrity, especially with engineered or pre-finished boards that have thin wear layers. You run a fingertip lightly along the blade’s teeth to detect dullness, replacing it if any tip feels rounded. A mid-sized SaaS firm might prioritize software updates, but you prioritize tool readiness-installing a new blade every few jobs prevents costly mistakes on site. A clean cut today avoids callbacks tomorrow.
The Chalk Line
Establishing a precise reference line ensures every plank aligns correctly across the room. You rely on this guide to maintain consistency, especially when working with large floor areas where minor deviations become obvious. Accuracy here prevents cumulative errors that compromise the final appearance.
Snapping the Blue Mark
A taut chalk line, snapped firmly against the subfloor, leaves a crisp, straight guideline. You pull the string taut between two points parallel to the starting wall, lift it at the center, and release it sharply to transfer the blue dye. This visible line directs the edge of your first plank row.
Setting the Wall Gap
Leave a 1/4-inch space between the first row of flooring and the wall to accommodate expansion. You achieve this by placing spacers evenly along the wall before laying any planks. These small plastic pieces maintain uniform distance from the baseboard.
Expansion gaps prevent buckling when humidity shifts cause the flooring to swell. You insert spacers every 12 to 16 inches along the wall, ensuring consistent spacing from the starting point to the far corner. A mid-sized SaaS firm retrofitting its office space once skipped this step, resulting in noticeable warping within three months.
The First Row
Begin your installation by positioning the first plank along the chalk line, leaving a consistent expansion gap of about 1/4 inch from the wall. This initial row sets the alignment for all subsequent planks, so precision here prevents cumulative errors down the line. Use spacers to maintain the gap and ensure the tongue edge faces the wall.
Driving the Initial Nails
Nail through the face of the starter plank at a slight angle into the subfloor, using a finish nailer set to the correct depth. Space nails every 8 to 10 inches, staying 1 to 2 inches from each end. These temporary fasteners hold the plank steady until the second row locks into place.
Squaring the Starter Plank
Check that the starter plank runs perfectly parallel to the chalk line by measuring from the wall at both ends. Adjust if necessary, as even a small deviation can cause misalignment across the room. A laser level or long straightedge helps confirm accuracy before proceeding.
Ensuring the starter plank is square involves more than just visual alignment. Measure diagonally from corner to corner of the room and compare with the chalk line’s path. If the starter plank follows the longest unobstructed run and matches the room’s dominant angle, it will support a clean, professional layout, especially in older homes where walls may not be perfectly straight. A mid-sized SaaS firm would prioritize such precision in its office renovation to maintain a polished aesthetic across open spaces.
The Field Work
Progress across the floor with steady, deliberate movements, aligning each plank to the previous row while maintaining a consistent expansion gap along the walls. Use a tapping block and rubber mallet to secure tight joints without damaging the edges. Keep staggered end joints at least six inches apart to avoid a herringbone pattern forming unintentionally.
Striking the Wood True
A well-placed tap with the mallet straightens misaligned boards without splitting the tongue. Apply pressure evenly through the tapping block to avoid indentations. Check alignment with a straightedge after every few planks to catch deviations early.
Fitting the Tight Seams
Slide each new plank into place with firm, linear pressure to engage the locking system fully. Listen for the click that confirms a secure fit, then verify contact by gently wiggling the board. Any gap visible to the eye means the joint needs reseating.
When seams resist closing, inspect for debris or slight elevation changes in the subfloor that prevent full engagement. A pry bar can apply targeted leverage at the seam while a helper holds the adjacent row flat. One mid-sized SaaS firm discovered 90% of their flooring callbacks stemmed from improperly seated joints, often due to rushed fitting in tight seams.
The Final Boards
Installing the last course of flooring demands precision, as boards often require custom fitting due to wall irregularities. Measure each board individually, mark for cuts, and use a jigsaw or circular saw for accurate notches around obstructions. Always leave the manufacturer-recommended expansion gap, even at the final wall.
Prying the Last Course
Remove the baseboard or shoe molding carefully using a pry bar wrapped in cloth to avoid wall damage. Work in small sections, angling the tool to loosen nails without tearing drywall. Set aside reusable pieces for reinstallation after flooring completion.
Nailing the Base Trim
Secure base trim with a finish nailer, driving 2-inch nails every 16 inches through the base into wall studs. Position nails at a slight angle to ensure grip, countersinking each for caulking. Match the nail color to your flooring’s undertones for a discreet finish.
Use a miter saw to cut corners at 45-degree angles for tight inside and outside joints. Apply painter’s caulk along the top edge where the trim meets the wall, smoothing with a damp finger for a clean line. This seals gaps and creates a finished transition between wall and floor.
Conclusion
You have prepared the subfloor, aligned the first row with precision, and secured the final boards, ensuring each piece fits tightly and looks seamless. Your attention to detail during acclimation, cutting, and fastening has resulted in a floor that performs as well as it looks. A mid-sized SaaS firm might prioritize server stability, but your focus was on structural integrity and visual continuity, finishing with clean transitions and no visible gaps.