
Over a few clear steps, you will install laminate flooring like a pro – from subfloor prep and accurate cutting to secure locking and finishing touches, with practical tips ensuring precise measurements and lasting results.
Understanding Different Types of Laminate Flooring
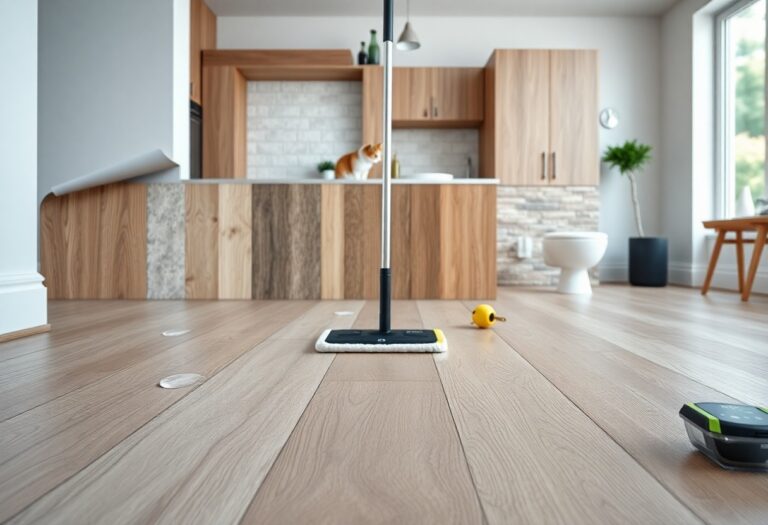
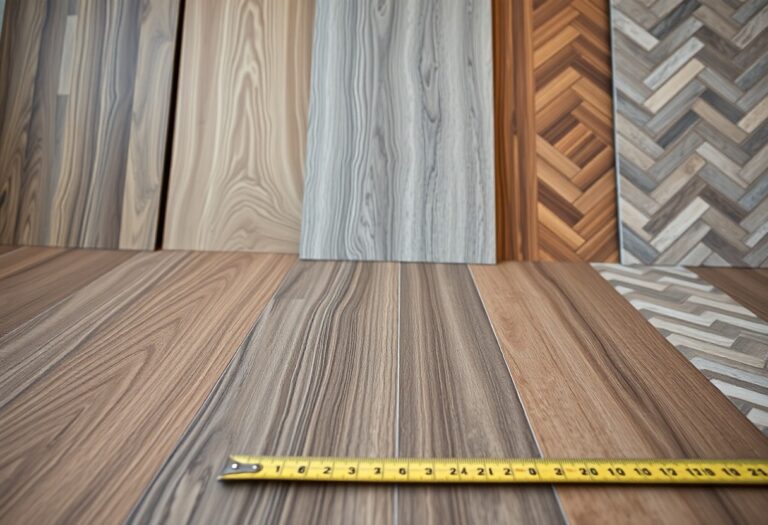
Laminate comes in plank, tile and rigid-core formats that suit different rooms, budgets and moisture conditions in your home. Recognizing the core type and water resistance level guides you to the option that balances appearance, durability and upkeep.
- Plank laminate – wood-look, versatile
- Tile laminate – stone or ceramic appearances
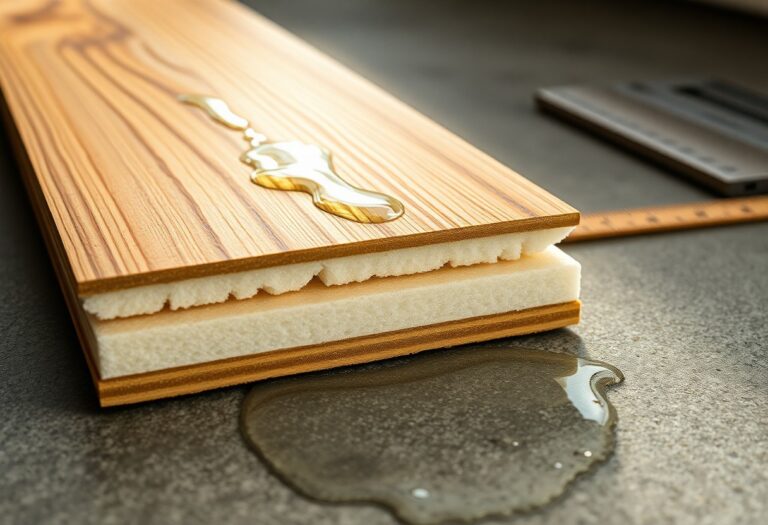
- Rigid-core (SPC/WPC) – enhanced stability, moisture resistance
- Waterproof laminate – wet-area use
- Hand-scraped/distressed – rustic character
| Plank | Best for living rooms and bedrooms |
| Tile-look | Great for kitchens and bathrooms (visual stone) |
| Rigid-core (SPC/WPC) | Stable over imperfect subfloors, often waterproof |
| Waterproof laminate | Protects against spills and humid spaces |
| Hand-scraped/Distressed | Hides wear, ideal for high-traffic rustic styles |
AC Ratings and Durability Levels
AC ratings show you abrasion resistance from AC1 to AC5; choose AC3 for most homes and AC4 or AC5 where heavy traffic or commercial-level wear is expected.
Texture and Finish Options for Every Style
Textures offer you choices like matte, embossed-in-register or hand-scraped finishes that affect realism, slip and cleaning requirements for each room.
Consider how embossed-in-register deepens grain realism, matte finishes reduce glare and hand-scraped planks mask scratches; you can match texture to room use, desired look and how often you plan to clean and maintain the floor.
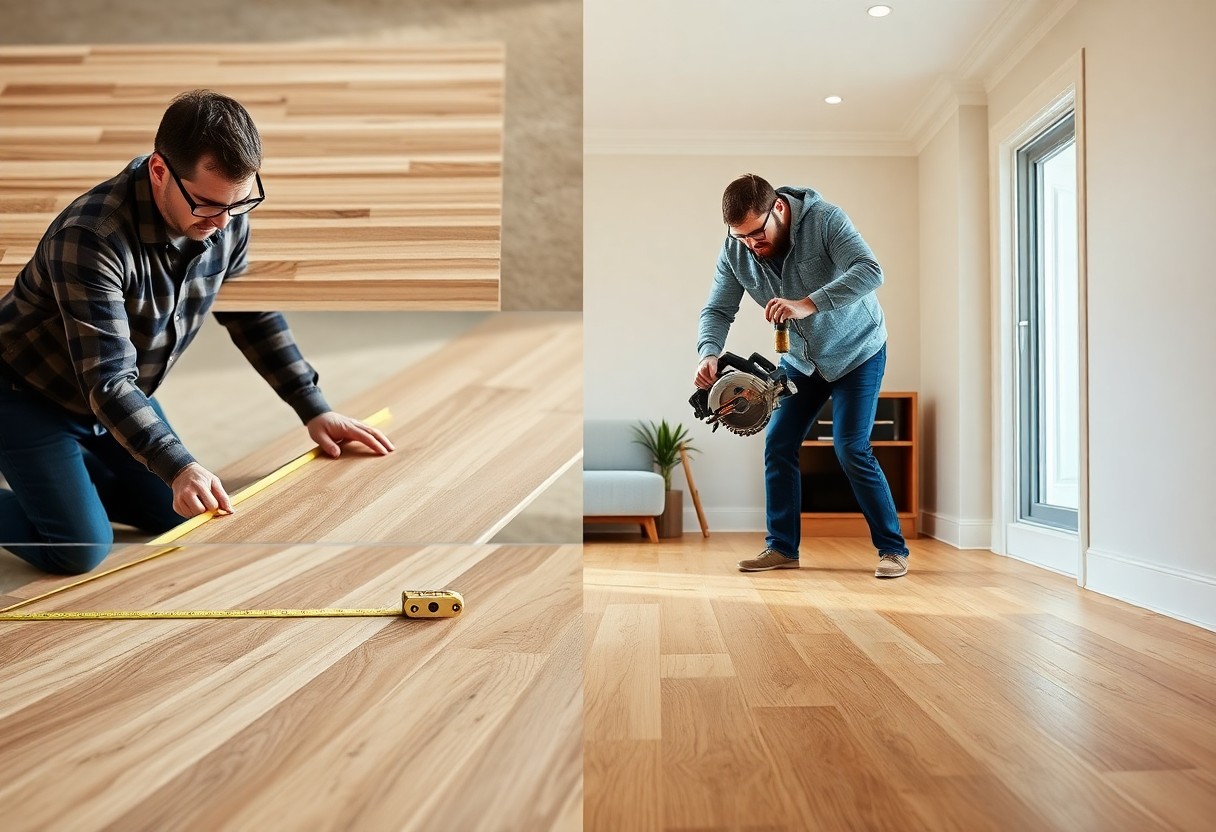
Critical Preparation Tips for a Smooth Install
Prepare the room by clearing furniture, checking subfloor flatness, and planning expansion gaps to guide your install.
- Remove furniture and doors
- Measure moisture and level
- Map plank layout and gaps
This prevents surprises on install day.
Necessary Tools and Equipment Checklist
Gather a tapping block, pull bar, spacers, underlayment, saw, measuring tape, and safety gear so you can work efficiently and avoid damage.
Material Acclimatization and Space Planning
Allow the planks to acclimate in the installation room for 48-72 hours and plan traffic flow, door swings, and transition strips before you begin.
Monitor room temperature (60-80°F) and humidity (30-50%) while cartons lie flat and sealed; open them only after acclimation, spread planks across the space, and use a moisture meter to check subfloor and boards so you can adjust placement and underlayment choices before cutting or fastening.
Conclusion
Presently you will complete laminate installation confidently by following clear prep, measurement, underlayment, and plank-laying steps; consistent attention to gaps and finishing trims ensures durable, attractive floors that suit any home.