Over the years, white oak flooring has gained popularity for its durability and timeless beauty. If you’re considering installing it in your home, you’ll want to ensure the process goes smoothly for the best results. In this blog post, you’ll find step-by-step tips that will guide you through the installation process, helping you achieve a flawless finish that enhances your space. Whether you’re a DIY enthusiast or a first-time installer, these expert insights will equip you with the knowledge you need to create a stunning floor that stands the test of time.
Preparing Your Space for Installation
Transforming your home with white oak flooring begins with careful preparation of your space. Ensuring the right environment will result in optimal installation conditions and enhance the longevity of your flooring. Start by clearing the area of furniture and any existing flooring materials, allowing you to work freely. Next, make sure the temperature and humidity levels are suitable for installation—ideally between 60°F to 80°F and a relative humidity of 30% to 50%—to prevent issues later on.
Assessing Subfloor Conditions
Before laying down your white oak flooring, thoroughly examine the subfloor for any irregularities. Check for moisture, levelness, and stability. If the subfloor is concrete, testing for moisture is necessary to avoid future issues with your flooring. Use a moisture meter to confirm levels are within the acceptable range, typically below 12%. If your subfloor is wood, ensure it’s structurally sound, free of rot, and installed securely.
Acclimating White Oak Flooring
Acclimating your white oak flooring to the environment is key to preventing expansion or contraction post-installation. Ideally, you should allow the planks to acclimate for a minimum of 72 hours in the room where they will be installed. During this time, keep the boxes of flooring unopened and spaced slightly apart to promote airflow. This process allows the wood to adjust to the room’s temperature and humidity levels, ensuring your new floor maintains its beauty and integrity over time.
A common practice is to monitor the moisture content of both the flooring and the subfloor using a moisture meter. The goal is to achieve a balance between the two, typically within 2% of each other. If the moisture content is off, consider using a dehumidifier or humidifier to stabilize conditions. Acclimating isn’t just a recommendation; it’s a vital step that ensures your white oak flooring performs beautifully in the years to come.

Essential Tools and Materials for Success
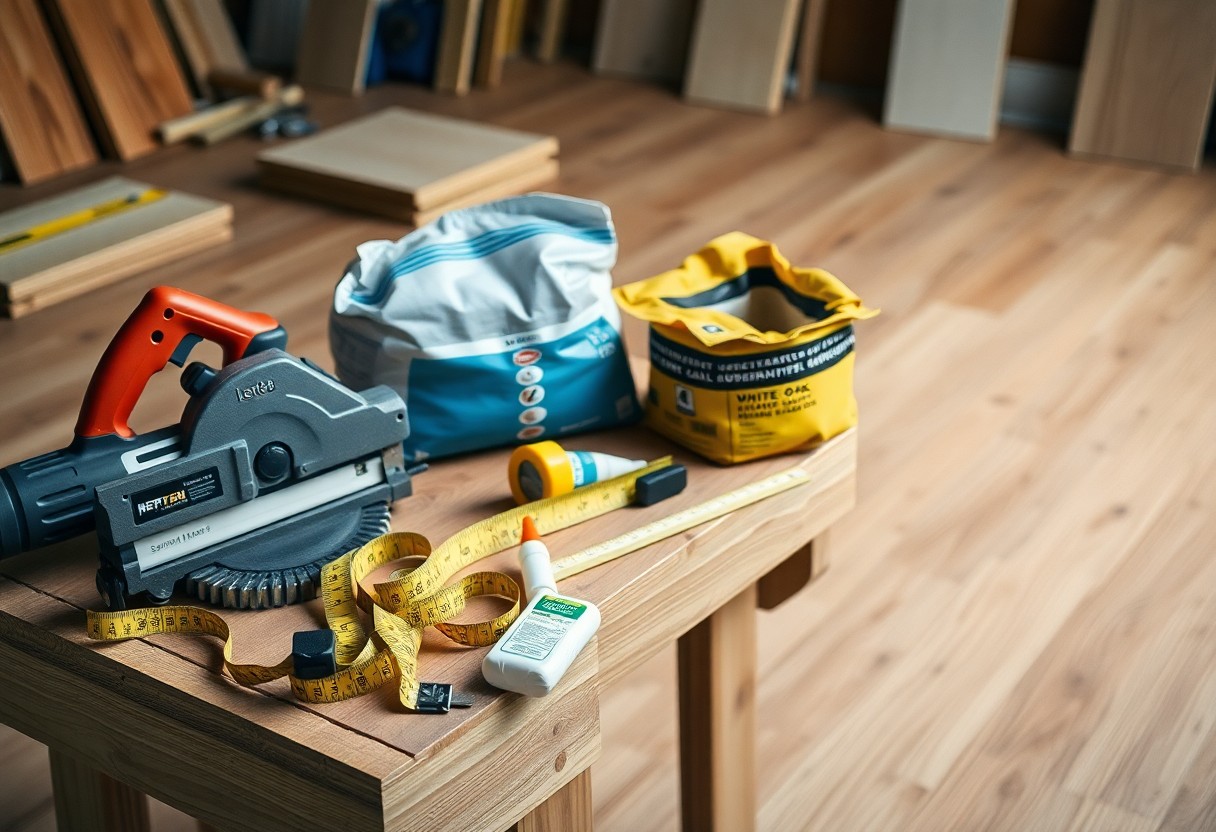
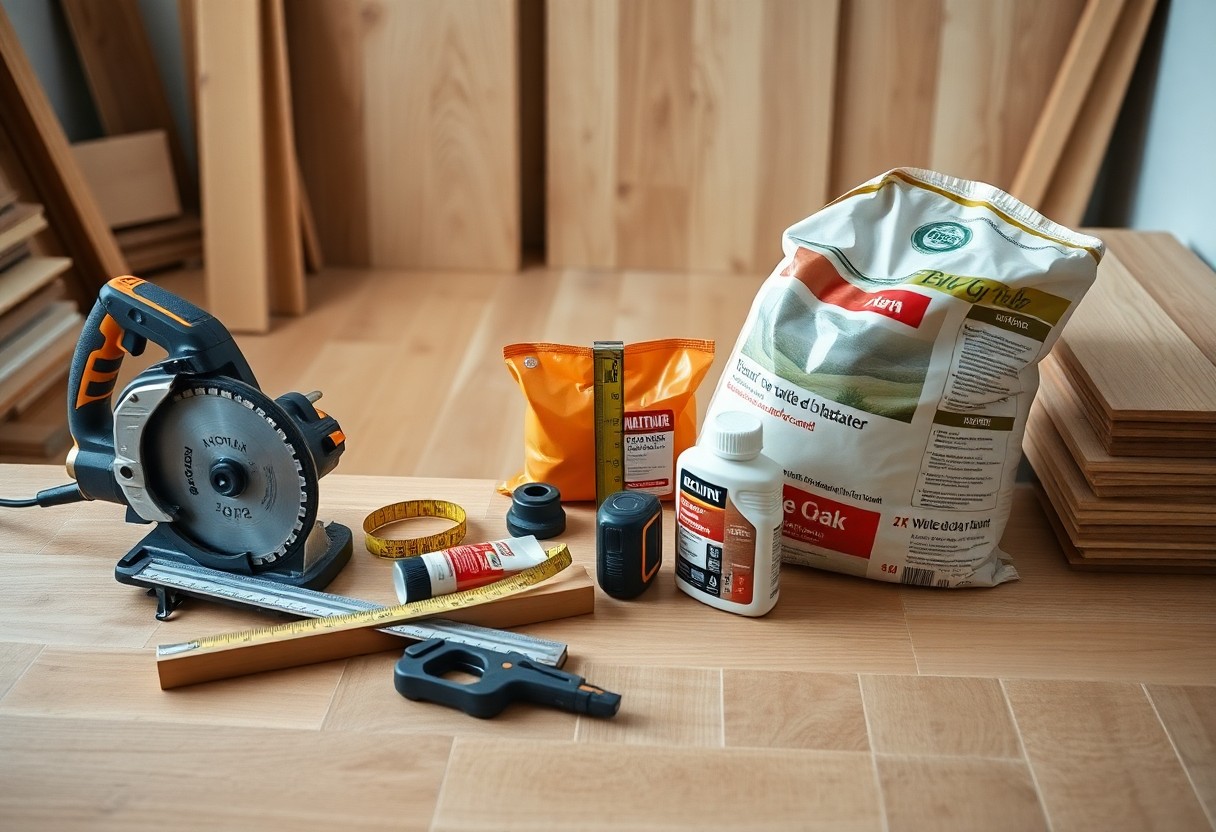
Successful installation of white oak flooring hinges on gathering the right tools and materials. Investing in quality equipment not only streamlines your process but also enhances the overall outcome. From saws to measuring tapes, having the proper tools handy can make all the difference in achieving a flawless finish.
Gathering the Right Equipment
Your toolkit should include vitals like a miter saw, nail gun, level, and measuring tape. Additionally, a mallet, pry bar, and floor scraper can assist in the finishing touches for a professional appearance. Don’t overlook safety gear, such as goggles and ear protection, to ensure a safe working environment as you move through your project.
Choosing Quality Adhesives and Finish
Selecting the right adhesives and finishes plays a significant role in the durability and aesthetic of your flooring. Look for high-quality, moisture-resistant adhesives designed specifically for hardwood flooring. Finishes, such as water-based polyurethane, not only provide a protective layer but also enhance the natural beauty of white oak, ensuring that your investment remains stunning for years to come.
The Installation Process Unveiled
Every step of the installation process is key to achieving a stunning finish with your white oak flooring. Commencing with setting the first row, attention to detail in alignment and spacing is pivotal. Following systematic procedures allows for seamless transitions between planks and reduces the likelihood of imperfections. As the project progresses, you’ll navigate challenges with advanced techniques, ensuring that even difficult areas yield the same polished look as the main floors.
Laying the Foundation: First Rows and Alignment
The first rows of flooring play a critical role in dictating the overall aesthetic of your installation. Start against a straight wall, ensuring that you maintain consistent spacing with spacers to accommodate for expansion. Utilize a chalk line to mark your alignment; this ensures subsequent rows follow the same trajectory. Securing the first row properly will guide your installation, eliminating potential misalignments as you move across the room.
Advanced Techniques for Difficult Areas
Navigating corners, thresholds, and other tricky spots requires finesse. Use a jigsaw or table saw to make precise cuts tailored to the space, particularly for irregular angles or around obstacles like pipes. For tighter areas, employing a flooring nailer can help secure the planks without compromising pleasantries. When dealing with transitions, acclimated underlayment is key to preserving the integrity of your flooring throughout seasonal shifts.
Advanced Techniques for Difficult Areas
| Technique | Description |
|---|---|
| Cuts for Angles | Utilize a miter saw for tricky angles that demand sharp, precise cuts. |
| Nailer Usage | A flooring nailer ensures secure attachment, particularly in corners where manual nailing can be cumbersome. |
| Transition Strips | Employ transition strips to smooth out differences between flooring types or levels. |
| Expansion Gaps | Always maintain proper expansion gaps around edges to accommodate flooring expansion. |
Taking on advanced techniques in difficult areas requires persistence and attention to detail. Adapting your installation methods to suit the project can be the difference between a flawless finish and a subpar one. Always keep your tools sharpened and ready, and don’t hesitate to consult reference guides when in doubt. Techniques like careful cutting around obstacles and using transition strips where necessary simplify your project significantly, leading to a polished result that enhances your living space.
Finishing Touches for a Polished Look
To achieve a truly polished look with your white oak flooring, the finishing touches are indispensable. Meticulous attention to detail during this stage enhances the overall aesthetic and longevity of your floors. Focus on elements like sanding, staining, and applying a durable finish to elevate the natural beauty of the wood while ensuring that your investment stands the test of time.
Sanding and Staining: Achieving Perfection
Sanding the floor thoroughly is vital for a smooth surface that highlights the wood grain. Aim for a progressive sanding approach, starting with a coarser grit and moving to finer grits. Once fully sanded, select a stain that complements the natural color of the white oak; this will infuse warmth and character into your flooring, making a significant impact on the final appearance.
Applying the Final Coat for Durability
The final coat acts as a protective barrier against wear and tear. Using a high-quality polyurethane or oil-based finish can enhance durability and provide that sought-after sheen. Apply at least two to three coats for maximum protection, ensuring each layer dries thoroughly before adding the next. This extra step not only fortifies your flooring against scratches and stains but can also prolong its life significantly.
When applying the final coat, use a foam roller or a paintbrush designed for smooth finishes to avoid streaks. Work in manageable sections, and maintain even strokes to ensure uniform coverage. Each coat should dry completely—typically 24 hours—before you introduce any furniture or foot traffic. A well-executed final coat can enhance the depth of color while offering an attractive, resilient finish that withstands daily life.
Common Pitfalls and How to Avoid Them
Even the most experienced DIYers can encounter pitfalls during white oak flooring installation. Common pitfalls include uneven subfloors, improper acclimation of your hardwood, and misalignment between planks. These issues can lead to costly repairs and time-intensive corrections if not addressed properly. By being aware of these potential traps and taking proactive steps, you can ensure a smoother installation process and a flawless finish.
Recognizing Potential Issues Before They Arise
Inspect the subfloor carefully before installation; look for dips, cracks, or moisture. Ensure the moisture content of the subfloor matches that of your white oak flooring to avoid warping. Additionally, remember to allow the wood to acclimate to the room’s temperature and humidity for at least 72 hours prior to installation, preventing future expansion or contraction issues.
Troubleshooting Mistakes During Installation
Should you encounter issues during installation, immediate action can mitigate any lasting damage. If you notice that planks are not aligning, check that your starting row is straight. For gaps between planks, re-evaluate the fit and consider using spacers to maintain expansion gaps along walls. Misplaced nails can also create an uneven surface; use a nail puller to correct these errors promptly.
Take a systematic approach for troubleshooting during installation. If the planks are too tight, recognize that this could be due to moisture or lack of acclimation; adjust by using a moisture meter and allowing more time for the wood to adjust. For misalignment, pull up the affected sections and re-lay them, ensuring proper spacing between planks. If you discover surface irregularities post-installation, use wood filler or sandpaper for small adjustments. Each issue can be resolved efficiently if detected early, ultimately preserving the aesthetic and functional quality of your white oak flooring. You’ll feel accomplished knowing you’ve handled these problems effectively!
Summing up
To wrap up, your success in installing white oak flooring hinges on careful preparation and attention to detail. By following these step-by-step tips, you can achieve a flawless finish that enhances your space. From acclimating your wood to mastering the installation technique, each phase contributes to the overall beauty and longevity of your flooring. Equip yourself with the right tools and techniques, and you will transform your home with elegant white oak flooring that suits your style.


