With the right guidance, installing white oak flooring can transform your space beautifully. This blog post outlines a straightforward, step-by-step process that ensures your flooring installation is smooth and efficient. You’ll learn about crucial preparation, tools, and techniques, empowering you to achieve a stunning finish that enhances the value of your home. Whether you are a DIY enthusiast or a seasoned pro, following these steps will lead you to a successful white oak flooring installation that you can take pride in.
Preparing for Installation
Before you begin your white oak flooring installation, it’s important to ensure that everything is in place. Preparation involves selecting the right materials and assessing the installation area to create an ideal environment for the flooring. Proper preparation can significantly enhance the overall success and longevity of your new floors.
Selecting the Right Materials
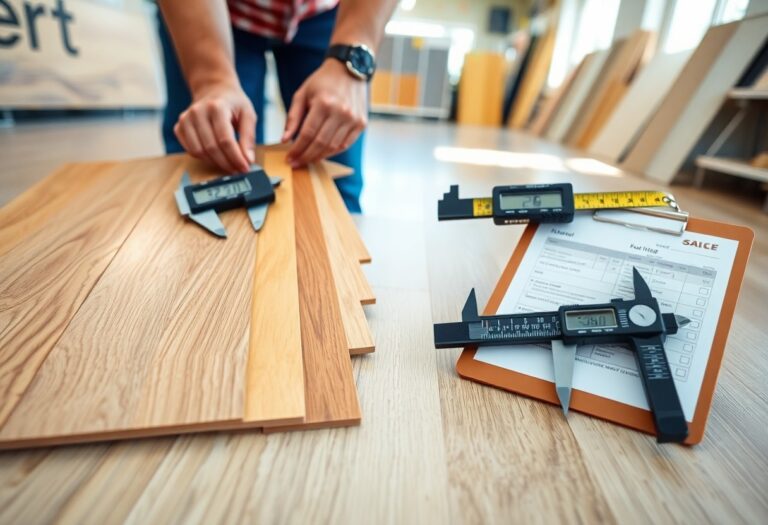
Against common belief, choosing the right materials goes beyond just picking the most attractive boards. You need to consider factors like the wood grade, finish, and type of installation to match your home’s style and functional needs. This careful selection will contribute to both the aesthetics and performance of your flooring.
Assessing the Installation Area
An accurate assessment of your installation area is vital for achieving seamless results. You should evaluate the condition of the existing subfloor, ensuring it is clean, dry, and structurally sound. Additionally, measure the space carefully, accounting for any potential obstacles such as vents or doorways.
Even minor imperfections in your installation area can lead to problems down the line, such as uneven surfaces or poor fit. Take the time to fix any issues with your subfloor, including filling in any gaps or leveling uneven spots. Furthermore, ensure that the humidity levels in the room are appropriate for white oak, between 30% and 50%, to allow for the wood’s natural expansion and contraction. With these details addressed, you pave the way for a smooth installation process.
Acclimating White Oak Flooring
Any successful white oak flooring installation begins with proper acclimation. This process ensures that your wood planks reach an equilibrium with the temperature and humidity levels of your home environment, ultimately preventing warping, buckling, or gaps once the flooring is laid down.
Importance of Acclimation
Across various climates and seasons, acclimation allows your white oak flooring to adapt to the conditions of your home. Without this important step, you risk facing unexpected issues post-installation, leading to costly repairs and possible damage to your beautiful new floors.
Steps for Proper Acclimation
After bringing your white oak flooring home, the first step is to lay the planks flat in the room where they will be installed. Allow them to acclimate for at least 48 to 72 hours, ensuring they are at the same temperature and humidity as your living space.
Another key aspect of acclimating your flooring is monitoring the environment. Place a hygrometer in the room to check relative humidity levels, aiming for a range of 30-50%. Also, keep the planks in their packaging until you’re ready to install, which helps maintain a consistent environment. This preparation time will ultimately contribute to a tighter, more polished finish, providing you with long-lasting satisfaction in your investment.

Tools and Equipment Needed
Your white oak flooring installation will require the right tools and equipment to ensure a smooth and efficient process. Investing in quality items will not only make the job easier but will also contribute to a more professional-looking finish. Gather everything you need before starting to save time and keep the workflow uninterrupted.
Essential Tools
Among the crucial tools you will require for your flooring installation are a tape measure, square, chalk line, saw (either a miter or table saw), nail gun, and a pry bar. These items will help you accurately measure, cut, and install the boards, ensuring they fit together seamlessly and look visually appealing.
Safety Gear
Beside having the right tools, investing in proper safety gear is necessary to protect you during the installation process. This includes safety goggles, hearing protection, gloves, and dust masks to keep you safe from dust and potential debris.
Essential safety gear not only protects you from accidents but also minimizes health risks associated with debris and noise produced during installation. Wearing safety goggles will shield your eyes from dust and splinters, while gloves will give you a secure grip and protect your hands from cuts. Investing in hearing protection is wise, especially when using power tools, and a dust mask will help you breathe easier in a potentially dusty environment.
Installation Techniques
Once again, choosing the right installation technique for your white oak flooring can significantly influence the overall outcome. Each method has its own unique benefits, allowing you to select the best approach depending on your project’s specific needs and your skill level. Understanding the nail-down and floating floor methods will help you make an informed decision.
Nail Down Method
Techniques that involve the nail-down method are ideal for solid hardwood flooring like white oak. In this process, you secure the planks directly to the wooden subfloor using nails or staples, ensuring durability and stability. This technique requires precision and may involve additional tools, but the end result is a robust and long-lasting floor.
Floating Floor Method
Among the various installation methods, the floating floor technique allows for greater flexibility. Instead of gluing or nailing the boards down, they are laid over an underlayment and simply click-lock together, making it a popular choice for DIY enthusiasts.
In fact, the floating floor method is particularly advantageous if you’re dealing with moisture-prone areas, as it allows the floor to expand and contract without restriction. This not only minimizes the risk of warping but also makes it easier to install over existing flooring. Because there’s no need for adhesive or nails, you can complete your installation quicker, saving you both time and effort.
Installing White Oak Flooring
To ensure a successful installation of your white oak flooring, you should follow a detailed process to achieve optimal results. This includes preparing the subfloor and laying the planks with attention to detail. Focusing on each step will help you create a stunning and durable flooring option in your space.
Preparing the Subfloor
An effective installation begins with a well-prepared subfloor. First, ensure that the subfloor is clean, dry, and free of any debris or contaminants. You may need to repair any damaged areas and check for moisture levels to prevent future problems with your new flooring.
Laying the Planks
Flooring requires a strategic approach to achieve a seamless and professional appearance. Start by planning your layout, determining the direction of the planks, and leaving necessary expansion gaps along the edges. Use a tapping block to snugly fit the pieces together, ensuring a consistent look throughout the installation.
Indeed, laying the planks correctly is vital for achieving a polished finish. Use a chalk line to mark your starting point, and begin on the longest wall, working your way outwards. As you lay each plank, double-check their alignment and secure them with appropriate fasteners. Don’t rush this process; take the time to ensure each piece is correctly positioned for a long-lasting and visually appealing result.
Finishing Touches
For a polished look, completing your white oak flooring installation with finishing touches is crucial. This step involves ensuring everything is in place, enhancing the aesthetic and longevity of your floors. Taking the time to properly finish your installation can create a seamless look and enhance your home’s overall appeal.
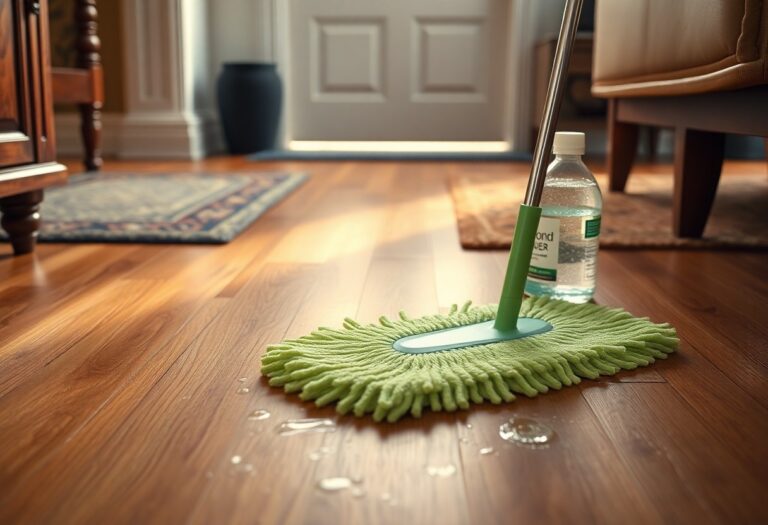
Cleaning and Maintenance
Beside the satisfaction of a newly installed floor, maintaining its beauty requires regular cleaning. Use a soft broom or vacuum with a hardwood attachment to remove dirt and debris. For deeper cleans, a damp mop with appropriate hardwood floor cleaner will keep your white oak looking pristine while avoiding excess moisture that can cause damage.
Adding Baseboards and Trim
Across your freshly laid flooring, installing baseboards and trim offers a perfect finish. These elements not only conceal any gaps between the flooring and the wall, but they also enhance your room’s aesthetics. By choosing baseboards and trim that complement your white oak flooring, you elevate the overall design of your space.
Touches like baseboards and trim play a significant role in completing your installation. They frame the floor beautifully, creating an elegant transition from the floor to the wall. You can select profiles and finishes that echo your personal style, whether it be modern, traditional, or rustic. Don’t overlook how these finishing elements can tie your room together and elevate its charm.
Summing up
From above, you can see that a successful white oak flooring installation involves careful planning and precise execution. By following each step methodically—from selecting quality materials to ensuring proper acclimation and installation techniques—you can achieve not only an aesthetically pleasing floor but also one that lasts for years. Taking the time to properly prepare, install, and finish your flooring will enhance your space and contribute to a lasting investment in your home. With the right approach, you can enjoy the beauty and durability that white oak flooring offers.