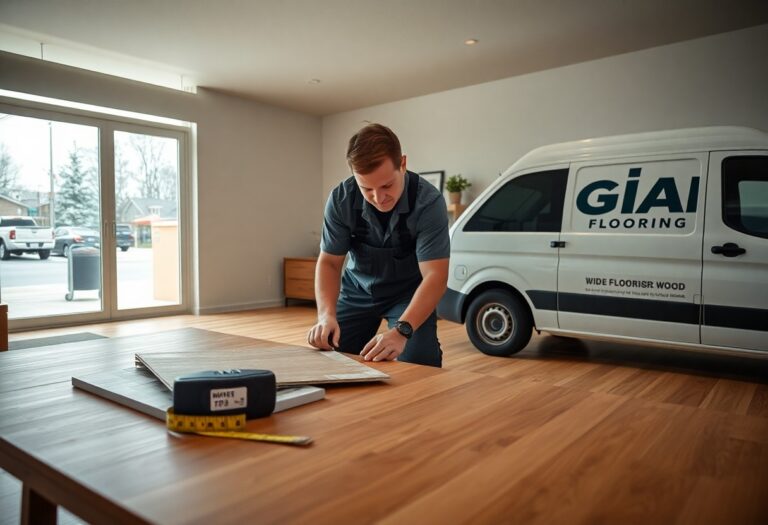
You are about to launch on an exciting journey of transforming your space with SPC vinyl flooring, and this ultimate guide is here to ensure that your installation process is as smooth as possible. With expert tips and tricks tailored specifically for you, you’ll learn how to achieve a professional finish in your home. From preparing the subfloor to the final touches, this comprehensive resource will equip you with the knowledge needed to install your SPC vinyl flooring like a pro, enhancing both the beauty and durability of your floors.

Transforming Your Space: Selecting the Right SPC Vinyl Flooring
Choosing the appropriate SPC vinyl flooring can dramatically alter the ambiance of your space. From modern to rustic aesthetics, the right choice can enhance both functionality and appeal. Consider the specific needs of your environment—whether it’s high foot traffic areas or a serene bathroom retreat. You’ll want a flooring option that not only complements your style but also withstands everyday wear and tear, ensuring beauty and durability for years to come.
Evaluating Quality: Key Features to Look For
Assessing the quality of SPC vinyl flooring involves examining several key features that indicate durability and performance. Each characteristic plays a vital role in ensuring that your flooring lasts and looks great over time.
- Thickness: Aim for a minimum wear layer of 20mil for high-traffic areas.
- Water Resistance: Look for products with a waterproof core and superior seams.
- Impact Resistance: Ensure the flooring can withstand heavy furniture and active households.
- Eco-Friendliness: Choose options that are PVC-free and contribute to indoor air quality.
- Warranty: A robust warranty reflects the manufacturer’s confidence in the product.
Perceiving these qualities can guide you toward a flooring choice that combines style, resilience, and long-lasting performance.
Aesthetic Choices: Colors, Textures, and Patterns
The visual appeal of your SPC vinyl flooring will significantly contribute to the overall look of your space. With an array of colors, textures, and patterns available, selecting the right aesthetic can dictate the mood of your room. From rich wood grains to sleek stone finishes, each design can evoke different feelings and styles. Consider how the finishes harmonize with your existing décor and whether you prefer a uniform look or a more eclectic feel. Mixing textures can create depth and interest, making your space feel inviting and stylish.
Preparing for Success: Pre-Installation Essentials
Before stepping into the installation process, proper preparation sets the stage for a successful outcome. Assessing your space, gathering necessary tools, and preparing the subfloor can save you time and frustration down the line. Investing a bit of effort in this stage ensures that your SPC vinyl flooring lies smoothly and lasts for years to come.
Subfloor Assessment: Ensuring a Solid Foundation
Evaluate your subfloor thoroughly before installation. It should be clean, dry, and level, with no noticeable bumps or depressions. If you detect damages or imperfections, addressing these issues—whether by grinding down high spots or filling low areas with a self-leveling compound—is vital for achieving a flawless finish. A well-prepared subfloor creates a stable base, ensuring your SPC flooring performs optimally.
Tools and Materials: The Must-Have List
A successful installation hinges on having the right tools and materials available. Gather importants such as a utility knife, straight edge, measuring tape, flooring adhesive, and a tapping block. Additionally, a knee pad can make working on your knees comfortable, while spacers will help maintain proper gaps for expansion along walls.
Creating a comprehensive checklist of tools and materials is instrumental in streamlining the installation process. Look for a high-quality utility knife for precise cuts in the SPC vinyl, alongside a straight edge to ensure perfectly straight lines. Keep a measuring tape handy for accurate measurements to avoid any miscalculations. Flooring adhesive might be necessary if your chosen SPC vinyl requires it, and a tapping block will help secure the planks gently into place. Don’t overlook comfort items like knee pads, which will help when working close to the ground, and spacers to ensure that your installation has appropriate expansion gaps around edges. Being well-equipped makes the journey smoother and more efficient, leading to a professional finish.
Mastering the Installation Process: Step-by-Step Guidance
| Step | Description |
|---|---|
| 1. Prepare the Subfloor | Ensure it’s clean, dry, and level. Address any imperfections in the surface. |
| 2. Acclimate the Planks | Allow your SPC planks to adjust to room temperature for at least 48 hours before installation. |
| 3. Lay Underlayment (If Needed) | Choose an appropriate underlayment based on your specific needs, such as soundproofing or moisture barrier. |
| 4. Begin Installation | Start from one corner and work your way across the room, staggering plank joints for stability. |
| 5. Finishing Touches | Install trim and baseboards to complete the look and ensure the edges are secured. |
Laying the Groundwork: Preparing the Environment
Prior to the installation of SPC vinyl flooring, take the time to prepare your environment meticulously. Begin by cleaning the subfloor to eliminate dust, debris, or any obstacles that might impact adhesion. Ensure the surface is entirely dry and level; any inconsistencies can lead to visible imperfections post-installation. If necessary, use leveling compounds on low spots or grout for high spots. Properly acclimating your SPC planks for 48 hours in the room where they will be installed helps them adjust to the space’s temperature and humidity.
The Installation Technique: Strategies for Precision
To achieve a clean and professional-looking installation, leveraging precise techniques is important. Start in the left-hand corner of the room, laying boards parallel to the longest wall. Staggering the seams not only enhances the aesthetic appeal but also prevents weak points in your flooring structure. Utilize spacers to maintain consistent expansion gaps around walls. Employ a tapping block and pull bar to secure the planks together without damaging them. Regularly check for alignment and ensure tight seams as you progress across the floor.
Employing the right installation techniques significantly impacts both the appearance and longevity of your SPC vinyl flooring. Utilize a laser level or chalk line to establish straight installation lines, especially in wider rooms. Sliding a plank into place while keeping its edge free prevents unwanted gaps. It’s beneficial to have a gentle tapping tool to ensure a snug fit without excessive force that could risk damage. Regularly double-check your work as you install – ensuring the floors look impeccable will save you hassle in the long run and enhance your overall satisfaction with the finished product.
The Nuances of Finishing Touches: Caulking and Transitions
Achieving a professional look in SPC vinyl flooring installation hinges on the details, particularly caulking and transitions. Seamless edges not only enhance visual appeal but also protect your flooring from moisture. Pay special attention to all the transition pieces between different types of flooring or where your vinyl meets walls, cabinets, or other surfaces. Quality caulking can fill in any gaps, ensuring an aesthetically pleasing finish and prolonging the life of your flooring.
Seamless Integration: Choosing the Right Transition Pieces
Transition pieces play a vital role in connecting your SPC vinyl flooring with other materials, whether it’s carpet, tile, or hardwood. Selecting the right type ensures a smooth transition without abrupt differences in height or texture. For example, T-molding works well for similar height surfaces, while reducer strips manage height differences. A well-chosen transition piece can not only improve the functionality of your space but also enhance its overall design.
Final Strokes: Trimming and Caulking Tips
Precise trimming and caulking elevate your installation’s finish. Use a utility knife for clean cuts along edges and corners, making sure to measure accurately. Apply quality silicone or latex caulk to fill in any gaps while ensuring the caulking has a consistent finish that matches your flooring. This attention to detail helps keep moisture out, protects your flooring, and provides a polished look.
- Cut edges should align with walls for a seamless appearance.
- Choose caulk that matches or complements your flooring color.
- Apply caulk smoothly and tool it with a wet finger for a clean line.
- Allow adequate drying time before placing furniture.
Recognizing that caulking also serves as a barrier against dirt and dust is key in its application. Be sure to re-apply caulk whenever you notice wear or separation, as this will maintain the integrity of your installation over time. Regular checks and maintenance can prevent future damages and prolong the life of your vinyl flooring.
- Schedule regular checks to ensure caulk remains intact.
- Remove old caulk thoroughly before reapplication to allow for strong bonding.
- Consider using a caulk gun for even and controlled application.
- Use painter’s tape to create sharper lines before caulking.
Recognizing the importance of upkeep will help you maintain a flawless appearance in your flooring. A consistent approach can make all the difference in achieving a professional, finished look that stands the test of time. Addressing these finishing touches diligently solidifies the craftsmanship of your SPC vinyl flooring installation.
Troubleshooting Common Installation Challenges
Even with careful preparation, installation challenges may arise. Having a strategy to address these issues will make your installation smoother. Common struggles include misaligned planks, gaps between tiles, or uneven surfaces influencing the overall appearance of your floor. You can tackle these problems with troubleshooting steps that ensure a clean, flawless finish in your SPC vinyl flooring project.
Identifying and Fixing Installation Errors
Errors such as uneven seams or planks that won’t interlock can hinder a seamless look. To identify these issues, inspect your flooring carefully after installation. If you find gaps, pop the affected plank out and reposition it, ensuring proper alignment with adjacent pieces. For persistent problems, checking the subfloor’s evenness can reveal underlying issues that need to be corrected.
Preventative Measures to Avoid Future Issues
Implementing preventative measures before and during installation will reduce the likelihood of future complications. Consider acclimating your SPC vinyl planks in the room for at least 48 hours to allow them to adjust to temperature and humidity levels. Choosing the right underlayment and ensuring a smooth subfloor will also contribute to a more stable installation.
Focusing on these preventative strategies can make a significant difference in your long-term flooring performance. Always start with thorough measurements and calculations to ensure your planks fit the room accurately. Regularly maintaining your flooring, such as cleaning and checking for loose seams, will also help catch potential issues early, preserving your investment and keep your floors looking pristine for years to come.
Final Words
With this in mind, you are now equipped with the important tips and tricks for a flawless installation of SPC vinyl flooring. By following the guidelines outlined in this guide, you can ensure a smooth process and a stunning finish in your space. Take your time to prepare and execute each step, and you’ll enjoy the lasting benefits of your beautifully installed flooring for years to come. Happy flooring!


