Just use this comprehensive guide to SPC vinyl flooring installation to gain the skills to plan, prepare, and complete your project with confidence; you’ll learn how to choose materials, assess and prep subfloors, manage moisture, perform precise cuts and joins, install planks, and finish edges, plus practical troubleshooting and tool recommendations so your floors are durable, watertight, and professionally finished.
Types of SPC Vinyl Flooring
When you compare SPC options, focus on wear-layer thickness (typically 0.3-0.7 mm), total plank thickness (4-8 mm), installation style (click-lock vs. glue-down) and acoustic backing; these affect durability, feel and cost. Many manufacturers offer embossed-in-register finishes and commercial-grade wear layers for 20,000-50,000+ household traffic cycles. Perceiving how those specs map to your rooms-kitchen, basement, high-traffic hallways-lets you pick the right variant for performance and value.
- Standard SPC
- Enhanced wear-layer SPC
- Acoustic SPC (attached underlayment)
- Rigid core SPC
- Glue-down SPC
| Standard SPC | Basic limestone/PVC core, 4-6 mm thickness, suitable for most rooms |
| Enhanced wear-layer SPC | 0.5-0.7 mm wear layer for heavy traffic and light commercial use |
| Acoustic SPC | Integrated EVA or cork underlayment reducing sound by up to ~18-22 dB |
| Rigid core SPC | High-density stone core with superior indentation resistance and dimensional stability |
| Glue-down SPC | Lower profile, ideal for large commercial spaces or direct-bond installations |
Rigid Core
You’ll find rigid-core SPC built from a high-density stone-polymer mix that resists dents from appliances and pet claws better than WPC; typical plank thickness sits between 4-6 mm with a 0.3-0.7 mm wear layer. In practice, rigid core minimizes expansion, so you can install wider planks and achieve tighter seams, and many homeowners place it in kitchens and entryways where impact and moisture are frequent.
WPC vs. SPC
You should know WPC uses a wood-plastic foam core that feels softer and insulates slightly better, while SPC’s limestone core is denser and more dimensionally stable; both pair with similar wear layers (0.3-0.7 mm). For basements or rooms with heavy appliances you’ll favor SPC for its dent resistance, whereas WPC can feel warmer underfoot in bedrooms and living rooms.
Digging deeper, compare installation and performance: WPC often runs thicker (5-8 mm) and can hide subfloor imperfections, but it may compress under concentrated loads; SPC tolerates temperature swings and pairs well with radiant heat. Wear-layer recommendations: 0.3 mm for low-traffic, 0.5 mm for typical homes, 0.7 mm+ for heavy residential or light commercial use-use these benchmarks when evaluating samples and warranties.
Factors to Consider Before Installation
You should evaluate moisture, subfloor flatness, room dimensions, and traffic patterns before you install SPC: check concrete RH with ASTM F2170 (aim ≤75% RH), measure flatness to 3/16″ over 10 ft, and plan transitions at doorways. Also calculate material plus 5-10% waste for diagonal layouts and choose underlayment for sound or thermal needs. The installer must verify manufacturer limits, warranty requirements, and local building codes.
- Moisture testing: ASTM F2170; target ≤75% RH for concrete
- Flatness tolerance: ≤3/16″ over 10 ft (use self-leveler if exceeded)
- Acclimation: 48 hours at ~60-85°F (16-29°C)
- Expansion gaps: 1/4″ (6 mm) at perimeters; transitions for runs >40 ft
- Waste factor: order 5-10% extra for cuts and pattern matching
- Wear layer: select 12-20 mil for residential to heavy-traffic areas
Subfloor Preparation
You must prep floors so they’re dry, clean and flat; remove old adhesives and loose debris, screw down squeaky plywood, and patch dips or ridges. Use a cement-based self-leveler when deviations exceed 3/16″ per 10 ft and prime concrete beforehand. For wood, ensure at least 3/4″ tongue-and-groove subfloor with max 1/8″ gap between panels, and follow the manufacturer’s prep checklist to protect your warranty.
Room Conditions
You should control room conditions before and during installation: maintain temperature between 60-85°F (16-29°C) and relative humidity around 35-65%, and acclimate SPC planks in the room for 48 hours. Keep HVAC running to stabilize conditions and avoid installing during large temperature swings or heavy direct sunlight that can cause excess plank movement.
You need to allow a 1/4″ (6 mm) expansion gap at all walls and plan transition profiles or expansion joints for continuous runs longer than 40 ft or where rooms exceed 40 ft in either direction. Also use blinds or low‑E window film to limit solar heating that increases dimensional change, and keep your HVAC steady during and for 48 hours after installation so locking systems and adhesives set under consistent conditions.
Installation Tips and Tricks
You should plan the layout to avoid narrow end cuts under 2 inches and run planks parallel to the longest light source; stagger end joints 8-12 inches for stability and a natural look, and leave 1/8″-1/4″ expansion gaps around fixed objects. Place starter rows straight using a chalk line and check every 6-8 rows for cumulative drift. Recognizing proper gap, staggering, and alignment choices prevents cupping and visible seam offsets.
- Acclimate planks 48 hours in the installation area.
- Verify subfloor flatness: ≤3/16″ deviation over 10 ft.
- Use a moisture meter or ASTM F2170 RH test for concrete.
- Stagger joints 8-12″ and maintain 1/8″-1/4″ expansion gaps.
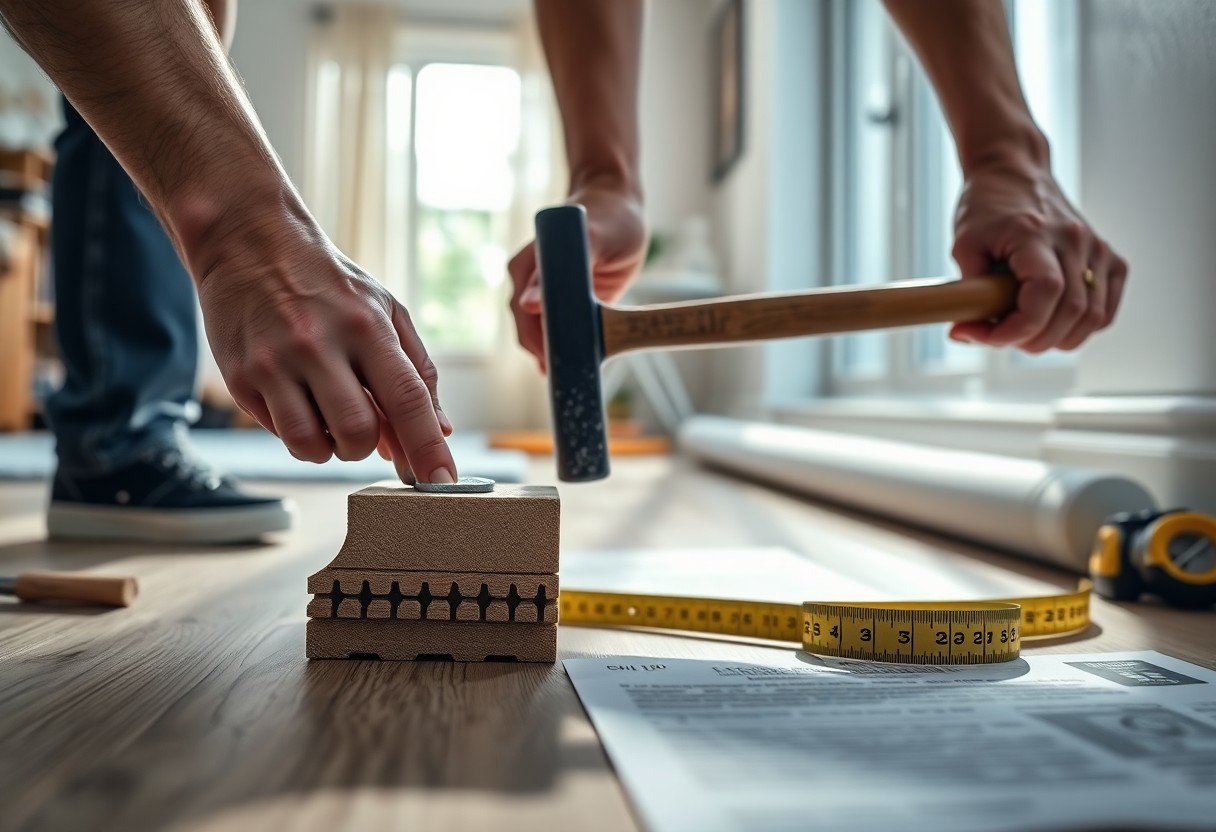
- Use a tapping block, pull bar, and spacers for clean locking seams.
Tools and Materials Needed
You’ll need a tape measure, chalk line, utility knife, jigsaw or mitre saw for clean cuts, straightedge, level, spacers, tapping block, pull bar, rubber mallet, pry bar, vacuum, moisture meter and a floor roller if using adhesive; include manufacturer-specified adhesive or seam sealer and an underlayment if recommended-plan for 48 hours acclimation and a 100-120 lb roller for glued installations.
Common Mistakes to Avoid
You often see failures from skipping moisture testing, installing over uneven subfloors (more than 3/16″ over 10 feet), leaving inadequate expansion gaps, and using wrong adhesives or incorrect seam staggering; tight transitions and not trimming door jambs also cause buckling and noisy floors, so follow manufacturer tolerances for flatness, gap, and adhesive type.
For example, if you install over a concrete slab with RH above manufacturer limits, adhesive bond can fail and planks may lift within weeks; likewise, a 1/4″ hump over 6 feet will telegraph through SPC. Fix by grinding high spots, using a self-leveler where needed, selecting adhesive rated for high RH, and confirming flatness with a 10-foot straightedge before laying the first row.
Step-by-Step Installation Guide
| Step | Action |
|---|---|
| Measure & Plan | Measure length/width, calculate sq ft, add 5-10% for cuts and pattern matching; avoid end cuts under 2″ |
| Acclimate | Lay cartons flat in the installation space 24-48 hours at 60-85°F (15-29°C) and moderate humidity |
| Subfloor Prep | Ensure flatness within 3/16″ over 10 ft, clean and dry; patch low spots and remove high spots |
| Layout | Run planks parallel to longest light source; snap chalk lines and stagger end joints 6-12″ |
| Install | Use click-lock or manufacturer-approved adhesive; maintain 1/4″-1/2″ expansion gap with spacers |
| Finish | Trim doors, install transitions and moldings, inspect seams and compress edges where required |
Measuring and Acclimating
Start by measuring each room separately and add 5-10% for waste, matching grain and pattern; when rooms exceed 20 ft in one direction plan transitions. Place unopened cartons flat in the installation environment for 24-48 hours at 60-85°F (15-29°C) and 30-60% RH. Test concrete with a moisture meter or calcium chloride test per the manufacturer’s limits before installation to avoid future issues.
Plank Layout and Installation
Run planks parallel to the longest source of natural light and stagger end joints 6-12 inches to create a stable, natural look; avoid end cuts under 2 inches. Use spacer wedges to maintain a 1/4″-1/2″ expansion gap around all edges. For click-lock systems employ a tapping block and pull bar; for glue-down follow the adhesive open time and trowel size recommended by the manufacturer.
Begin each run against the longest straight wall, snapping a chalk line to keep rows true; if the last row is under 2 inches, rip the first row to balance widths. In a typical 12×15 ft room stagger joints so seams are at least two plank lengths apart-this usually yields a 5-8% waste rate. Use transitions for runs over 30-40 ft or where doorways and different floor types meet, and compress seams with a roller for glued installations.
Pros and Cons of SPC Vinyl Flooring
Weighing pros and cons side-by-side helps you pick the right floor: SPC gives a rigid, waterproof core with typical plank thickness of 4-8 mm and wear layers from about 6-20 mil, lasting 10-25 years in residential use; however it can feel firm underfoot, is heavier to handle, and generally cannot be refinished like solid wood.
| Pros | Cons |
|---|---|
| Waterproof core, ideal for basements and kitchens | Feels harder and colder than luxury vinyl or carpet |
| High dimensional stability; resists expansion/contraction | Limited ability to refinish or sand |
| Durable wear layers (6-20 mil) for heavy traffic | Thin wear layers scratch more easily |
| Low maintenance-sweep and occasional mop | Can show indentations from heavy furniture if unsupported |
| Wide range of styles and realistic wood/stone visuals | Some cheaper products emit higher VOCs; choose certified lines |
| DIY-friendly click systems; install over many subfloors | Requires a very flat subfloor (3/16″ over 10 ft recommended) |
| Competitive price: roughly $2-$7 per sq ft for materials | Higher-end SPC can approach engineered hardwood prices |
| Available with long residential warranties (often 10-25 years) | Heavier planks increase handling and shipping costs |
Advantages of SPC Vinyl
You get a waterproof, dimensionally stable floor suited for high-moisture areas; SPC’s limestone core resists warping, so you can install over concrete or radiant heat if manufacturer permits, and many products offer 10-25 year residential warranties and wear layers (e.g., 12-20 mil) that stand up to pets and active households.
Disadvantages to Consider
You should factor in the hard surface-SPC transmits sound and can feel cold and firm underfoot, and most SPC cannot be sanded or refinished, so deep scratches or extended wear require plank replacement rather than restoration.
Digging deeper: heavy furniture can leave permanent indentations if you use thinner wear layers, so choose 12-20 mil for high-load rooms; ensure subfloor flatness of about 3/16″ over 10 ft and maintain 1/4″ expansion gaps perimeter to avoid buckling; finally, opt for low-VOC certified products (FloorScore, GREENGUARD) if indoor air quality matters to you.
Maintenance and Care for SPC Vinyl
Routine upkeep keeps SPC performing and looking new: sweep or vacuum with a soft‑brush head 1-2 times weekly in high‑traffic zones, mop with a pH‑neutral cleaner diluted per label (commonly ~1:100), and avoid wax, polish or bleach. Maintain indoor humidity at 35-55% and temperatures between 60-80°F to minimize gapping; limit direct UV with window film or rugs. With these habits, a 0.5 mm wear layer can commonly deliver 10-20 years of residential service depending on traffic.
Cleaning Tips
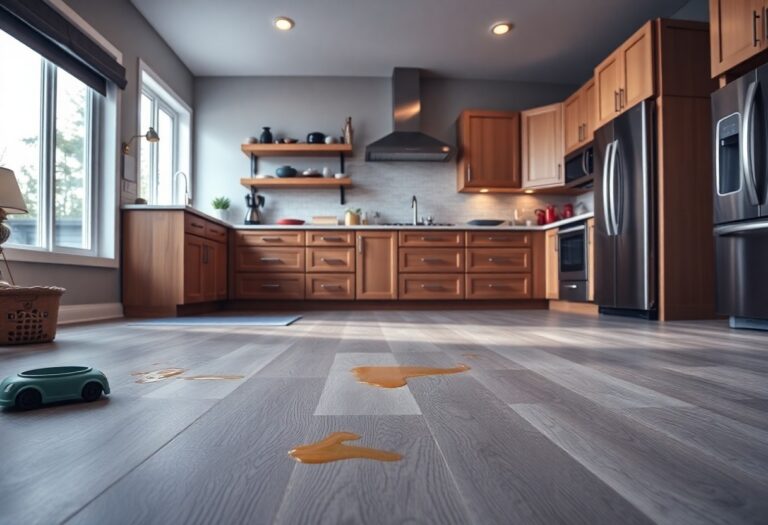
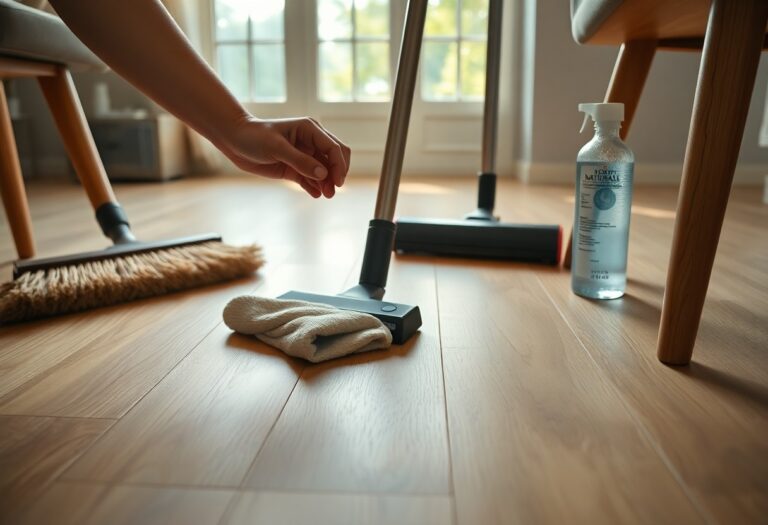
Use a soft‑brush vacuum or broom to remove grit before mopping, and address spills in kitchens within 24 hours to prevent staining; avoid steam cleaners and abrasive pads.
- Vacuum with beater‑bar off or use a soft‑brush setting
- Mop with manufacturer‑recommended, pH‑neutral cleaner (follow dilution instructions)
- Place walk‑off mats at all exterior doors (non‑rubber backing)
- Fit furniture with 1/4″ felt pads and replace when worn
- Blot oil or ink stains with isopropyl 70% and rinse per manufacturer guidance
Any abrasive cleaners, oil‑based soaps, or waxes will dull the wear layer and shorten service life.
Long-term Care Strategies
Plan for long‑term protection by using entry mats 2-3 ft deep to trap grit, rotating area rugs every 6 months, and installing felt pads under heavy furniture; choose planks with a 0.5-0.7 mm wear layer for busier areas to extend usable life to a decade or more.
Adopt a simple schedule: light cleaning weekly, spot cleaning daily as needed, and a manufacturer‑approved deep clean every 6-12 months. Inspect seams quarterly for gaps greater than ~2 mm and address humidity swings with a humidifier/dehumidifier to keep expansion within recommended limits. For damage, you can replace single planks using a cut‑out replacement method or use approved repair kits for scratches; keep installation receipts and maintenance records to preserve warranty coverage.
Summing up
So you can tackle SPC vinyl flooring installation confidently: prepare and level your subfloor, acclimate planks, use proper tools and adhesives, follow manufacturer locking and layout instructions, and install transitions and trim correctly. Proper moisture testing, sealing at wet areas, and routine maintenance will extend performance, and hiring a professional for uneven substrates or complex layouts protects your warranty and ensures a durable finish.