There’s several simple steps you can take to ensure a smooth flooring installation in Kitchener: clear furniture and fragile items, secure pets and children, provide unobstructed access and parking, confirm measurements and material delivery times, adjust indoor humidity and temperature if needed, protect countertops and stairways, and communicate specific site needs with your contractor so the job proceeds efficiently and on schedule.
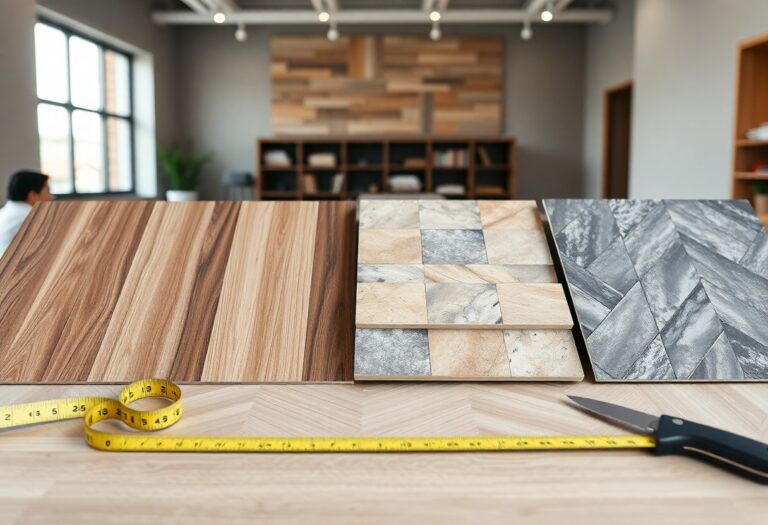
Understanding Flooring Types
You’ll encounter solid hardwood, engineered wood, laminate, luxury vinyl plank (LVP), and ceramic/porcelain tile; each varies in moisture tolerance, durability, installation method, and cost, so match the product to the room-hardwood for living areas, LVP or tile for kitchens and basements, laminate for budget-friendly durability. The table below breaks core traits into quick comparisons.
| Solid Hardwood | Best for main living spaces; sandable and long-lasting but sensitive to moisture |
| Engineered Wood | Veneer over plywood; more stable in humidity and ok for basements with proper glue-down or floating install |
| Laminate | Affordable, scratch-resistant surface; susceptible to standing water, typically floating install |
| Luxury Vinyl Plank (LVP) | Waterproof options, realistic wood looks, ideal for kitchens and basements; glue-down or click systems |
| Ceramic/Porcelain Tile | Excellent for wet areas and high traffic, long lifespan, requires grout and proper substrate prep |
- Evaluate room moisture and traffic before narrowing choices.
- Match installation type (floating, glue, nail) to subfloor condition.
- The installer’s experience with your chosen material affects final appearance and warranty.
How to Choose the Right Flooring
You should first map room function, traffic levels, and moisture exposure, then measure square footage plus 10-15% for waste; compare wear layers (e.g., 12-20 mil LVP for busy households), check manufacturer warranties, and order samples to view color and texture in your lighting before booking installation.
Factors to Consider for Installation
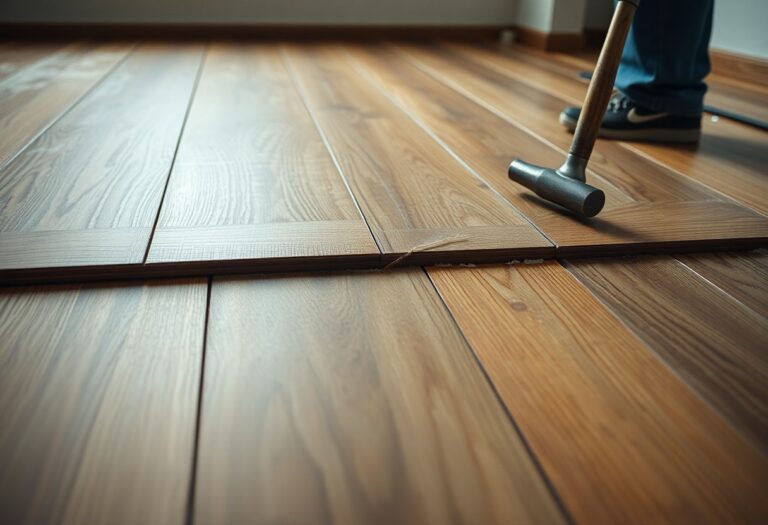
Plan for subfloor flatness, moisture testing, acclimation times (48-72 hours for many wood products), and demolition-complex layouts, stairs, and appliance removal add labor; ensure clear access and a stable indoor temperature to prevent installation delays.
- Subfloor flatness tolerance often specified as 3/16″ over 10′ for many products.
- Moisture testing (meter or calcium chloride) is required on concrete slabs before installation.
- Knowing how these items influence schedule and cost helps you coordinate the project.
Also confirm adhesive or underlayment requirements, radiant-heat compatibility, trim and transition needs, and disposal logistics; ask the installer for a phased timeline (demolition, prep, install, curing) and a contingency for unexpected subfloor repairs so you can plan furniture moves and stay on schedule.
- Adhesive cure times and underlayment thickness impact when you can walk on the new floor.
- Radiant-heat systems require manufacturer-approved products and installation methods.
- Knowing these technical details lets you set realistic timelines and avoid post-install issues.
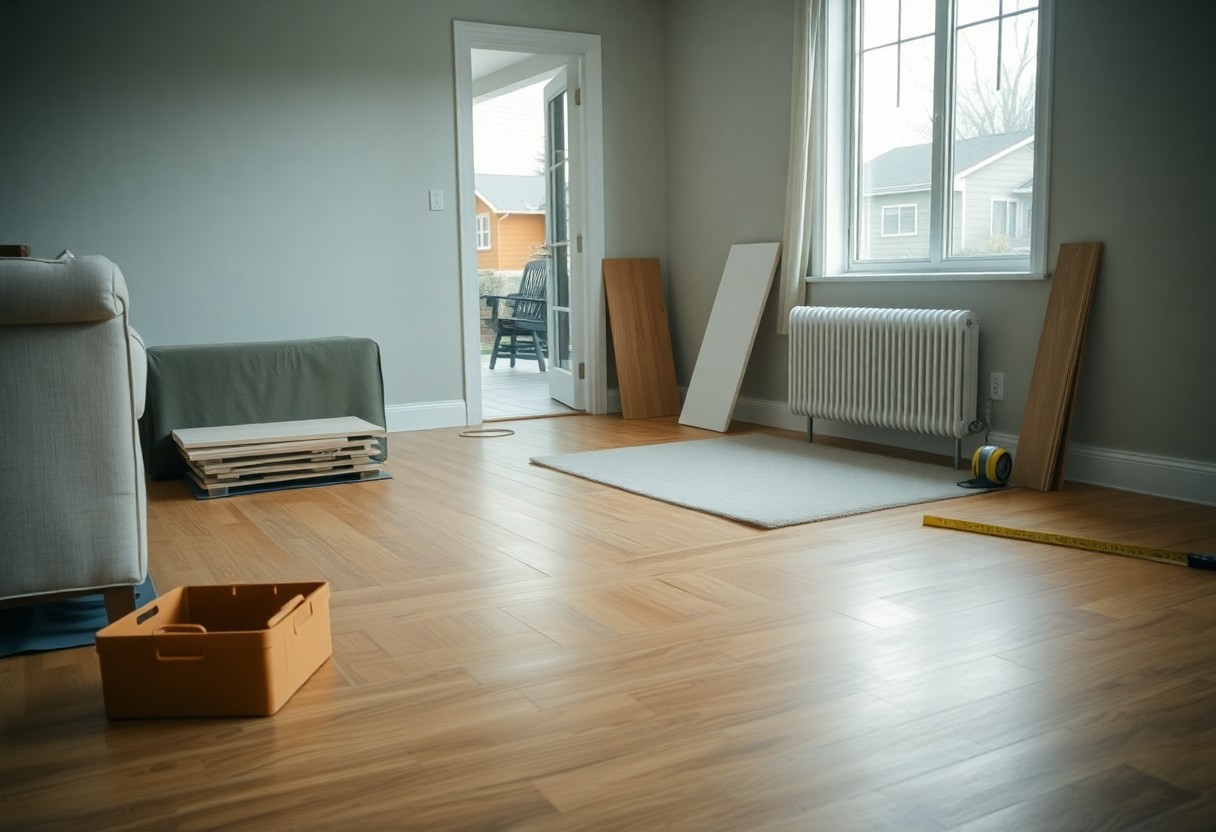
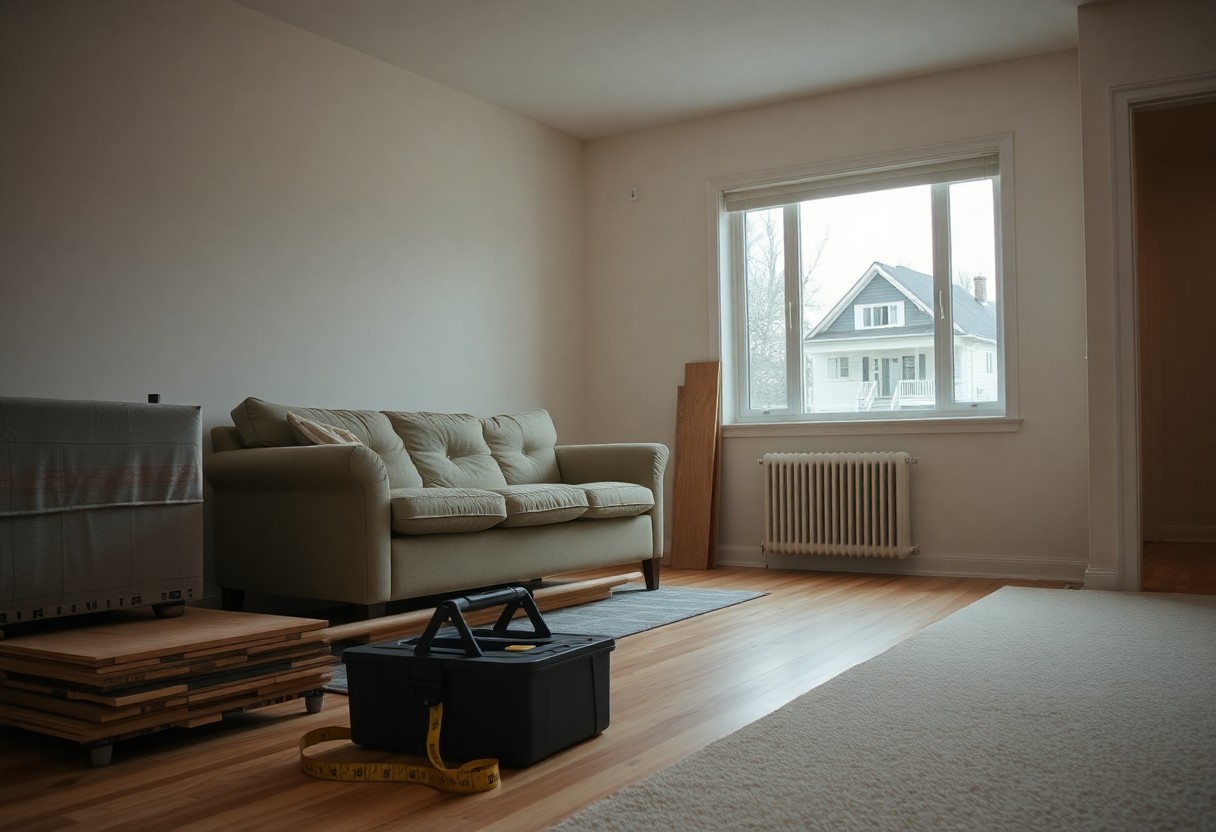
Preparing Your Home
You should set aside a clear staging area and protect adjacent spaces so installers can work efficiently; allocate a 4 x 6 ft staging zone for materials, clear a 36-inch path from the entrance to the work area, remove breakables from nearby surfaces, keep pets and children out of the work zone, and plan for 1-3 days of activity depending on room size and subfloor prep.
How to Clear the Space
Empty countertops, cabinets and closets near the installation and move loose items at least 6 ft away; roll up rugs, detach window treatments if instructed, coil and tape cords, relocate plants and wall art, and stack boxed items in a single room to create an unobstructed 36-48 inch pathway and a 50 sq ft staging area for planks and tools.
Tips for Moving Furniture
Disassemble beds and tables when possible, remove sofa legs, use an appliance dolly or furniture dolly rated 800+ lb for heavy pieces, enlist two people for items over 75 lb, label fasteners in zip bags, and measure doorways and stair widths-typical interior doors are 30-32 inches-so you know if pieces must be tilted or taken apart; expect 30-90 minutes per large item.
- Place moving blankets under sharp corners to protect new flooring.
- Slide rather than drag when using furniture sliders to avoid surface gouges.
- Use ratchet straps to secure loads on a dolly for stairs.
- Perceiving a professional mover can save time and reduce damage for bulky or valuable pieces.
You can streamline moving by photographing each piece before disassembly, bagging hardware and taping it to the item, and using 3-4 furniture sliders per large leg; for beds, keep mattress upright to avoid moisture transfer, and for modular sofas store cushions flat-hire pros for pianos or safes over 200 lb and use corner protectors for painted finishes.
- Take photos of the assembly steps to speed reassembly.
- Label each bag of screws with the furniture name and part number.
- Measure stairwell clearances-subtract 2-3 inches for handrail and trim.
- Perceiving heavy antiques or built-ins often require specialty equipment and experienced handlers.
Setting Up an Installation Schedule
Set a clear timeline that accounts for delivery, acclimation, installation and a final inspection; installers in Kitchener often book 2-6 weeks ahead during spring/fall. Allow 48-72 hours for hardwood or LVP to acclimate at 18-22°C and 35-55% humidity, and plan 1-8 days for work depending on scope: a single 12×12 kitchen can often finish in one day, while a whole-house refit commonly takes 2-5 days.
How to Coordinate with Installers
You should confirm an arrival window, a single on-site contact, and a preferred payment method 48 hours before work starts; give installers a reserved parking space and a cleared 4 x 6 ft staging area near the work zone. Provide access codes or keys, point out any delicate finishes, and schedule a short pre-job walkthrough so measurements and expectations align.
Tips for Timing Your Installation
You’ll get smoother results by choosing weekdays and morning start times to avoid overtime or weekend surcharges and to reduce interruptions; avoid scheduling during major storms or high-humidity days that can affect adhesives and wood. Coordinate material delivery for the day before installation when possible, and keep HVAC running to maintain stable temperature and humidity throughout the job.
- Confirm delivery arrives at least 24 hours before installers to allow inspection.
- Block a nearby parking spot and clear a path from curb to staging area.
- Keep children and pets off-limits to the work zone for safety and efficiency.
- Provide contact information for quick decisions on-site to prevent delays.
- Any pets should be secured off-site or in a separate room to prevent stress and accidents.
You can further refine timing by tracking material lead times-stock LVP or laminate often ships within 3-7 days, while custom hardwood can take 4-8 weeks. For example, a 12×12 kitchen LVP install typically completes in one 6-8 hour day if subfloor prep is minimal; the same footprint for hardwood with trim and transitions commonly occupies two days, including 48-72 hours acclimation.
- Schedule an extra contingency day for unforeseen subfloor repairs or moisture issues.
- Plan finishes (trim, paint touch-ups) for after flooring to avoid damage.
- Choose non-holiday weekdays to ensure full crew availability.
- Set a final walkthrough time immediately after completion for punch-list items.
- Any contingency day should be reserved in your calendar to handle unexpected repairs or delays.
Protecting Your Home During Installation
While installers are on site, you should treat the work area as a controlled zone: use 6-mil poly sheeting and zipper doors to isolate rooms, place 3/8″ plywood or rosin paper over primary walkways, and label fragile items so crews avoid them. Coordinate daily inspection points with your installer team and confirm a final walkthrough to catch any scuffs or hardware issues before they leave.
How to Safeguard Surfaces and Fixtures
Cover countertops, sinks and appliance surfaces with cardboard or 3/8″ plywood topped with rosin paper and secure with 3M blue painter’s tape to avoid finish damage; remove fragile decor and light bulbs, pad doorjambs with foam corner guards, and use felt or hardboard under heavy furniture when relocating pieces so floors and trim remain intact.
Tips for Minimizing Dust and Debris
Use a HEPA vacuum and a portable air scrubber-HEPA filters capture 99.97% of particles 0.3 µm and larger-and seal work zones with zipper doors and 6-mil poly; block or cover HVAC vents, run nightly subfloor vacuuming, and keep windows closed during sanding to limit airborne spread and tracking.
- Seal adjacent rooms and hallways with 6-mil poly and zipper doors to contain dust.
- Place sticky mats and temporary runners at all entry points to trap debris.
- Schedule nightly HEPA vacuuming of the work area to reduce buildup.
- Knowing to change your HVAC filter within 24-48 hours after completion prevents dust recirculation into cleaned spaces.
If sanding is involved, rent a negative-air machine (400-1,000 CFM) for containment-typical rental rates run $60-150/day-and run air scrubbers continuously during work plus at least 24 hours after sanding. You should request MERV 13 or higher temporary filters on your HVAC and document nightly cleanups; these steps reduce visible residue and lower the chance of post-installation touch-ups.
- Rent a 400-1,000 CFM negative-air machine for sanding days to maintain negative pressure.
- Install MERV 13+ filters temporarily and replace the HVAC filter after the job.
- Run air scrubbers continuously during work and for a full 24 hours afterward.
- Knowing how you documented dust-control measures makes warranty claims and final inspections smoother.
Post-Installation Care
Once installation finishes, allow 48-72 hours for adhesives and finishes to cure before you subject floors to heavy traffic; inspect all transitions, thresholds and trim, checking for gaps larger than 1/8 in (3 mm) or loose boards. Document issues with photos and contact your installer within 7 days for adjustments or warranty claims.
How to Maintain Your New Flooring
You should vacuum with a soft-brush head twice weekly and dry-mop high-traffic zones daily; for hardwood maintain indoor humidity at 35-55% and avoid wet mopping, using pH-neutral cleaners per manufacturer, while LVP and tile tolerate weekly warm-water mopping and grout sealing every 1-3 years depending on use.
Tips for a Smooth Transition
Limit foot traffic for 48-72 hours after installation to let adhesives set and boards stabilize, schedule furniture delivery 3-5 days later so you can use sliders instead of dragging, verify door clearances (trim by 1-2 mm if needed), and keep temperature steady at 18-22°C during the first week to reduce movement.
- Place 3-4 heavy-duty walk-off mats at entrances to trap grit and protect edges.
- Use felt pads under furniture legs and sliders for sofas and cabinets to prevent scratches and dents.
- Check thresholds and transition strips within 24 and 72 hours for settling or gaps greater than 3 mm.
- Thou should schedule a contractor follow-up within 7-14 days to address any settling issues or minor adjustments.
You should treat acclimation times by product: allow solid hardwood 5-7 days to acclimate before heavy use, engineered wood about 48 hours, and LVP/tile typically 24 hours though adhesives may need up to 72 hours to fully cure; in Kitchener winters run a humidifier to keep humidity above 35% and prevent shrinkage.
- Inspect seams, grout lines and transitions at 24, 72 hours and one week for any separation or irregularities.
- Photograph defects and send time-stamped images to your installer within 7 days to preserve warranty coverage.
- Maintain a 35-55% humidity range with a hygrometer and adjust HVAC or humidifiers as needed during seasonal swings.
- Thou should avoid rolling heavy appliances back into place for at least one week to prevent indentations and allow adhesives to reach full strength.
Conclusion
Taking this into account, you should clear furniture and fragile items, provide unobstructed access, control pet and child movement, and ensure accurate measurements and subfloor readiness; communicate schedules and preferences with your installer, protect adjoining rooms with drop cloths, and keep walkways clear so your flooring project in Kitchener proceeds efficiently and on schedule.