Oak flooring offers both beauty and durability, making it a popular choice for homeowners. In this ultimate guide, you’ll learn everything you need to know about installing white oak flooring in your home, from necessary tools to helpful techniques that ensure a smooth process. Whether you’re a seasoned DIYer or a first-time installer, these tips will empower you to transform your space with elegant and resilient flooring. Let’s get started on your journey to achieving the stunning look of white oak in your home.

Types of White Oak Flooring
While selecting white oak flooring, it’s important to understand the different types available. Each type offers unique characteristics that may suit your specific needs and preferences. Consider these options:
- Solid White Oak
- Engineered White Oak
- Unfinished White Oak
- Pre-finished White Oak
- Wide Plank White Oak
Any choice you make can impact the overall aesthetic and functionality of your space.
| Type | Description |
| Solid White Oak | Made from a single piece of wood, offering durability and refinishing options. |
| Engineered White Oak | Consists of layers for added stability and moisture resistance. |
| Unfinished White Oak | Allows you to personalize the stain and finish. |
| Pre-finished White Oak | Factory-finished for added convenience and ease of installation. |
| Wide Plank White Oak | Features wider boards for a more rustic, spacious look. |
Solid White Oak
Assuming you prefer traditional flooring, solid white oak provides a classic option that enhances your home’s natural beauty. This type of flooring is cut from a single piece of oak, ensuring durability and strength. Solid white oak can be refinished multiple times, allowing you to change the aesthetic of your space as desired.
Engineered White Oak
While solid options are a favorite, engineered white oak has gained popularity due to its versatility. This type of flooring is constructed with a top layer of solid white oak over layers of plywood, providing increased stability and resistance to environmental factors. It typically works well in areas where solid wood may warp or crack.
Flooring options like engineered white oak are designed to withstand changes in humidity and temperature, making them suitable for basements and higher moisture areas. You can choose pre-finished options for ease or unfinished options to customize the look. With engineered white oak, you can achieve the elegance of real wood while benefiting from enhanced durability.
Factors to Consider Before Installation
Some factors play a significant role in ensuring a successful white oak flooring installation. You’ll want to consider the following before venturing into the project:
- Climate and humidity levels
- Type of subfloor
- Room usage
- Finish and appearance preferences
Recognizing these factors will help you make informed choices and lead to a more efficient installation process.
Acclimation
On taking the time to acclimate your white oak flooring, you allow the wood to adjust to the temperature and humidity of your home. This process typically takes 48 to 72 hours, during which you should store the planks in the room where they will be installed. Ensure the wood is stacked properly and not in direct sunlight for accurate acclimation.
Subfloor Preparation
On preparing your subfloor correctly, you create a solid foundation for your new flooring. This involves checking the subfloor for moisture levels, ensuring it is level, clean, and free from debris. Any imperfections should be addressed to ensure the longevity of your white oak flooring.
Factors contributing to your subfloor preparation include humidity testing, leveling out any dips or rises, and repairing any damage. If the subfloor is concrete, using moisture barriers is imperative. For wood subfloors, ensure they are firmly fastened and secure. Taking these steps will significantly impact the stability and performance of your white oak flooring over time.
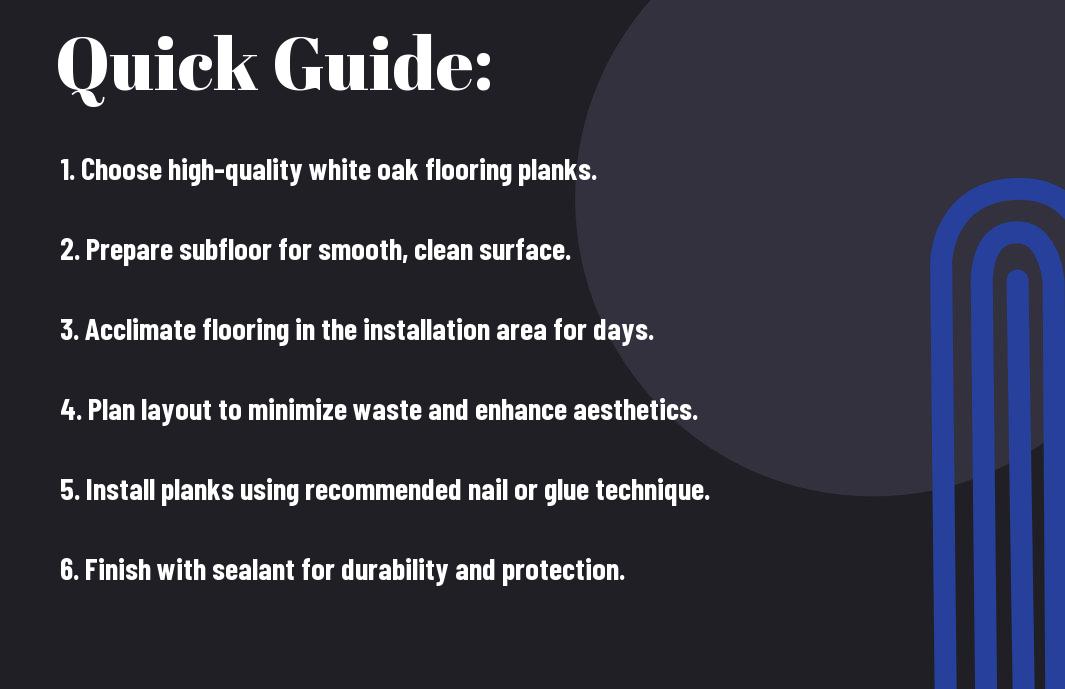
Step-by-Step Installation Process
Many homeowners find the installation of white oak flooring a rewarding DIY project. Follow a systematic approach by breaking the process into manageable steps, ensuring every detail is handled effectively for a flawless finish. Below is a guide to help you navigate through the entire installation process.
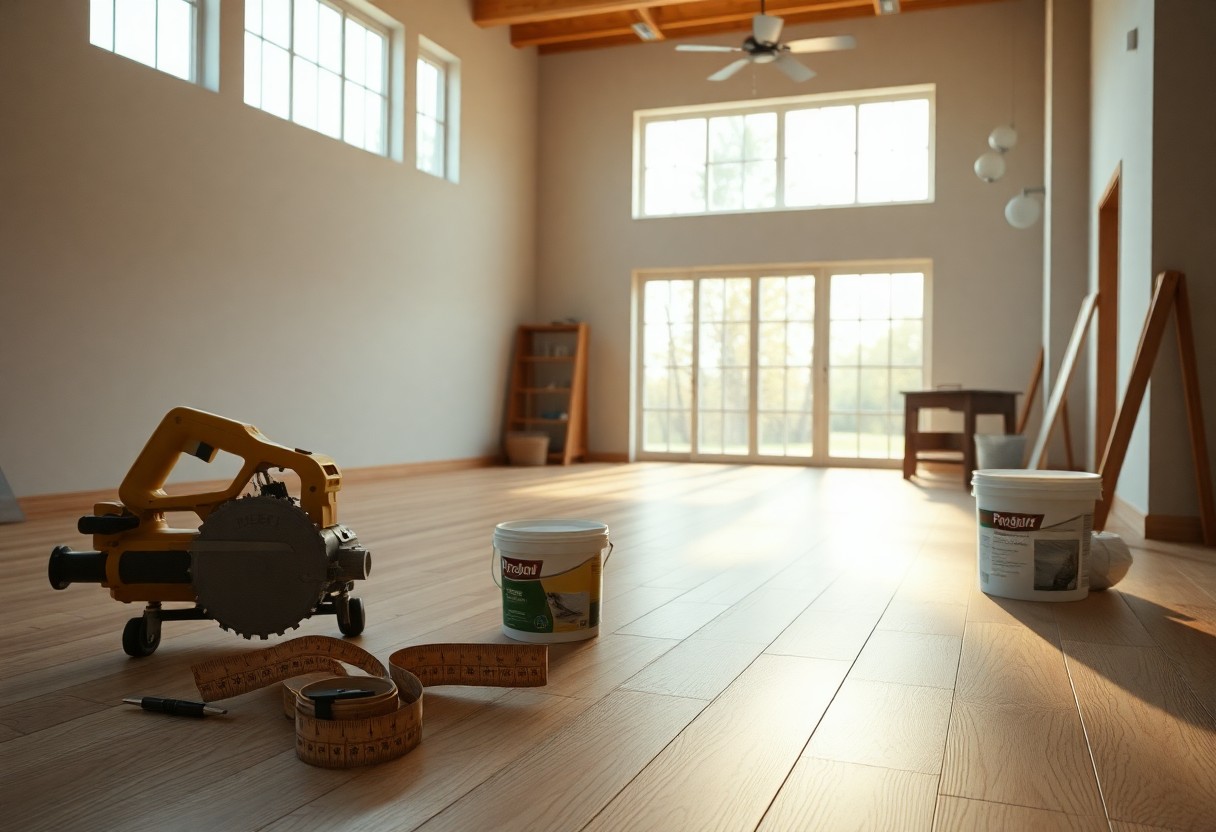
Tools Required
| Tool | Purpose |
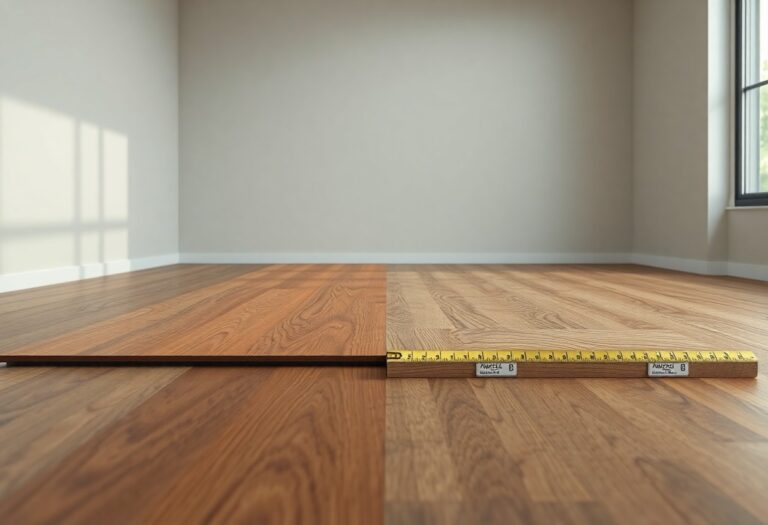
| Measuring Tape | To measure the area accurately |
| Flooring Nailer | To secure the planks to the subfloor |
| Miter Saw | For cutting planks at angles |
| Level | To check for a flat subfloor |
| Hammer | For tapping planks into place |
Installation Techniques
You should familiarize yourself with various installation techniques to give your flooring a professional look. Whether you choose a nail-down, glue-down, or floating method, each technique has its own unique merits. Your decision will depend on your subfloor type and personal preference.
Installation techniques vary based on your chosen method and the specifics of your space. Nail-down and glue-down methods provide a more permanent solution, ideal for areas with high foot traffic. Floating floors can be an easier option if you need flexibility and ease of replacement. Whichever technique you select, ensure proper acclimation of the wood and consistent attention to detail in your layout for a seamless appearance.
Tips for a Successful Installation
Unlike other flooring materials, installing white oak flooring requires careful planning and execution. To ensure a smooth installation process, consider the following tips:
- Acclimate your flooring before installation
- Inspect all planks for defects before use
- Use the right tools and equipment
- Start from a straight and level point
- Leave expansion gaps along the walls
Knowing these tips can help you avoid common pitfalls and achieve a professional-looking floor.
Ensuring Proper Alignment
Ensuring proper alignment is key to achieving a seamless and visually appealing floor. Start by measuring the room accurately and marking reference lines to guide your placement. This approach helps maintain consistent spacing and prevents awkward gaps or overlaps between the planks. A well-aligned installation not only improves the aesthetic but also enhances the flooring’s durability over time.
Handling Difficult Cuts
While you may encounter tricky cuts during your installation, effective techniques can simplify the process. Start by measuring and marking the area accurately before making any cuts. Using quality tools, such as a miter saw or jigsaw, will ensure cleaner edges and precise angles for corners or around obstacles. A steady hand and patience are vital when navigating these challenging sections.
To tackle difficult cuts, consider making template pieces from cardboard to trace the desired shape on your flooring. This method allows for better accuracy when you transfer your markings to the actual planks. Additionally, practicing on scrap pieces can help you fine-tune your cutting techniques before making the final cuts on your new flooring. If in doubt, consult online tutorials or seek advice from professionals for the best practices tailored to your situation.
Pros and Cons of White Oak Flooring
Now, when considering white oak flooring, it’s imperative to weigh its benefits against its drawbacks. Below, you will find an overview of the pros and cons to help you make an informed decision.
| Advantages | Disadvantages |
|---|---|
| Durability | High cost |
| Beautiful grain patterns | Susceptible to scratching |
| Resistant to moisture | Requires regular maintenance |
| Increased property value | Can be harder to install |
| Variety in finishes | Can fade under direct sunlight |
Advantages
Cons of white oak flooring include its impressive durability, which makes it an excellent choice for high-traffic areas. Additionally, its beautiful grain patterns provide aesthetic appeal, while its natural resistance to moisture helps it withstand spills. Installing this type of flooring can significantly increase your property’s value, making it a wise investment.
Disadvantages
White oak flooring does come with some downsides. The high cost makes it less accessible for budget-conscious homeowners. Furthermore, it can be susceptible to scratching from heavy furniture or pet claws, which may require you to be extra cautious. Maintenance may also be more frequent compared to other flooring types to keep it looking pristine.
The installation of white oak flooring can also present challenges, as the material may be more difficult to work with compared to softer woods. If you decide to take on the installation yourself, you should brace yourself for a rigorous process. Additionally, exposure to direct sunlight can cause discoloration over time, demanding strategic placement and protective measures.
Maintenance Tips for Longevity
For optimal performance of your white oak flooring, adhering to a consistent maintenance routine will ensure its durability. Consider the following tips:
- Regularly sweep or vacuum to eliminate dirt and debris.
- Use a damp mop with a suitable cleaner designed for hardwood.
- Place felt pads under furniture to prevent scratches.
- Control humidity levels in your home to avoid expansion or contraction.
- Keep pet nails trimmed to minimize damage.
The effort you invest in maintenance will keep your flooring looking beautiful for years.
Cleaning and Care
Longevity of your white oak flooring hinges largely on the cleaning and care practices you employ. Opt for gentle cleaning solutions specifically designed for hardwood, steering clear of harsh chemicals that can cause damage. Frequent sweeping or vacuuming helps prevent grit from scratching the surface, while damp mopping can maintain its shine without water damage.
Repairing Damages
The key to maintaining your white oak flooring lies in promptly addressing any damages. Small scratches can often be fixed easily with a touch-up marker or wood stain, while deeper gouges may require wood filler to repair. For warped planks, replacing them might be necessary. Staying ahead of repairs is important to preserving the overall integrity of your flooring.
Understanding how to effectively repair damages to your white oak flooring can save you time and money in the long run. Regularly inspect your floors for signs of wear and tear, such as scratches, dents, and any boards that seem out of alignment. You can easily handle minor blemishes with simple products, but don’t hesitate to consult a professional for more significant issues to ensure everything stays in peak condition.
Conclusion
To wrap up, installing white oak flooring can elevate the beauty of your home when approached with the right techniques and tips. By carefully preparing your subfloor, choosing the right tools, and following step-by-step instructions, you can confidently achieve a stunning result. Your attention to detail and patience throughout the process will ensure your new flooring lasts for years to come, adding both value and style to your space.