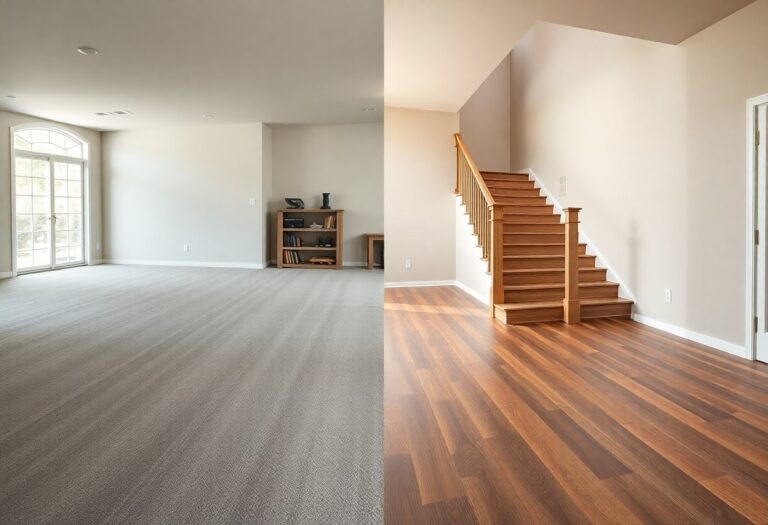
Guide your home transformation with confidence as you commence on the journey of installing dry back vinyl flooring. This comprehensive step-by-step guide will assist you in making informed decisions, ensuring your project runs smoothly. You’ll explore important tools, prep techniques, and installation tips to help you achieve a professional-looking finish in your Kitchener home. Say goodbye to uncertainty, and let your flooring project unfold with ease and satisfaction.
Preparing Your Space for a Flawless Installation
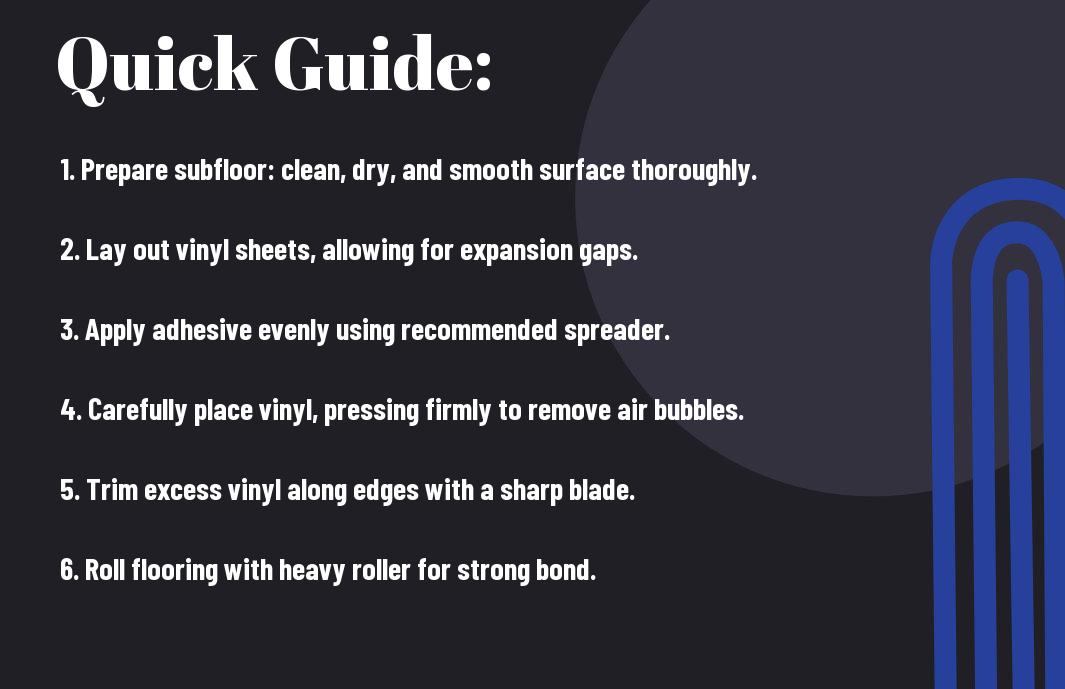
Before you begin laying your dry back vinyl flooring, ensuring your space is prepared can prevent issues later. Clear out any furniture, appliances, and obstacles from the area, allowing for maximum mobility and accessibility. Additionally, assessing the overall condition of your space will help you identify any repairs or adjustments needed prior to installation. A well-prepped workspace leads to a smoother installation process and a more professional finish.
Assessing Your Subfloor Conditions
The subfloor plays a vital role in the longevity of your vinyl flooring. Ensure it is clean, dry, and free of any imperfections such as cracks or moisture. Use a level to check for unevenness, as any bumps or dips can affect the installation. If you notice any issues, investing time in smoothing or repairing the subfloor will save you troubles down the line.
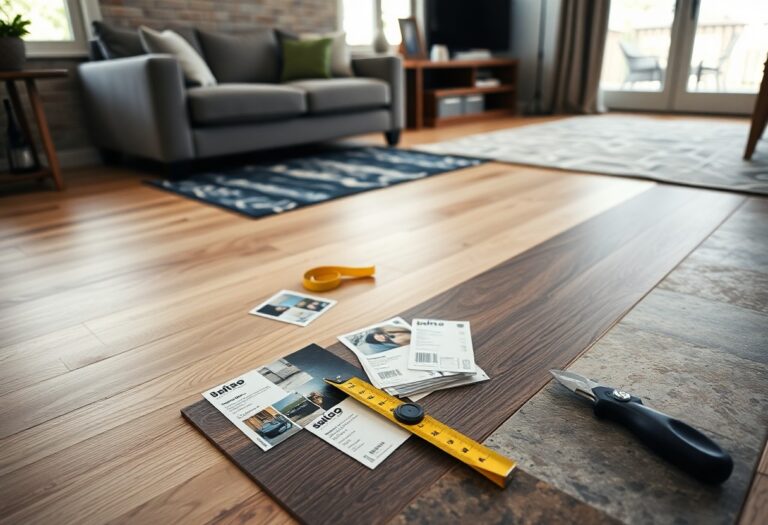
Gathering Essential Tools and Materials
Equipping yourself with the right tools and materials is crucial for a successful installation. You will need a utility knife, a straightedge, a measuring tape, adhesive, a trowel, and a roller, among other items to ensure accuracy in your work. Additionally, having the necessary materials on hand, such as underlayment or transition strips, will help you avoid delays and streamline your installation process.
Each tool serves a specific purpose; for instance, a utility knife allows for precise cutting and fitting of the vinyl, while the straightedge ensures straight lines for your cuts. Measuring tape is crucial to avoid mistakes in dimensions, and a trowel helps you apply adhesive properly, leading to durable adhesion. By gathering all required tools ahead of time, you create an efficient workflow during your installation, which can enhance not only the quality of your work but also your overall experience.
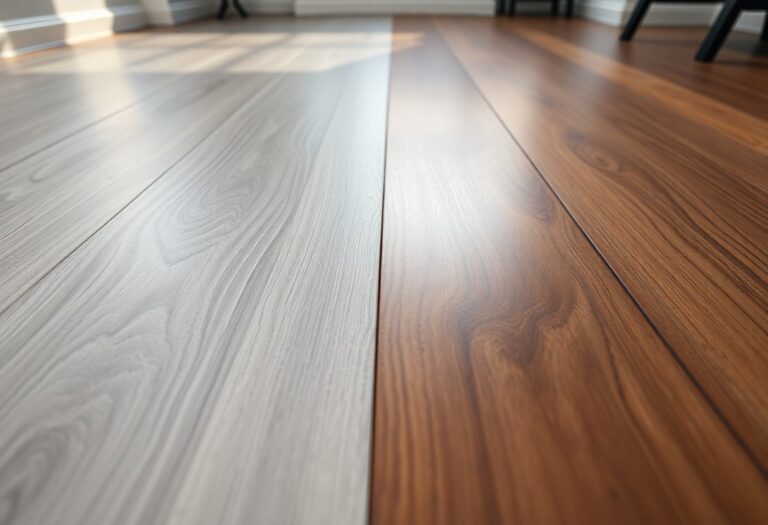
Selecting the Right Dry Back Vinyl for Your Kitchen
Choosing the appropriate dry back vinyl flooring is imperative for both aesthetics and functionality in your kitchen. Consider factors like color, texture, and finish to create a cohesive look that complements your existing decor. The flooring should not only enhance the visual appeal of your space but also provide practical benefits, such as ease of maintenance and resistance to moisture and spills.
Evaluating Styles and Patterns
Exploring the diverse styles and patterns of dry back vinyl can inspire your kitchen design. From classic wood looks to contemporary stone textures, you have a plethora of choices to match your style. Think about how the color and pattern will interplay with other elements in your kitchen, such as cabinetry and countertops, to achieve a harmonious overall appearance.
Understanding Durability and Maintenance
Durability should be a primary consideration when selecting your dry back vinyl flooring. These flooring types typically resist scratches, dents, and moisture, making them ideal for high-traffic areas like kitchens. Regular maintenance includes sweeping and mopping with a gentle cleaner, ensuring that your flooring lasts for years without significant wear.
For a deeper understanding of durability, examine the wear layer of the vinyl, which is a crucial component in protecting against scratches and stains. The thickness of this layer often indicates how well the flooring will withstand daily use. A wear layer between 12 mil and 20 mil is generally recommended for kitchen environments. Additionally, opting for vinyl with a waterproof or water-resistant feature can further enhance longevity, mitigating the risks associated with spills and moisture from food preparation. Evaluating these factors will help you make a more informed decision that meets your household’s lifestyle demands.
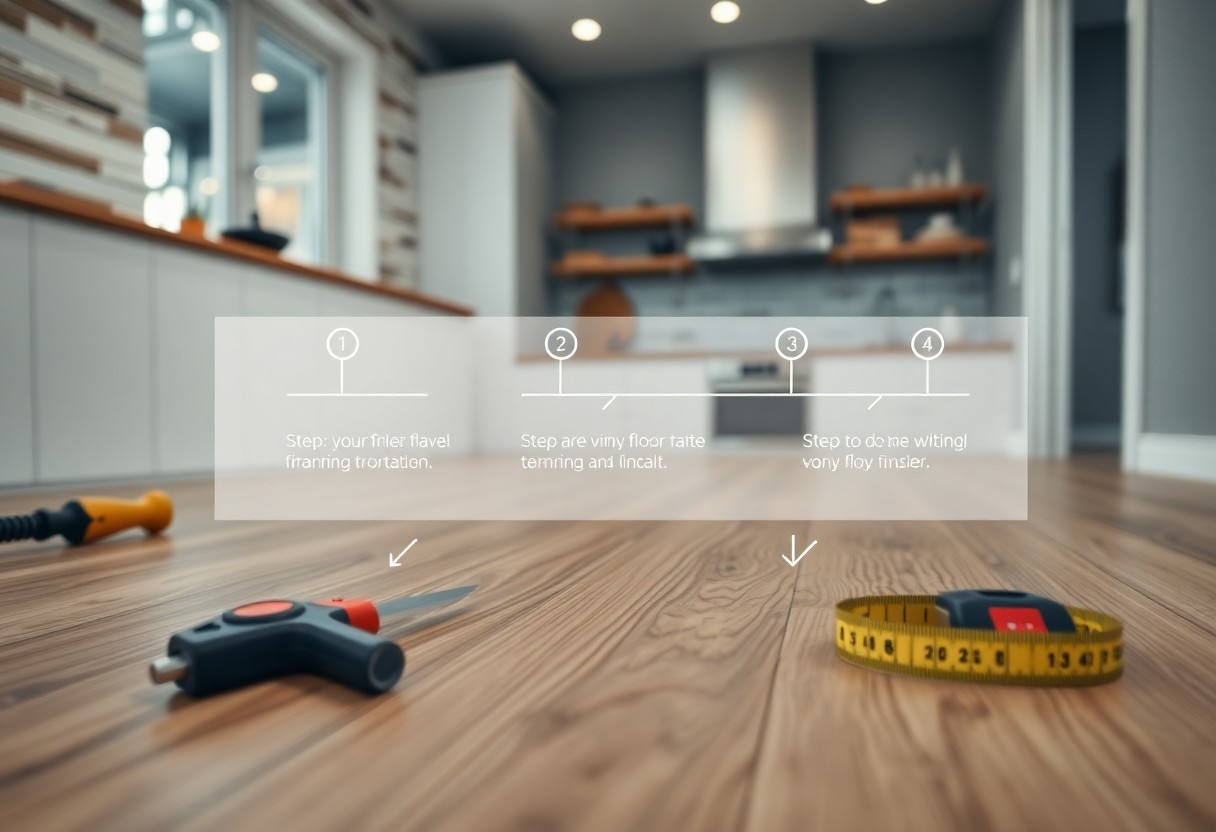
Mastering the Installation Process Step-by-Step
| Step | Description |
|---|---|
| Taking Precise Measurements | Accurate measurements of your kitchen space are vital for a successful installation. |
| Cutting and Fitting the Vinyl Planks | Proper cutting and fitting ensure that your vinyl planks fit seamlessly in the designated area. |
| Applying Adhesive with Precision | Correct adhesive application secures the planks, providing a durable and long-lasting finish. |
Taking Precise Measurements
Start by measuring the length and width of the area where you plan to install the vinyl flooring. Use a tape measure to get accurate dimensions, and make sure to note any obstructions like cabinets or pipes that may affect the layout. Write down your measurements on paper to ensure you have a clear plan when purchasing your materials.
Cutting and Fitting the Vinyl Planks
Once you have your measurements, you can begin cutting the vinyl planks to size. Use a utility knife and a straightedge for clean edges. The planks should fit tightly against walls and around corners, ensuring a polished and professional look. Consider dry fitting the planks before final placement to ensure a perfect fit.
Start by laying the first plank at the longest wall, helping establish a straight line for the subsequent pieces. Each cut should follow the measurements closely to avoid gaps. If you encounter irregular angles or tricky corners, a jigsaw can help you navigate more complex shapes. Don’t rush through this step; precision will pay off in the final look of your flooring and minimize the need for adjustments later on.
Applying Adhesive with Precision
With the planks cut and laid out, it’s time to apply adhesive to the subfloor. Use a notch trowel for an even spread across the area. Plan to work in sections to prevent the adhesive from drying before you lay the planks. A consistent application of adhesive is key to achieving a strong bond and a finished product that can withstand daily wear and tear.
Proper adhesive application involves spreading it smoothly and uniformly across the floor, using enough to hold the vinyl securely but not so much that it seeps out the seams. Apply pressure as you lay down the planks to ensure they adhere correctly, and be mindful of your work pace—working efficiently will help maintain the adhesive’s effectiveness while also allowing for corrections if needed.
Ensuring a Professional Finish
A successful installation of dry back vinyl flooring requires special attention to detail to achieve a professional finish. Utilize a high-quality adhesive and ensure you apply it evenly across the entire area. Use a roller to secure the planks properly and eliminate any air bubbles that may form. Pay close attention to the alignment and seams between planks to create a seamless look, and always allow the floor to settle for the recommended time before putting it to use.
Sealing and Finishing Edges for Longevity
Sealing and finishing the edges of your flooring not only enhances its aesthetic appeal but also protects it from moisture and dirt. Use a quality silicone sealant along the transitions and at any joints, ensuring a clean and neat finish. This step is particularly vital if your flooring meets different surfaces, such as walls or cabinetry, as it prevents water from seeping underneath and prolongs the lifespan of your flooring investment.
Cleaning and Caring for Your New Floor
Routine maintenance is vital to keep your dry back vinyl flooring looking pristine for years to come. Begin with a gentle sweeping or vacuuming to remove dirt and debris, followed by a damp mop with a pH-neutral cleaner specifically designed for vinyl. Avoid harsh chemicals and abrasive tools that could damage the surface. For stubborn stains, a mixture of water and vinegar can effectively lift grime without harming the flooring material.
Implementing a regular cleaning schedule, ideally once a week, will prevent dirt buildup and maintain your floor’s shine. Also, consider placing mats at entry points to minimize dirt tracking and using felt pads under furniture to avoid scratches. In case of spills, wiping them up immediately can prevent staining. By investing time in proper cleaning and care, your dry back vinyl flooring will retain its beauty and functionality, making it a lasting feature in your home.
Troubleshooting Common Installation Pitfalls
Even the most prepared installers may encounter challenges during the installation of dry back vinyl flooring. Issues such as adhesive failures, misaligned planks, or bubbles can disrupt your project. Identifying these problems early is vital for ensuring a flawless finish. Solutions often involve reapplying adhesive, correcting alignment, or making small cuts to alleviate trapped air. Being aware of these potential pitfalls and knowing how to address them can save you time and frustration.
Identifying and Fixing Installation Errors
Common installation errors are usually evident through visual inspection. Uneven seams, visible gaps, or lifted edges signal that something went wrong. If you encounter bubbling or wrinkles, gently peel back the affected area and reapply adhesive following proper instructions. A flooring roller can help eliminate air pockets, ensuring a proper bond with the subfloor.
Preventative Measures to Avoid Future Issues
Taking proactive steps during installation can significantly reduce the likelihood of encountering issues down the road. Ensuring the subfloor is clean and dry prior to installation is key, as moisture or debris can impact adhesion. Additionally, acclimating your vinyl planks in the room where they will be installed for at least 48 hours can help them adjust to temperature and humidity, minimizing expansion or contraction post-installation.
Moreover, investing in high-quality adhesive specifically designed for dry back vinyl can enhance durability throughout the life of your flooring. Regularly checking the humidity and temperature in your space can help you understand any environmental factors that may impact your flooring. By creating a controlled environment and following best practices during installation, you can prevent a myriad of issues and ensure your vinyl flooring remains in top condition for years to come.
Final Words
Hence, by following this step-by-step guide, you can confidently install dry back vinyl flooring in your Kitchener home. Ensure you gather all necessary tools and materials, prepare your subfloor properly, and adhere to each installation phase meticulously. With patience and attention to detail, your new flooring will not only enhance the beauty of your space but also provide durability and comfort for years to come. Enjoy the transformation and satisfaction of a job well done!