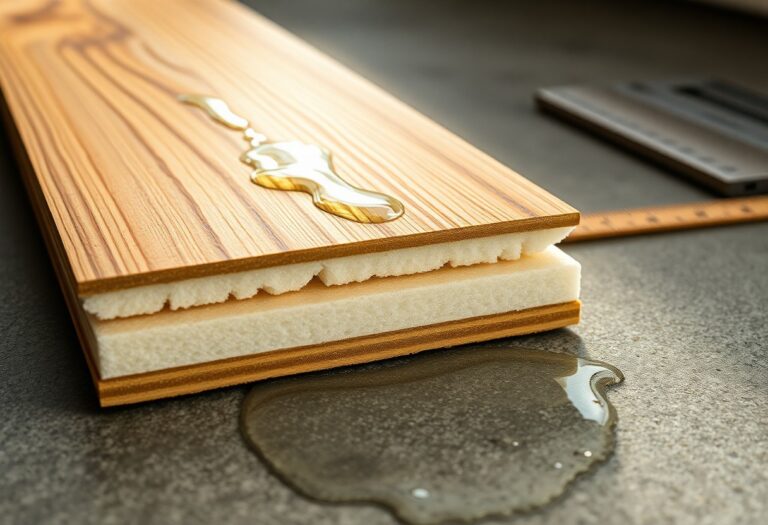
It’s vital to prepare your subfloor properly before laying dry back vinyl flooring. You must ensure the surface is clean, dry, and completely flat to prevent peaking or separation. Use manufacturer-recommended adhesive and follow plank alignment guidelines for a professional finish that lasts.
The Necessary Tools
Having the right tools ensures your dry back vinyl flooring installation goes smoothly. You’ll need a sharp knife, heavy roller, measuring tape, straightedge, and a clean utility blade. Each plays a role in achieving tight seams and a professional finish. Prepare everything before unrolling the planks.
The Sharp Knife
A sharp knife gives you clean, precise cuts along edges and corners. Dull blades tear the vinyl, leaving ragged lines that compromise the fit. Replace the blade often to maintain accuracy, especially when trimming around doorways or pipes. Your cuts define the final look.
The Heavy Roller
Rolling the flooring firmly seals the adhesive bond. A heavy roller presses out air pockets and ensures full contact with the subfloor. Skipping this step risks bubbles or lifting edges over time. Apply steady, even pressure as you go.
Using the heavy roller correctly makes a lasting difference in how your floor performs. Start at the center of each plank and roll outward in both directions, overlapping your passes slightly. This technique eliminates trapped air and activates the adhesive evenly, creating a secure, flat installation that withstands daily wear without peeling or shifting.
The Flat Floor
A flat floor ensures your vinyl planks lock together cleanly and stay secure over time. If your subfloor has dips or bumps, the seams may separate or the material could crack under pressure. Take time to inspect the surface with a long straightedge and correct any uneven areas before proceeding.
The Smooth Surface
Surface texture directly affects how well your vinyl adheres and lies flat. Any grit, debris, or ridges can create lumps or prevent proper bonding. Run your hand across the subfloor to detect imperfections and sand down high spots for a consistently smooth base.
The Dry Ground
Moisture hiding beneath the surface can warp vinyl or encourage mold under the flooring. Test concrete subfloors with a moisture meter or plastic sheet test. Only move forward when readings confirm the ground is fully dry and safe for installation.
Dampness in the subfloor might not be visible but can still cause serious damage over time. Concrete especially absorbs moisture from the soil below, which can travel upward after installation. Sealing the subfloor with a vapor barrier or moisture-inhibiting primer protects your vinyl and extends its lifespan, especially in basements or ground-level rooms.
The Sticky Glue
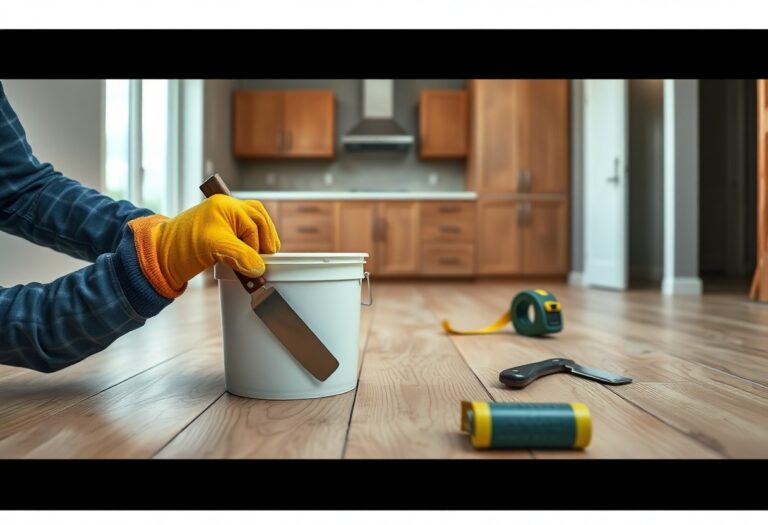
Proper adhesive application makes or breaks your dry back vinyl flooring installation. You’re working with a pressure-sensitive glue that bonds best when applied correctly and given time to set. Skip shortcuts here, and you’ll face lifting seams or bubbles down the line.
The Even Spread
Use a notched trowel sized for your flooring’s manufacturer specs to lay down adhesive. You want a consistent layer without gaps or puddles. This ensures every inch of vinyl meets the subfloor securely and lies flat from the start.
The Tacky Bond
Wait for the glue to reach the tacky stage before setting the planks. You’ll notice it’s no longer wet but slightly sticky to the touch. Installing at this point maximizes grip without shifting under pressure.
Timing the tacky bond correctly means watching both the clock and the adhesive’s appearance. Humidity and temperature affect drying time, so don’t rely solely on the package estimate. Press a plank gently-if it holds without sliding, you’re ready to install. This small window makes all the difference in achieving a lasting, seamless result.
The Straight Rows
Perfect alignment starts with a straight reference line. Snap a chalk line down the center of the room and use it to guide your first few rows. Keeping planks parallel to this line prevents cascading errors and ensures a clean, professional look across the entire floor.
The First Plank
Your installation’s accuracy hinges on the first plank. Place it tightly into the corner, leaving a consistent expansion gap. Double-check its alignment with the chalk line-any deviation here multiplies with each added row.
The Firm Press
Secure each plank with a deliberate, even push. Press along the tongue and groove edges to fully engage the locking system. A solid click means the connection is tight and stable.
Applying the right pressure during the firm press ensures the interlocking mechanism seats completely. Tap gently with a rubber mallet if needed, using a pull bar to avoid damaging edges. This step prevents gaps and future shifting under foot traffic.
The Right Cuts
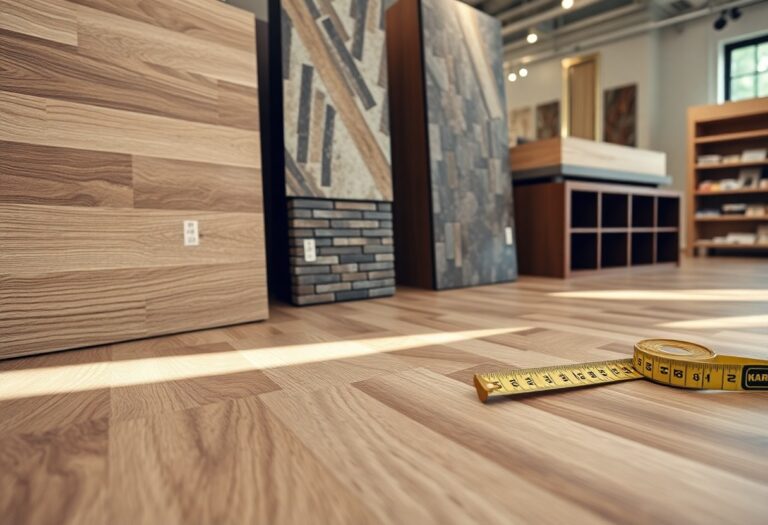
Accuracy begins long before the blade touches the plank. Measuring each section precisely ensures your vinyl fits snugly around obstacles and edges. Take your time to double-check dimensions, especially in older homes where walls may not be perfectly straight. A well-measured cut saves time, materials, and frustration down the line.
The Careful Measure
Every inch matters when laying dry back vinyl. Use a tape measure and a carpenter’s square to mark each plank, accounting for expansion gaps near walls. Transfer measurements directly onto the back of the plank to avoid confusion. Skipping this step risks misaligned seams and an unprofessional finish.
The Clean Snap
A sharp utility knife and straightedge guarantee a clean, precise break along scored lines. Score the surface firmly in one motion-don’t go back over the same line repeatedly. Once scored, snap the plank over a hard edge for a smooth, chip-free cut that fits flush with adjacent pieces.
For the cleanest results with dry back vinyl, always use a fresh blade-dull edges tear the wear layer and create jagged edges. Support the plank fully when scoring to prevent uneven pressure. After snapping, lightly sand any rough spots with fine-grit paper so the edge aligns perfectly with the next piece. This attention to detail keeps seams tight and invisible once installed.

Summing up
With these considerations in mind, you can confidently install dry back vinyl flooring in your home. Proper subfloor preparation, accurate measuring, and careful plank alignment ensure a clean, lasting result. You control the quality by following proven techniques and paying attention to detail throughout the process.