Just like any home improvement project, installing white oak flooring can come with its challenges. To ensure that your installation goes smoothly and stands the test of time, you need to be informed about the common pitfalls that can derail your efforts. In this blog post, you’ll discover expert tips designed to guide you through each step of the process, helping you avoid mistakes that could lead to costly repairs later. With the right knowledge, you can achieve a flooring installation that not only looks beautiful but also enhances the value of your home.
Selecting the Right White Oak: Beyond Aesthetic Choices
Finding the perfect white oak for your flooring installation involves much more than just choosing a shade that fits your design scheme. Durability, sustainability, and the intended use of the space should all factor into your selection process. Each plank you choose needs to complement both the aesthetic appeal and practical functionality of your home, ensuring that your investment stands the test of time while enhancing the beauty of your interiors.
Evaluating Grain Patterns and Colors
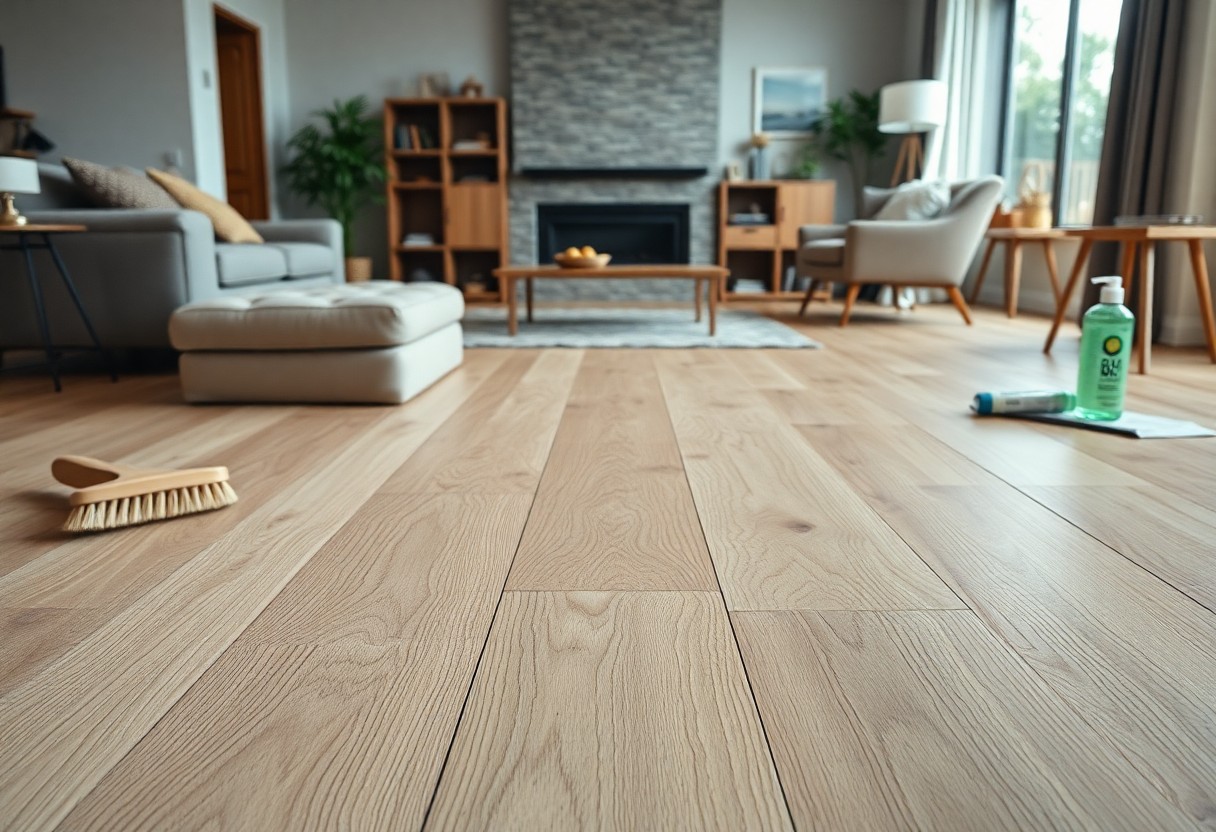
Each piece of white oak is unique, boasting different grain patterns and colors that can affect the overall look of your flooring. Lighter shades provide a fresh and airy aesthetic, while darker tones can evoke warmth and coziness. Consider how the grain pattern—ranging from straight to wavy—can also influence light reflection, and thus, the ambiance of your space.
Considering Hardness and Durability Factors
Hardness is a key trait of white oak, rated at 1360 on the Janka hardness scale, making it an excellent choice for high-traffic areas. This durability means you won’t have to worry as much about dents and scratches from everyday wear and tear. You’ll also want to consider factors such as finish options, which can enhance longevity and resilience against moisture, ensuring that your flooring remains beautiful and functional for years to come.
- Identify the climate conditions of your home to assess potential expansion or contraction of the wood.
- Look for a reliable protective finish that can withstand regular usage, avoiding wear and tear.
- Ensure your flooring is sourced from sustainably managed forests to support environmental health.
- Perceiving these factors can lead to an informed product choice.
With a clear understanding of the hardness and durability of white oak, anticipate how different finishes will interact with the flooring. For instance, a matte finish might offer a more rustic feel, but it may require more frequent maintenance compared to a gloss finish that offers greater resistance to scratches and stains. Additionally, consider how your specific lifestyle—whether you have pets, children, or frequent visitors—can influence your decisions on wear and tear.
- Assess the types of furniture and appliances that will be on the flooring to determine risk factors for damage.
- Investigate the manufacturer’s warranty that reflects the durability of the product over time.
- Take into account the possibility of refinishing options in the future if needed.
- Perceiving these elements contributes to a long-lasting and satisfying flooring choice.
Preparing the Subfloor: The Foundation of Success
Properly preparing your subfloor lays the groundwork for a successful white oak flooring installation. A level and clean surface ensures that your flooring will not only look great but also perform well over time. Skipping this critical step can lead to uneven surfaces, squeaky boards, and even premature failure of your beautiful hardwood floor.
Necessary Inspections: Moisture and Leveling
Before you lay down your white oak flooring, conduct thorough moisture and leveling inspections. Use a moisture meter to check for excess dampness that could warp your planks. Ideally, subfloor moisture levels should not exceed 12%. Additionally, ensure that the subfloor is level; discrepancies greater than 1/8 inch over a 10-foot span require correction to prevent issues with your new flooring.
Best Practices for Subfloor Preparation
Achieving an excellent subfloor preparation involves a few key strategies. Start by removing any old flooring materials and debris, then thoroughly clean the surface. Use a leveling compound for any irregularities, and allow everything to dry completely before installation. Checking for squeaks and reinforcing loose areas can prevent future issues after the flooring is installed. Installing a moisture barrier can provide additional protection against humidity fluctuations.
Your subfloor should be a solid and clean surface, as this foundation is vital for the longevity of your white oak flooring. If you encounter any cracks or gaps, fill them in with a suitable patching compound. Additionally, ensure that the area is free from any dust or residue, which can interfere with adhesive or interlocking mechanisms. Lastly, consider acclimating your new wood flooring in the environment where it will be installed for a week—this helps with moisture adjustment and minimizes the chances of buckling or warping once the flooring is laid down.
Acclimation is Key: Why Time Matters
Successful installation of white oak flooring hinges on allowing the wood to adjust to the environment where it will be laid. This acclimation process, which can take several days to weeks, ensures that the wood expands or contracts to align with your home’s humidity and temperature levels, preventing warping or gaps once installed.
The Science Behind Wood Acclimation
Wood is a naturally hygroscopic material, meaning it absorbs and releases moisture based on the surrounding environment. When white oak flooring is manufactured, it often contains a different moisture content than your home’s atmosphere. Acclimation allows the wood to balance itself to the space’s humidity, avoiding potential future issues such as buckling or cracking.
Steps to Properly Acclimate Your White Oak
To effectively acclimate your white oak flooring, place the unopened packages in the room where the installation will occur. Ideally, wood should acclimate at least 48 hours, but depending on the climate and moisture levels, this may extend to 5-7 days. Ensure the room maintains a consistent temperature around 60-80°F and humidity levels between 30-50% for optimal results.
To ensure a thorough acclimation of your white oak, remove the wood from its packaging and stack it in a way that allows air circulation, using spacers between the planks. Monitor the room’s moisture levels using a hygrometer, adjusting heating or cooling as needed, so you create the ideal environment for the wood. By giving your flooring ample time to acclimate, you can achieve a more seamless integration with your home, significantly enhancing the longevity and beauty of your flooring.
Installation Techniques: Mastering the Art
Perfecting your installation techniques is crucial for a seamless white oak flooring project. Start by acclimating the wood planks to your home’s humidity and temperature for at least 48 hours prior to installation. Ensure your subfloor is clean, dry, and level. Utilizing the right laying pattern, whether it’s straight, diagonal, or herringbone, can also enhance the visual appeal and stability of your installation. With precision cuts and effective adhesives, you can achieve a flawless finish that showcases the natural beauty of white oak.
Tools of the Trade: Essential Equipment
Equipping yourself with the right tools can significantly impact your installation process. A flooring nailer, measuring tape, circular saw, and a tapping block are must-haves for achieving accuracy and ease. Additionally, invest in knee pads for comfort during long hours on the floor and a moisture meter to ensure your subfloor is adequately prepared. The right tools not only improve your efficiency but also reduce the risk of errors during installation.
Common Installation Mistakes to Avoid
Avoiding mistakes during installation can save you time, money, and headaches later on. Failing to acclimate the wood can lead to warping and gapping once the planks adjust to your home’s conditions. Another common error is neglecting subfloor preparation, which can cause structural issues down the line. Make sure to follow manufacturer guidelines for nail placement and spacing, as improper technique can compromise the floor’s integrity and lead to premature wear.
Furthermore, many installers underestimate the importance of expansion gaps around walls and obstacles, which can result in buckling as the wood expands with changes in humidity. Insufficient use of adhesive when needed and overlooking the necessity for proper layout planning can also hinder your installation. Taking the time to carefully plan each step not only ensures a visually pleasing outcome but also contributes to the longevity and durability of your white oak flooring.

Maintenance and Care: Preserving Your Investment
Your white oak flooring deserves the best care to keep its beauty and durability intact. Regular maintenance not only extends the life of your flooring but also preserves its natural allure. From cleaning methods to protective measures, establishing a solid maintenance routine will ensure your investment remains vibrant and functional for years to come.
Understanding the Impact of Weather and Humidity
Weather and humidity levels play a significant role in the performance of your white oak flooring. High humidity can lead to expansion, while low humidity may cause contraction. Monitoring indoor humidity—ideally between 30-50%—is crucial. Additionally, ensure your home is climate-controlled, especially in regions with fluctuating weather, to maintain the integrity of your flooring.
Long-term Care Tips for Longevity
Investing in white oak flooring is just the beginning; protecting it is key to ensuring its longevity. Regular sweepings to remove dirt and debris prevent scratching, while using area rugs in high-traffic zones provides additional protection. Consider applying a suitable finish every few years to bolster the floor’s resistance to wear.
- Use a microfiber mop for weekly cleaning.
- Avoid excessive water; use a damp mop instead.
- Ensure to place furniture pads under legs to prevent dents.
- Clean spills immediately to prevent damage.
- Recognizing wood’s natural variations can aid in understanding maintenance needs.
Taking the time to establish a consistent cleaning routine and addressing issues immediately can profoundly impact the lifespan of your flooring. Seasonal checks, like inspecting for scratches or signs of wear, can help you catch problems early on. Regular upkeep significantly enhances your floor’s visual appeal and durability, allowing you to enjoy its beauty for decades.
- Use coasters for beverages to avoid rings.
- Maintain a stable indoor temperature year-round.
- Schedule professional cleaning once every five years.
- Utilize a humidifier in dry months.
- Recognizing the signs of wear can help guide your maintenance efforts.
Conclusion
The installation of white oak flooring can be a rewarding project when approached with the right knowledge and preparation. By following expert tips and avoiding common pitfalls, you can ensure that your flooring not only looks stunning but also stands the test of time. Pay close attention to acclimation, proper installation techniques, and maintenance to achieve the best results. With careful planning and execution, you’ll enjoy your beautiful new flooring for years to come.


