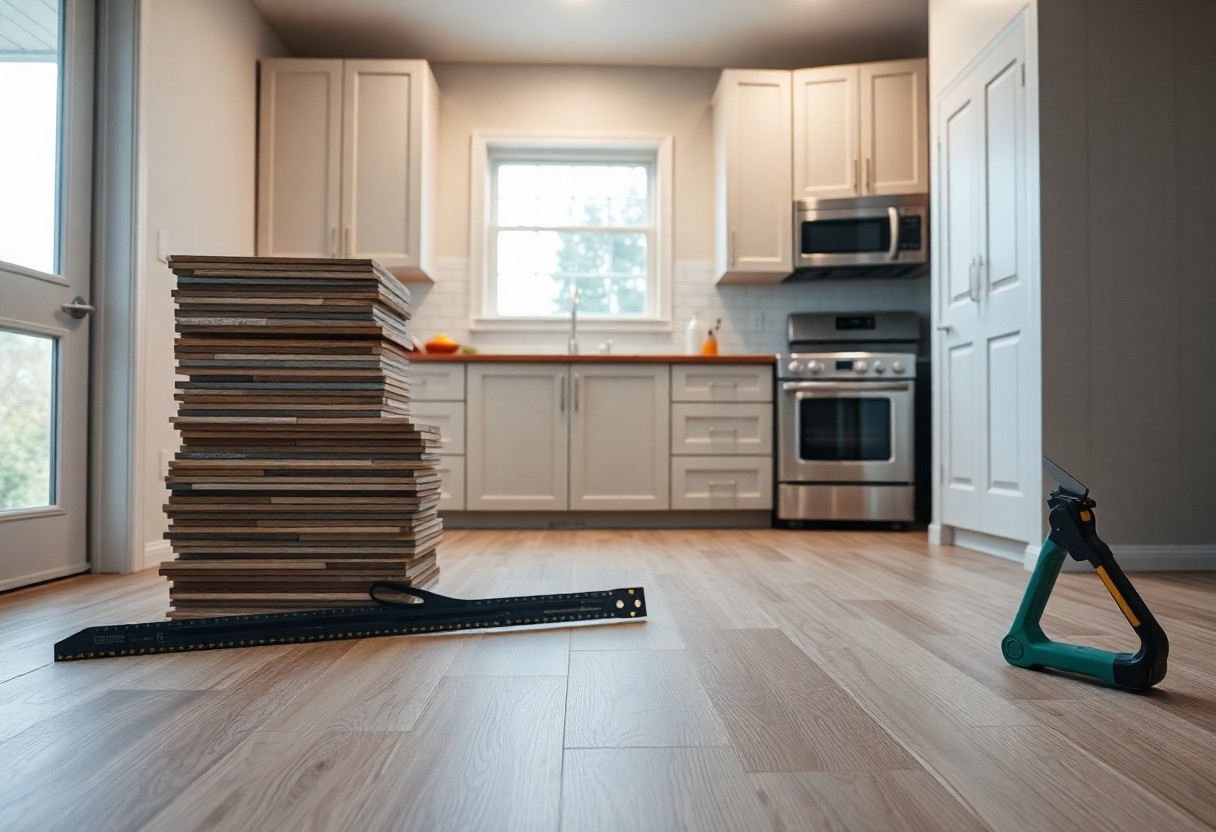
You can achieve a professional-looking dry back vinyl flooring installation in your Kitchener home by following these detailed steps. With the right preparation and attention to detail, it’s possible to enhance your space effectively. This guide will equip you with important tips and techniques to ensure that your installation process is smooth and successful, allowing you to enjoy your new flooring for years to come.
Preparing Your Space for Vinyl Flooring
Clearing the installation area is vital for achieving a smooth and efficient vinyl flooring installation. Start by removing all furniture, appliances, and any obstructions from the room. Ensure the space is adequately ventilated and free of dust and debris, as this can affect the adhesion and finish of your new flooring. You might also want to consider temporary storage solutions for items that can’t be moved far away.
Assessing Subfloor Conditions and Requirements
Your subfloor must be clean, dry, and structurally sound to support the vinyl flooring. Check for any signs of damage, such as cracks or rot, and make necessary repairs. Ensure the surface is level; high spots can be ground down, while low areas may require filling to create an even base. A properly prepared subfloor contributes significantly to the longevity and performance of your vinyl flooring.
Gathering Essential Tools and Materials
Having the right tools and materials ready will streamline the installation process. Basic tools include a utility knife, straight edge, measuring tape, and a rolling pin, along with adhesive, transition strips, and underlayment if necessary. You may also need safety equipment like goggles and kneepads to protect yourself during installation.
Your tool list should also include additional items for efficiency and quality. A T-square or carpenters’ square helps ensure accurate cuts, while a vinyl flooring roller can assist in achieving proper adhesion. If you’re using adhesive, consider a notched trowel suited for your material type. Finally, a good-quality level is necessary for confirming that your subfloor is even, preventing future issues with your flooring installation.
Choosing the Right Vinyl Planks for Your Home
Selecting vinyl planks requires a balance between aesthetics and functionality. Consider your home’s interior style, as well as the specific needs of each room. Options vary in finish, color, and design, making it easy to find planks that complement your existing decor while also fulfilling the demands of high-traffic areas or moisture-prone spaces.
Evaluating Options: Thickness, Style, and Durability
Thickness significantly impacts the durability and comfort of vinyl planks. Standard thickness ranges from 4mm to 8mm; thicker planks often provide better sound insulation and resilience. Explore styles that fit your aesthetic preferences, from traditional wood looks to modern abstracts, while ensuring the durability rating meets your household’s activity level.
Understanding the Importance of Moisture Resistance
Moisture resistance is a key factor in selecting vinyl planks, particularly for areas like kitchens and bathrooms. Waterproof options not only prevent damage but also hinder mold and mildew growth, necessary for maintaining a healthy home environment. Look for planks designed specifically for high-moisture areas, as these offer added protection and longevity.
These moisture-resistant vinyl planks often feature a specialized core that keeps them impervious to spills and humidity. For instance, planks with SPC (Stone Plastic Composite) cores provide enhanced stability and prevent warping or swelling. Choosing planks with a high waterproof rating means you can confidently install them in areas prone to spills, knowing they will withstand the test of time, even in high-humidity surroundings.
Mastering the Installation Process
The installation process of dry back vinyl flooring involves several precise steps to ensure a flawless finish. By following a methodical approach, you can minimize errors and achieve a professional look. Focus on careful preparation, accurate measurements, and adherence to timelines for each phase, from layout to final touches.
Step-by-Step Procedure: Layout to Final Touches
Installation Steps
| 1. Measure and mark the layout | Ensure all angles and lengths are accurate. |
| 2. Prepare the subfloor | Clean, level, and dry the surface before beginning. |
| 3. Begin installation | Start from the center or a straight edge, depending on your layout. |
| 4. Cut planks as needed | Use a straightedge and utility knife for precision. |
| 5. Apply adhesive | Follow the manufacturer’s guidelines for adhesive application. |
| 6. Lay the planks down | Press firmly and check for proper alignment continuously. |
| 7. Finish with trim and transition pieces | Install baseboards and trim for a polished look. |
Common Pitfalls to Avoid During Installation
Avoiding common pitfalls can save time and effort during your vinyl flooring installation. Insufficient surface preparation, misalignment of planks, and improper adhesive application are frequent mistakes that lead to issues down the line. Paying attention to these details helps ensure a long-lasting and visually appealing floor.
For instance, neglecting to fully clean the subfloor can result in variations in height, leading to visible seams or bubbling. Furthermore, accurately measuring and cutting planks is necessary; small errors can accumulate, causing difficulties in fitting pieces together. Rushing through adhesive application often leads to weak bonds, compromising durability. Addressing these common pitfalls enhances the overall quality and longevity of your flooring project.
Ensuring Long-Lasting Results
To guarantee the longevity of your dry back vinyl flooring, prioritize a combination of proper installation techniques and regular maintenance. Ensure all seams are sealed, and follow manufacturer guidelines for temperature and humidity levels. Additionally, consider using area rugs in high-traffic zones to reduce wear. Your goal is to maintain the flooring’s structural integrity while preserving its aesthetic appeal, which will allow for years of enjoyment.
Proper Care and Maintenance Tips for Dry Back Vinyl
Implementing a routine care regimen will extend the life of your vinyl flooring. Regular sweeping and damp mopping will prevent dirt buildup, while avoiding harsh chemicals preserves the finish.
- Use a soft-bristled broom to remove dust and debris daily.
- Damp mop weekly with a pH-neutral cleaner.
- Avoid dragging heavy furniture to prevent scratches.
- Place mats at entryways to trap moisture and dirt.
- Perceiving your floors’ needs early can prevent long-term damage.
How to Troubleshoot Common Issues After Installation
If you notice problems post-installation, act quickly to address them effectively. Issues such as lifting, curling, or buckling can arise from improper installation or environmental factors. Assess the flooring for movement or gaps, which might indicate inadequate adhesive coverage. Check for moisture levels; high humidity can lead to expansion. Notably, adjusting the room’s climate or reapplying adhesive may resolve these issues before they worsen.

Enhancing Your Home Aesthetics with Vinyl Flooring
Vinyl flooring offers endless possibilities for transforming your living space. Its wide array of colors, patterns, and textures allows you to elevate your home’s aesthetic effortlessly. Whether you prefer a modern look with sleek, minimalist designs or a rustic vibe with wood-like finishes, vinyl flooring can complement any décor style. By selecting the right type and design, you can create a welcoming atmosphere that reflects your personality and enhances your home’s overall appeal.
Creative Tips for Seamless Transition between Spaces
To ensure a fluid transition between different rooms, utilize a consistent color palette and maintain similar flooring styles. Using vinyl planks or tiles that match in hue creates a cohesive flow throughout your home. Consider the following tips:
- Choose a coordinating color scheme for adjacent rooms.
- Install transition strips that blend with your flooring.
- Utilize area rugs to define spaces without harsh lines.
Perceiving these connections makes the space feel larger and more connected.
Designing Around Your New Floors: Color and Texture Pairing
Selecting complementary colors and textures is necessary for creating harmony in your home’s design. Understand how vinyl flooring pairs with your existing furniture and décor. For example, a warm wood-tone vinyl can be beautifully accented with cool blues or greens in your wall art or upholstery. Experimenting with soft textiles like cushions or throws adds depth, while metallic accents can introduce a contemporary element that elevates your spaces.
Texture is equally vital in achieving a well-rounded aesthetic. Pairing glossy finishes with matte surfaces creates visual interest. For instance, coordinating shiny vinyl tiles with a soft, plush rug can add balance. Bold colors can bring vibrancy while muted tones promote tranquility. Take the time to visualize various combinations before settling on a design. Achieving a cohesive look will enhance the beauty of your vinyl floors and the overall appeal of your home.
To wrap up
Ultimately, following these step-by-step tips will ensure your dry back vinyl flooring installation in your Kitchener home is successful. By carefully preparing your subfloor, measuring accurately, and installing with precision, you can achieve a durable and attractive result. Pay attention to detail during the entire process, and don’t hesitate to seek assistance if needed. With the right approach, you can enjoy your new flooring for years to come.


