Dryback vinyl flooring offers a durable, stylish solution for your home in Kitchener. Before you commit to installation, it’s important to understand the various aspects, including moisture levels, subfloor requirements, and maintenance practices. This guide will equip you with the knowledge needed to make informed decisions, ensuring your flooring installation is both successful and long-lasting. Prepare yourself for the process ahead and discover how to achieve a beautiful finish that enhances your living space.
The Essential Preparations for Your Vinyl Flooring Project
Before exploring into your vinyl flooring project, thorough preparation is key to achieving optimal results. This includes accurately measuring your space, selecting the right underlayment, and ensuring the subfloor is properly prepared. Taking these steps will not only save you time but also guarantee that your new flooring performs well in the long run.
Measuring Your Space Accurately
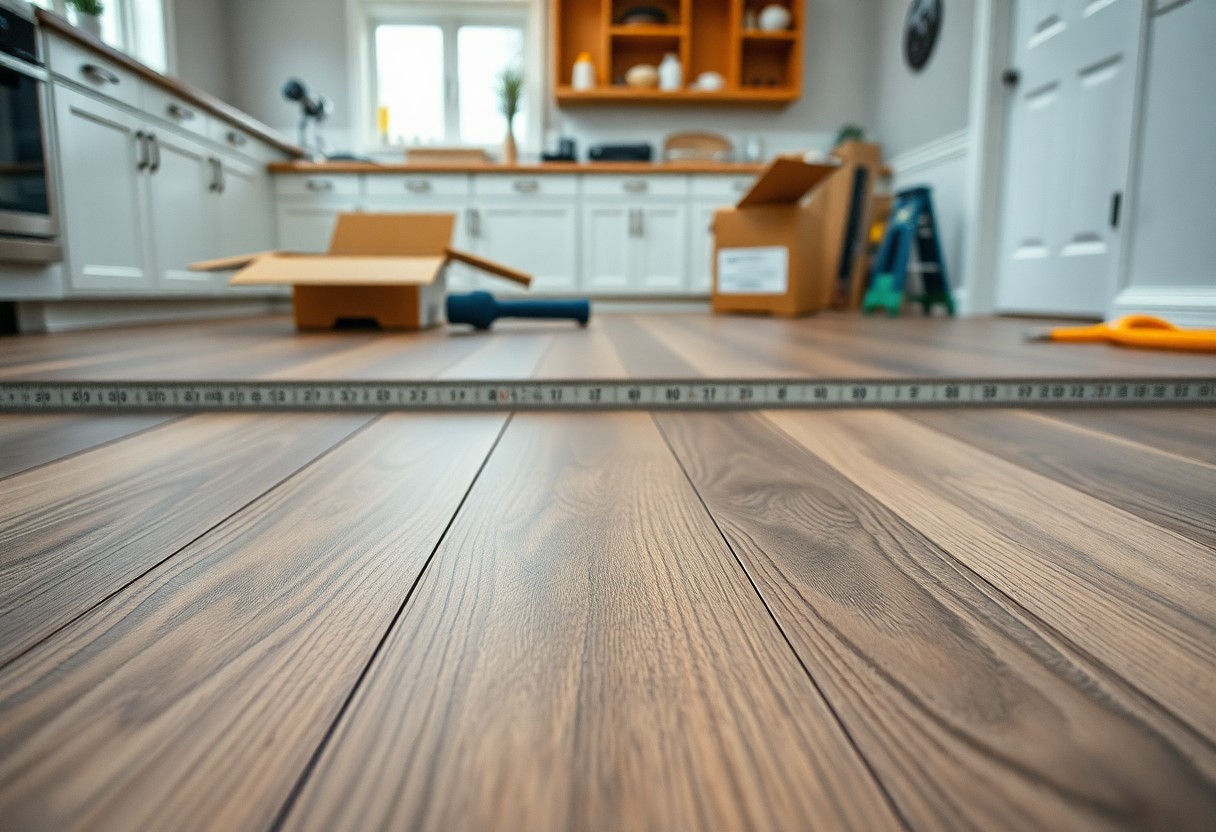
Accurate measurements of your space prevent costly mistakes. Start by measuring the length and width of the room, taking measurements at several points to account for any irregularities. Always work in inches to avoid confusion, and allow for extra material to cover errors or future repairs. Having detailed dimensions will help you purchase the correct amount of flooring and plan the layout effectively.
Choosing the Right Underlayment
Your choice of underlayment significantly impacts the overall performance and comfort of your vinyl flooring. An appropriate underlayment provides sound insulation, moisture protection, and smooths out imperfections in the subfloor. For dry back vinyl, consider options like foam or felt, which can help reduce noise and softens the feel underfoot. It’s advisable to consult the manufacturer’s recommendations for underlayment compatibility to ensure warranty coverage and optimal performance.

The Unseen Factors Influencing Vinyl Floor Longevity
Several unseen factors play significant roles in the longevity of vinyl flooring. Maintaining optimal conditions during installation and throughout its use can drastically affect its durability. Consider the following:
- Moisture levels in your home.
- Subfloor preparation and condition.
- Temperature fluctuations.
- Foot traffic patterns.
The right environment extends the life of your flooring significantly.
The Impact of Humidity and Temperature Variations
Variations in humidity and temperature can cause vinyl flooring to expand or contract, leading to potential damage over time. Understanding the ideal conditions for your home can mitigate adverse effects.
| Low Humidity | Can cause the vinyl to shrink and develop gaps. |
| High Humidity | Might lead to buckling or warping of the flooring. |
| Temperature Extremes | Can weaken the adhesive, resulting in a loose fit. |
How Subfloor Conditions Affect Installation Success
Subfloor conditions are fundamental to the success of your vinyl installation. An uneven or damp subfloor may result in failure to adhere properly, leading to premature wear and potential replacement.
Ensure your subfloor is dry, clean, and level before installation. For concrete subfloors, moisture tests are recommended; if moisture levels exceed 3 pounds per 1,000 square feet, additional barriers might be necessary. Wood subfloors should be sturdy and secure to prevent movement. Taking the time to prepare your subfloor effectively will lead to a smoother installation process and enhance the longevity of your vinyl flooring.
Dismantling Common Misconceptions About Dry Back Vinyl
Many homeowners overlook dry back vinyl flooring due to misconceptions surrounding its installation and performance. Contrary to popular belief, this flooring option is not overly complicated to install, nor is it short-lived. Instead, it offers durability, easy maintenance, and aesthetic appeal, making it an excellent choice for various spaces. Understanding these myths helps you make an informed decision and fully appreciate the benefits of dry back vinyl flooring.
Comparing Dry Back to Click-Lock Vinyl: What You Should Know
| Installation Method | Adhesive application for a secure bond. |
| Subfloor Requirements | Flat, clean, and dry for optimal adhesion. |
| Cost | Typically more affordable due to lower material costs. |
| Sound Dampening | Offers more sound insulation due to the adhesive layer. |
| Repairability | Difficult to replace individual planks compared to click-lock. |
Debunking Myths About Maintenance and Durability
Dry back vinyl often faces skepticism regarding its ability to withstand daily wear and tear. Many people believe it requires extensive maintenance or is prone to damage. In reality, dry back vinyl is designed to resist scratches, stains, and water, making it suitable for high-traffic areas, especially kitchens and bathrooms. Regular sweeping and occasional mopping with a gentle cleaner are all that’s needed to keep it looking fresh. Additionally, its durability means you can expect a lifespan of 10-20 years with proper care.
Some homeowners worry that dry back vinyl won’t hold up under heavy furniture or daily foot traffic. However, this flooring type is engineered to endure significant wear, featuring a robust top layer that resists scuffs and scratches. Maintenance is straightforward; routine cleaning only requires basic tools. Furthermore, while its adhesive nature means it’s less prone to shifting or separation, you can count on it to maintain its appearance and integrity longer than many alternative flooring options, solidifying its position as a practical and stylish choice for your home.
Installation Techniques That Ensure a Flawless Finish
Your approach to installation can significantly impact the overall look and durability of your Dry Back Vinyl Flooring. Opt for a clean and level subfloor to start—this step alone can prevent future issues. Maintain steady temperature and humidity during installation to minimize expansion or contraction. Utilize proper adhesive application techniques, ensuring even coverage to enhance bond strength and longevity.
Tools and Materials You Can’t Afford to Overlook
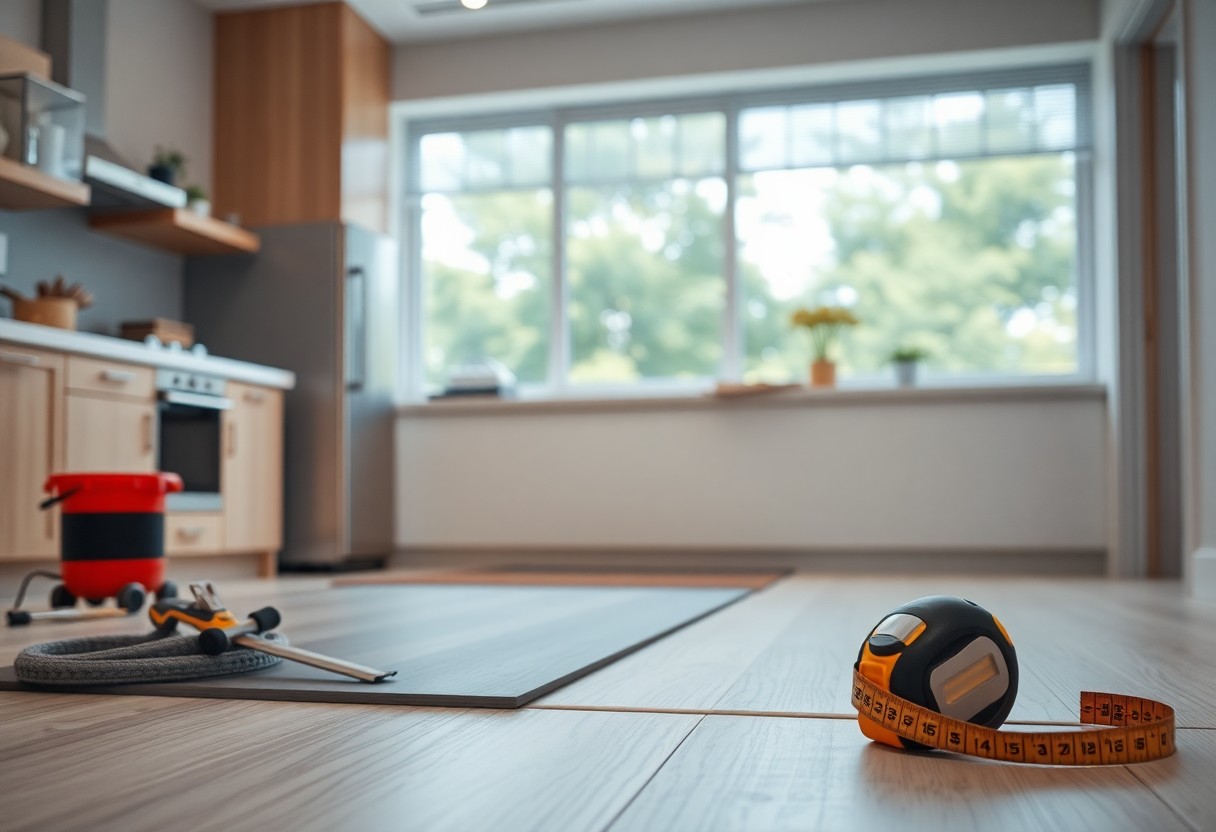
High-quality tools are vital for a successful installation. Gather a trowel, utility knife, measuring tape, straightedge, and a roller for the adhesive application. Additionally, consider a seam roller to ensure tight joints and a moisture barrier if required for your specific subfloor conditions. Investing in these materials will save you time and frustration during the process.
Step-by-Step Guide to Seamless Installation
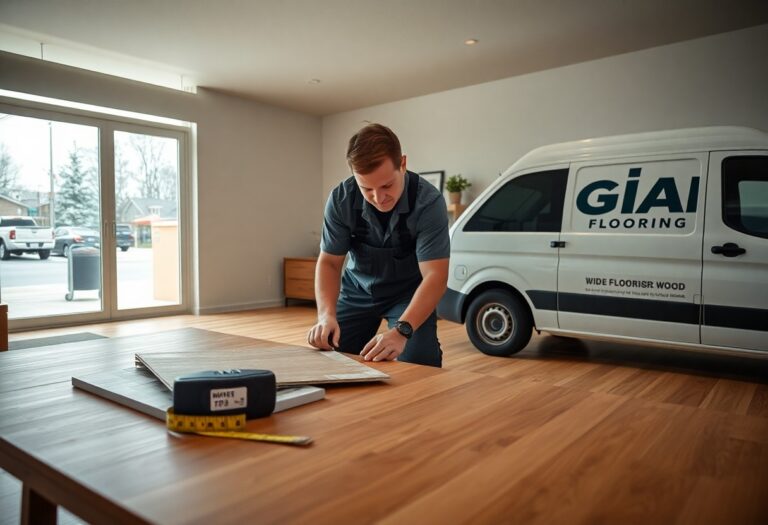
Begin your installation by preparing the subfloor to eliminate dust and debris. Next, measure and cut the vinyl planks accurately, ensuring a snug fit against walls. Apply adhesive to the subfloor using the recommended trowel size, then position the planks carefully, pressing down firmly. Recommended intervals for rolling the newly laid flooring can enhance the adhesive bond, so roll the floor every 20-30 minutes after installation for optimal results.
| 1. Prepare the Subfloor | Clean and level the surface. |
| 2. Measure and Cut Planks | Ensure precise measurements for a perfect fit. |
| 3. Apply Adhesive | Use the appropriate trowel for even coverage. |
| 4. Position Vinyl Planks | Press down firmly for proper adhesion. |
| 5. Roll the Floor | Roll every 20-30 minutes post-installation. |
Budgeting for Your Flooring Transformation
Transforming your kitchen with dry back vinyl flooring requires careful financial planning. Start by determining your total budget, including materials and labor costs. Typical material costs range from $2 to $5 per square foot, but factor in additional expenses such as underlayment and adhesives for a comprehensive budget. Additionally, consider setting aside 10-15% for unexpected costs, ensuring your project stays on track without financial strain.
Costs Beyond the Surface: What to Expect
Beyond the initial purchase price of dry back vinyl flooring, several costs can emerge during your project. Labor charges typically run between $1 to $3 per square foot, depending on your location and the complexity of the installation. Moreover, if your subfloor needs repairs or leveling, this can add significantly to your overall expenses. Factor in these components to achieve a realistic financial overview.
Hidden Expenses that Can Derail Your Budget
Several hidden costs can unexpectedly inflate your budget when installing dry back vinyl flooring. Items such as moisture barriers, cutting tools, or even disposal fees for your old flooring can quickly add up. Contingencies for unexpected repairs to the subfloor or adjustments during the installation process should also be part of your financial plan. Thoroughly reviewing your installation area and potential needs eliminates surprises.
An often-overlooked hidden expense is the need for subfloor preparation or repairs if underlying issues are discovered during installation. For instance, if your current flooring reveals water damage or mold, addressing these issues can require additional materials and labor costs. It’s wise to conduct a thorough assessment of your subfloor before beginning your project, so you can budget properly for any necessary repairs and avoid disruptions. Additionally, factors like local regulations and required permits can also influence costs, so research these aspects ahead of time to ensure a smooth installation process. Budgeting for these extras will prevent financial stress and help you achieve your desired kitchen transformation.
Final Words
Now that you have a solid understanding of everything you need to know before installing dry back vinyl flooring in Kitchener, you can approach your project with confidence. Consider factors like moisture levels, subfloor preparation, and quality of materials to ensure a successful installation. By taking the time to plan and gather the right tools, you’ll create a durable and visually appealing space. Make informed choices, and your new flooring will serve you well for years to come.


