

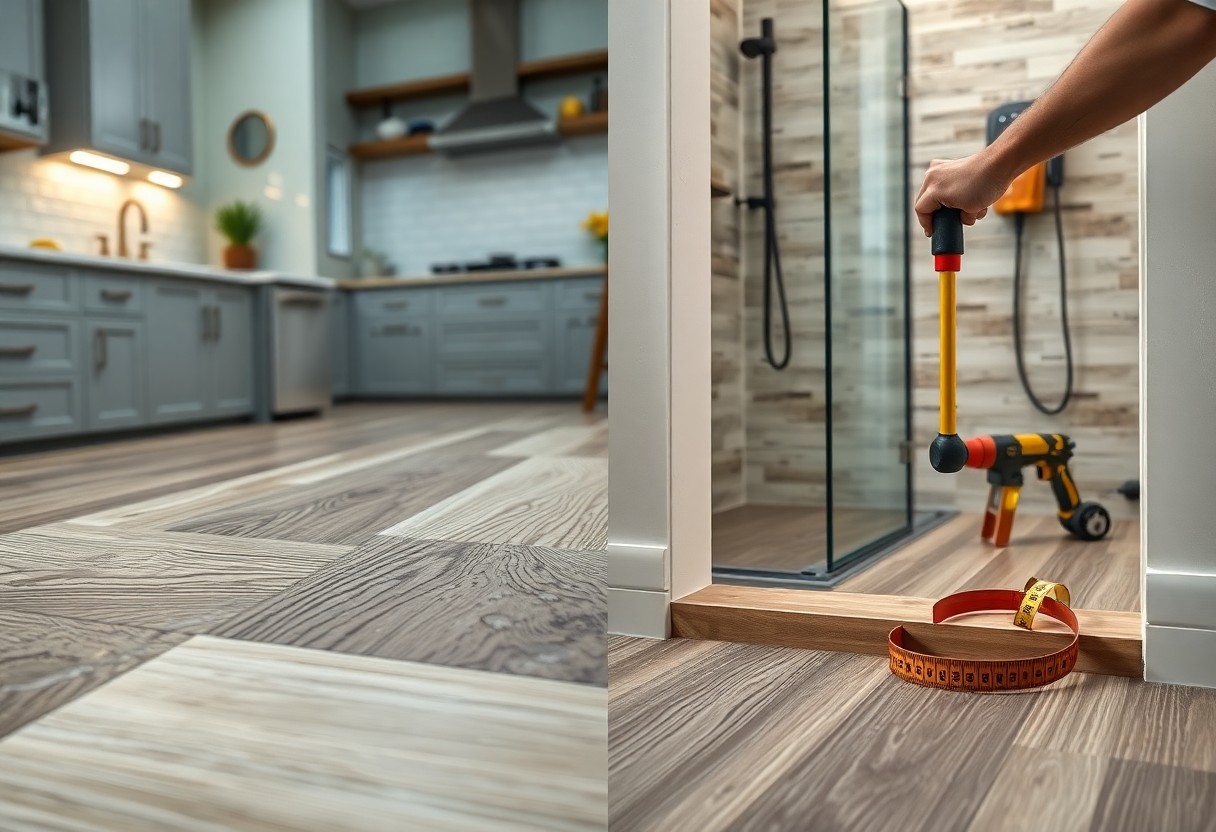
Waterproof laminate offers a practical flooring solution where moisture resistance matters most, making it a strong contender for kitchens and bathrooms. You benefit from realistic wood and stone visuals without the cost or maintenance of natural materials. Modern versions handle spills and humidity better than traditional laminate, though performance varies by product and installation quality. You need to understand what sets true waterproof options apart from water-resistant ones, especially in high-moisture zones. This guide breaks down the real advantages, limitations, and steps to ensure lasting results in your space.
The Virtues of the Synthetic Plank
Synthetic planks bring engineered durability to wet zones where natural wood fails. You benefit from a stable core that resists warping, layered with a photographic print and wear layer that mimics real timber or stone. These planks install quickly, often click-locking into place over imperfect subfloors, making them a favored choice for kitchen and bathroom retrofits.
Defying the Swell of Water
Water resistance begins with a sealed core, typically made from high-density fiberboard or polymer composites. You can expect spills to bead on the surface for hours without seeping in, provided seams are properly taped and edges are sealed during installation. This performance makes synthetic planks suitable for areas near sinks or showers.
Endurance Against the Heavy Boot
Foot traffic in kitchens and bathrooms includes dropped utensils, shifting appliances, and frequent movement. Your floor’s wear layer, usually aluminum oxide or ceramic infused, shields against scratches and dents. A mid-sized SaaS firm retrofitting its breakroom saw no visible wear after 18 months of daily coffee rushes and rolling carts.
Commercial-grade synthetic planks often carry a 12 mil wear layer, double the thickness of standard residential options. You’ll notice the difference when chairs scrape across the floor or a cast-iron pot slips from the counter. These planks maintain their appearance under impact, retaining texture and color even in high-use zones. Some brands incorporate elastomeric backing to reduce sound and cushion impact, enhancing comfort during prolonged standing.
The Hard Truth of the Material
Laminate marketed as waterproof still reacts to prolonged moisture exposure. You’re not installing solid plastic but a compressed fiber core that resists, not repels, water. Real waterproofing means zero swelling over time, and most laminate only delays it. A spill left overnight near the stove can compromise the integrity of the plank within 48 hours.
Limits of the Visual Facade
Appearance can mislead you into overestimating performance. That wood-grain finish mimics oak but won’t withstand the humidity levels a bathroom generates daily. A product looking like teak from Indonesia may fail faster than real tile in a steam-heavy environment. Visual realism doesn’t equal material resilience.
Vulnerability of the Joint
Edges where planks connect remain the weakest point. Even with tight click-and-lock systems, micro-gaps exist. Water seeps through these seams during routine mopping or appliance leaks. Once inside, moisture spreads laterally beneath the surface, often invisible until swelling appears weeks later.
Manufacturers seal edges with wax or resin coatings, but these degrade with repeated wet-dry cycles. In a real-world case, a mid-sized SaaS firm’s office kitchen saw joint failure within nine months due to frequent cleaning. The damage started at a single gap near the dishwasher, then spread under three adjacent rows, requiring full replacement.
The Proper Way to Lay the Floor
Begin installation only after the planks have acclimated to the room’s temperature and humidity for at least 48 hours. Snap each plank tightly into place, working from the longest wall outward, ensuring expansion gaps of at least 1/4 inch are maintained around all fixed structures. Use a pull bar and tapping block to secure joints without damaging edges.
Leveling the Low Places
Inspect the subfloor carefully before laying any planks, as even minor depressions can cause long-term joint stress. Fill low spots with a self-leveling underlayment compound, following the manufacturer’s drying instructions precisely. A flat surface ensures consistent plank alignment and prevents water from pooling beneath seams.
Applying the Tight Seal
Apply a bead of waterproof sealant along the perimeter where the floor meets walls, baseboards, and fixed fixtures. This barrier stops moisture from creeping underneath the planks, especially in high-splash zones like near sinks or showers. Let the sealant cure fully before resuming foot traffic.
Focus sealant application at transitions between rooms and around pipe penetrations through the floor. A mid-sized SaaS firm retrofitting its restroom reported zero subfloor issues after two years using this method, despite daily heavy use. Silicone-based sealants perform best in damp environments due to their flexibility and adhesion longevity.
Care for the Kitchen Ground
Keeping your waterproof laminate floor in prime condition starts with consistent, simple maintenance. You should sweep daily to prevent dirt buildup and use a slightly damp mop when needed, always ensuring excess moisture is wiped away immediately. A mid-sized SaaS firm with a high-traffic kitchen area reported fewer wear issues after switching to microfiber mopping tools, which reduce surface abrasion.
Removing the Grime
Grease and food residue can dull the surface over time. You should tackle spills promptly and clean stubborn spots with a manufacturer-approved cleaner and a soft cloth, avoiding abrasive pads that scratch the finish.
Avoiding the Standing Pool
Even waterproof laminate resists, not repels, water. You must never let liquids pool near seams or edges, as prolonged exposure risks seepage and subfloor damage.
Liquids that sit for more than 20 minutes can compromise the integrity of the locking mechanisms between planks, especially in older installations. You should always dry the perimeter after wiping the floor, paying close attention to the joints near the dishwasher and sink base, where moisture tends to gather unnoticed.
Choosing the True Grade
Not all waterproof laminate is created equal, and understanding the grade ensures your selection matches the room’s demands. Higher-grade planks typically offer better density, locking mechanisms, and finish accuracy, which directly affect longevity. You’ll find that budget options may resist water on the surface but swell at the seams under prolonged exposure. A mid-sized SaaS firm retrofitting its office kitchen chose a commercial-grade laminate and saw no degradation after three years of daily use.
Deciphering the Wear Layer
The wear layer, measured in mils, determines how well the floor resists scratches and fading. You should aim for at least 12 mils in residential kitchens and 20 mils in high-traffic bathrooms. This protective coating sits directly atop the printed image layer, preserving the wood or stone look over time. Some premium lines integrate aluminum oxide into the wear layer, enhancing durability without altering texture.
Selecting the Proper Texture
Texture affects both aesthetics and grip, especially in wet areas like bathroom floors. You can choose from smooth, hand-scraped, wire-brushed, or embossed finishes that mimic natural materials. A wire-brushed texture in a light oak tone adds subtle dimension while minimizing the appearance of dust and footprints.
Surface texture also influences maintenance. Deeply embossed planks may trap moisture along grooves if not cleaned promptly, creating a breeding ground for mold in poorly ventilated bathrooms. You’ll want a balance-enough texture to hide wear but not so much that cleaning becomes cumbersome. Some manufacturers now offer micro-beveled edges paired with low-relief embossing, reducing grime buildup while maintaining a realistic wood grain feel underfoot.
Summing up
You get a practical, attractive flooring solution when you choose waterproof laminate for kitchens and bathrooms, combining the look of wood with resistance to moisture and daily wear. Installation over stable subfloors and attention to edge sealing prevent swelling, while routine cleaning with pH-neutral solutions preserves the finish. A mid-sized SaaS firm retrofitting its breakroom and restroom areas saw no degradation after three years of employee and visitor traffic. Proper acclimation, use of underlayment, and selecting products labeled for wet zones ensure long-term performance in high-humidity environments.