DIY laminate flooring installation saves money and transforms your space with minimal tools. You can achieve professional results by following clear, sequential steps-from subfloor prep to final plank placement. This guide gives you precise instructions to avoid common mistakes and ensure a smooth, lasting finish.
The Preparation
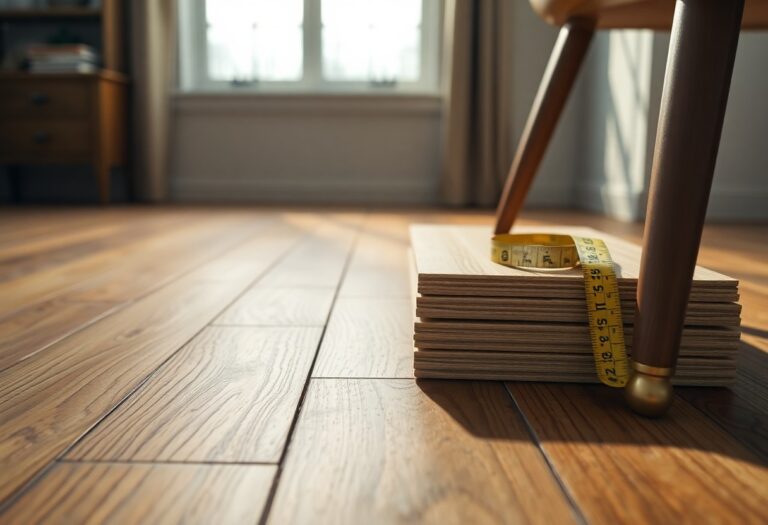
Proper preparation sets the foundation for a smooth laminate flooring installation. You’ll want to ensure the subfloor is clean, dry, and level before laying any planks. Take time now to inspect for any imperfections that could affect the final result-this small investment prevents problems later.
Clear the room of all things that stand.
Start by removing all furniture, rugs, and obstacles from the space. Every item on the floor must go to give yourself full access. Working in an open area lets you move freely and avoid last-minute disruptions during installation.
Sweep the dust until the concrete shows.
Run a stiff broom across the entire surface to remove loose debris. Dust, hair, and tiny particles can interfere with plank alignment and adhesion. A clean subfloor ensures each piece lies flat and stays secure over time.
Inspect the swept subfloor closely-any remaining grit or residue can create pressure points that lead to gaps or warping. Use a vacuum or damp cloth for final cleanup, especially in corners. When the concrete is fully visible and free of smudges, you’re ready to move forward.
The First Line
Getting the first row of laminate flooring perfectly aligned sets the foundation for the entire installation. Any deviation here will magnify across the room, leading to gaps or uneven edges later on. Take your time to measure, adjust, and secure the starting line with precision.
Set the spacers against the cold wall.
Place foam spacers between the plank and the wall to allow for natural expansion. The cold wall-usually an exterior wall-is where temperature changes are most extreme, making expansion gaps crucial. These small pieces keep your floor from buckling over time.
Lay the first plank with the groove facing out.
Start with the groove edge of the plank facing the wall. This orientation ensures the tongue of the next plank can properly click into place. It also maintains a clean, consistent layout as you build each row across the room.
Positioning the groove side out means the visible edge of your first plank will eventually connect to the next row’s tongue, creating a secure mechanical lock. This directionality is built into the design of floating floors and ensures a tight, gap-free fit as you progress. Align it carefully-your floor’s integrity depends on this initial setup.
The Hammer and the Block
Using a hammer and a block ensures your laminate planks connect securely without damage. Always tap against a scrap piece placed between the hammer and flooring to prevent chipping. This simple tool pairing helps maintain clean, tight seams across the entire installation.
Click the short ends together first.
Start by angling the new plank up at 45 degrees and snapping the short ends into place. This method locks the end joints before engaging the long side. You’ll feel a distinct click when the connection is secure, setting the stage for the next step.
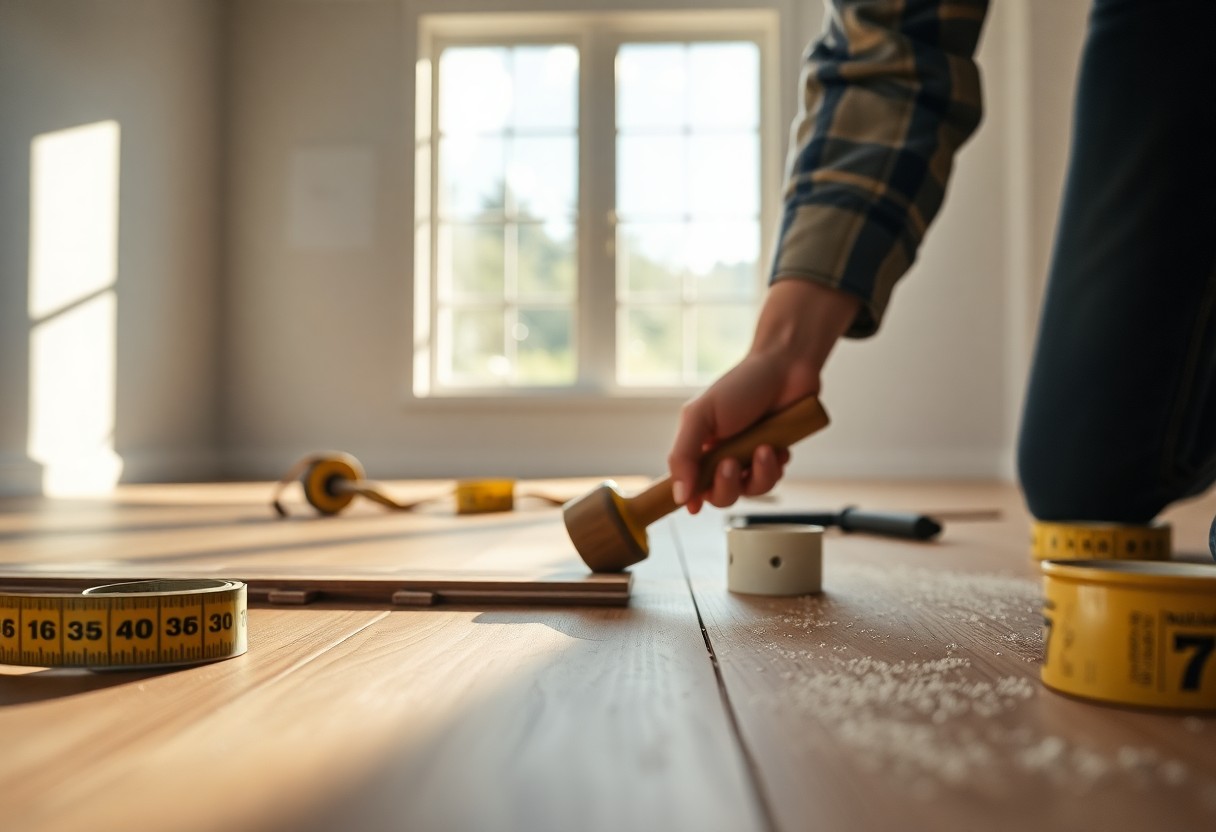
Tap the long side until the seam vanishes.
Once the ends are locked, lower the plank flat and align it with the adjacent row. Use a tapping block and rubber mallet to gently drive the long edge into place. A closed seam means the boards are fully engaged and flush.
Driving the long side closed requires controlled force. Position the tapping block against the tongue of the new plank, striking straight in line with the joint to avoid misalignment. Watch the seam narrow with each tap-when the gap disappears, the fit is complete. Too much force can crack the tongue, so let the block do the work while you guide the motion. A well-seated seam ensures stability and prevents future shifting under foot traffic.
The Hard Cuts
Installing laminate around door frames demands precision and the right technique. You’ll often need to make notched cuts where flooring meets door jambs, ensuring a snug fit without visible gaps. Approach each cut with care, using accurate measurements and the proper tools to maintain clean lines and a professional finish.
Mark the wood where the door frame sits.
Position a straightedge or level against the inside of the door jamb and trace a line where the flooring will contact the wood. This mark guides your cut, ensuring the laminate slips neatly underneath without forcing or damaging the planks. Accuracy here prevents unsightly spaces or misaligned edges.
Cut the notch with a steady hand and a sharp blade.
Use a fine-tooth jigsaw blade to follow your marked line, moving slowly through the laminate. A sharp blade reduces chipping and delivers a clean notch that fits flush against the jamb. Keep your grip firm and your movements controlled to avoid jagged edges.
Patience makes all the difference when cutting notches. Let the blade do the work-don’t force it through the material. Start the cut at a low speed, gradually increasing as you follow the line. Test the fit before locking the plank into place; small adjustments now prevent bigger issues later. A smooth, accurate notch ensures your floor looks factory-installed, not DIY.
The Last Row
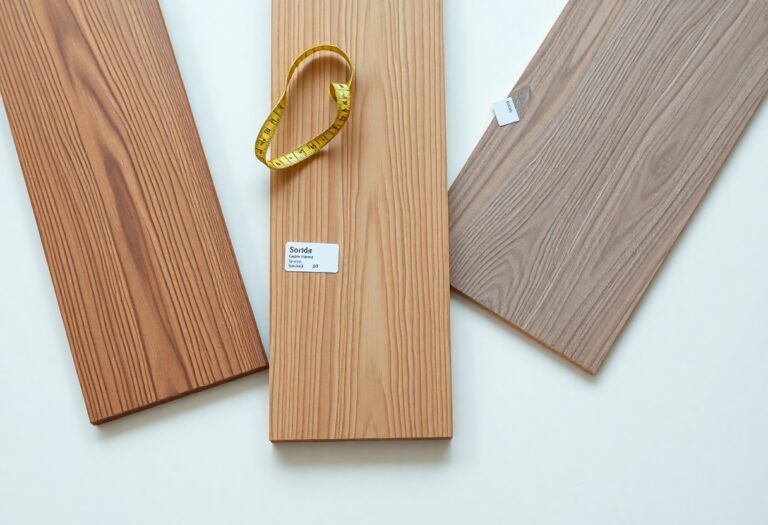
Installing the final row demands precision and patience. Measure the gap carefully, accounting for expansion space, and cut each board to fit snugly. This row often requires ripping the boards lengthwise, so take your time to ensure straight, clean edges for a professional finish.
Rip the boards to fit the remaining gap.
Measure the width needed for the last row, subtracting your expansion gap. Set your circular saw or table saw to that width and carefully rip each board. A straightedge guide ensures accuracy, giving you consistent, flush-fitting planks that align perfectly with the wall.
Pull the wood tight with the steel bar.
Use a steel pull bar to close any small gaps between the last row and the wall. Position the bar across the final plank and tap it gently with a rubber mallet. This ensures tight seams and proper alignment before locking the board into place.
Applying pressure with a steel bar eliminates minor misalignments that hand pressure alone can’t fix. Place the bar flat across the face of the plank, bridging the gap between the installed floor and the new piece. A few firm taps with a mallet draw the board fully into the tongue-and-groove connection, creating a secure, seamless bond without damaging the surface.
To wrap up
Considering all points, you now have the clear, practical steps needed to install laminate flooring successfully. With proper preparation, the right tools, and attention to detail, your DIY project will result in a durable, attractive floor that enhances your space confidently and affordably.