Flooring projects start long before the first plank is laid. You need to clear the space, check subfloor conditions, and acclimate your laminate. Remove baseboards and furniture, inspect for moisture, and let materials adjust to room temperature for 48 hours. Proper prep ensures a flat, quiet, long-lasting floor.
Critical Factors for Assessing Subfloor Readiness
Proper subfloor evaluation ensures your laminate installation lasts for years. Check for moisture, levelness, and structural soundness before laying planks. Use appropriate tools to confirm conditions meet manufacturer standards.
- Inspect for visible damage or warping
- Confirm the surface is clean and dry
- Verify compatibility with underlayment
Thou must address any flaws early to prevent costly issues later.
Testing moisture levels in concrete and wood
Moisture can warp laminate over time, so test your subfloor before installation. For concrete, use a calcium chloride test or moisture meter to detect excess dampness. Wood subfloors should register below 12% on a pinless meter. High readings mean delays are necessary-installing over damp surfaces risks buckling and mold.
Evaluating surface levelness and structural integrity
Walk across the subfloor and note any squeaks, dips, or soft spots. These indicate structural weaknesses that must be repaired. Use a 4-foot level to check for height variations-no gap should exceed 3/16 inch over 10 feet. Uneven areas lead to poor plank alignment and premature wear.
Surface flatness directly affects how well your laminate locks together and supports daily use. If the subfloor flexes underfoot or shows visible undulations, it will compromise the flooring’s stability. Secure loose boards, sand high spots, and fill low areas with patching compound. A rigid, flat base ensures tight seams and long-term performance under furniture and foot traffic.
How-to Guide for Proper Material Acclimation
Properly acclimating your laminate flooring ensures long-term performance and prevents warping or gapping. Always follow the manufacturer’s instructions and allow planks to adjust in the installation room for at least 48 hours before beginning work.
Maintaining ideal room temperature and humidity
Stable environmental conditions support consistent acclimation. Keep your space at the recommended levels to avoid premature expansion or contraction of materials.
| Room Temperature | 60-80°F (15-27°C) |
| Air Humidity | 30-50% relative humidity |
Stacking planks for optimal airflow and stabilization
Place unopened boxes on their side in the center of the room, spaced slightly apart. This positioning promotes even air circulation and helps each plank adapt uniformly to the environment.
Positioning the planks correctly during acclimation prevents moisture pockets and internal stress. Leaving space between boxes allows air to move freely around all sides, reducing the risk of edge curling or locking issues during installation. Always avoid stacking boxes flat or against exterior walls.
Essential Preparation Tips for Workspace Clearing
- Remove all furniture and rugs from the installation area
- Take down wall hangings and disconnect electronics
- Clear doorways to allow easy access for materials
- Sweep and inspect the subfloor thoroughly
Assume that every inch of floor space must be accessible before installation begins.
Removing baseboards and trimming door jambs
Take down baseboards carefully to reuse them after installation. Trim door jambs with a handsaw where flooring will slide beneath, ensuring a snug fit. This allows the planks to extend fully under the frame for a clean finish. Protect walls from accidental damage during removal.
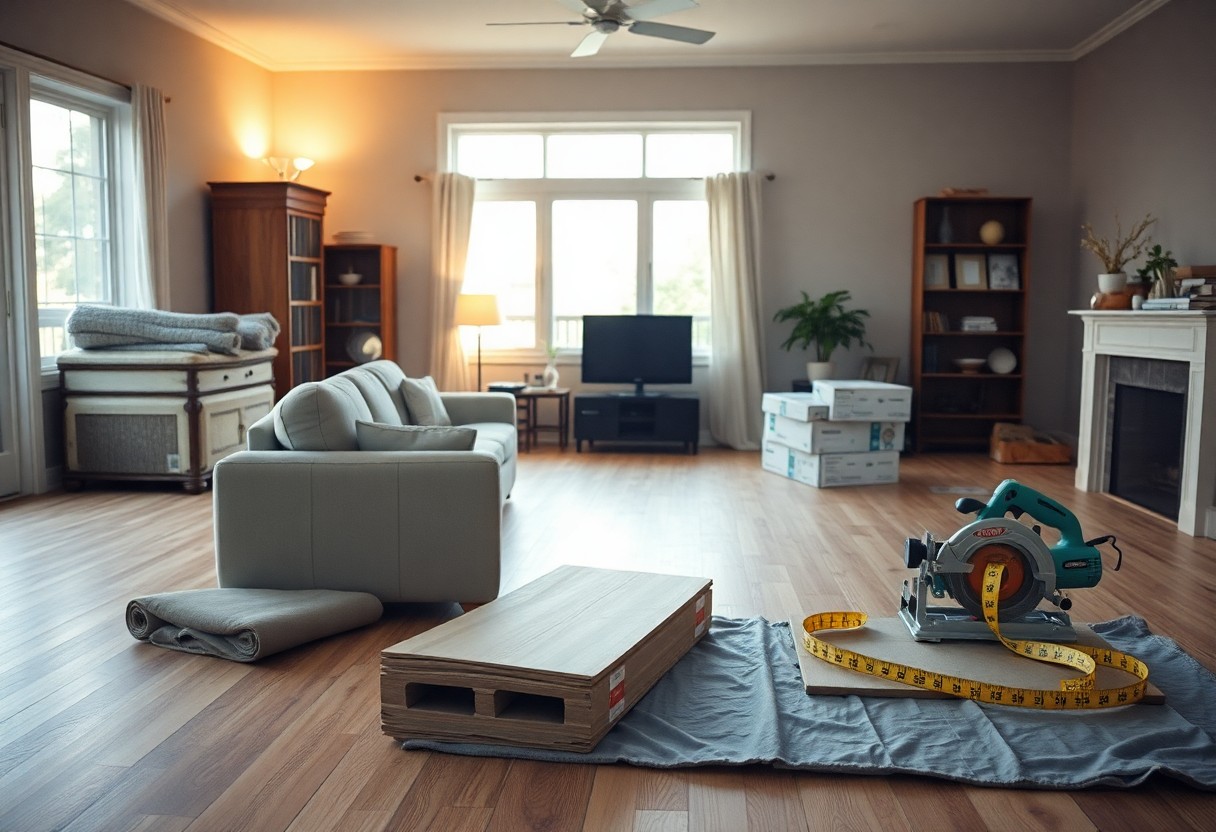
Managing furniture relocation and dust containment
Move furniture to another room or central area to keep pathways open. Use plastic sheeting to seal off adjacent spaces and minimize dust spread. Cover remaining items with drop cloths for protection. Assume that even minor disturbances can create more debris than expected.
Position heavy furniture on moving blankets or dollies to prevent scratches during relocation. Label each piece and its destination to streamline the return process. Close HVAC vents temporarily to reduce airborne particles. Keep a shop vacuum nearby to address dust spots quickly, maintaining a cleaner workspace throughout the project.
Selecting the Right Underlayment and Tools
Choosing the correct underlayment ensures your laminate flooring performs well over time. It provides sound insulation, moisture protection, and helps smooth minor subfloor imperfections. The tools you select can make installation faster and more precise, so invest in quality items suited to your space and layout.
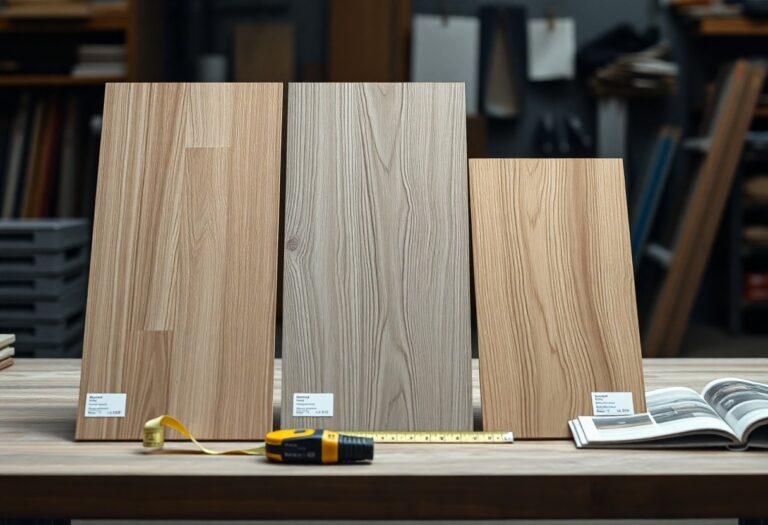
Matching underlayment to your specific subfloor type
Your subfloor type determines the best underlayment for your project. Over concrete, use a vapor barrier to block moisture. On wood subfloors, a thinner padding with attached moisture film often suffices. Matching the right product to your base prevents long-term issues like warping or noise.
Gathering specialized installation and cutting hardware
Having the right tools on hand prevents delays during installation. You’ll need a tapping block, pull bar, and spacers to position planks correctly. A carbide-tipped scoring knife or laminate cutter handles precise trims around edges and obstacles efficiently.
A power saw like a circular or jigsaw works best for cutting multiple planks quickly, especially on larger jobs. An oscillating tool helps with intricate cuts near pipes or corners. Keep extra blades available, as laminate’s density dulls edges faster than with wood. Using the proper hardware ensures clean, accurate fits throughout your installation.
Pro Tips for Addressing Surface Imperfections
- Sand down high spots with a floor sander
- Fill low areas using a self-leveling compound
- Let repairs dry completely before proceeding
- Sweep and vacuum the subfloor thoroughly
After
Sanding high spots and filling low points
High spots on your subfloor can cause laminate planks to shift or creak over time. Use a hand or orbital sander to smooth elevated areas until they align with the surrounding surface. For dips or low points, apply a self-leveling underlayment according to the manufacturer’s instructions. After
Ensuring a completely clean and debris-free foundation
Dust, nails, and small debris can compromise the flatness and stability of your new floor. Sweep the entire area with a stiff broom, then follow up with a vacuum to remove fine particles. Wipe down the surface with a dry microfiber cloth to catch any remaining dust. After
Cleanliness directly impacts how well your laminate locks together and lies flat. Even tiny bits of grit can create pressure points that lead to warping or separation over time. Take the time to inspect corners and along baseboards where debris often hides. A pristine subfloor ensures consistent adhesion and alignment across every plank.
Planning the Layout for a Seamless Finish
Direction matters when laying laminate flooring. Choose a layout that follows the longest wall or aligns with natural light to minimize visible seams and enhance the room’s flow. Plan plank orientation to avoid awkward cuts and ensure a clean, balanced appearance from entry points.
Calculating plank width for the starting and final rows
You want the first and last rows to look balanced. Measure the room width, subtract the total plank lengths, and divide the remainder by two to determine ideal widths for both edge rows. This prevents slivers and maintains visual harmony.
Establishing consistent expansion gaps around the perimeter
Leave a uniform space between the flooring and walls to allow for natural expansion. Use spacers every 2-3 feet to maintain a gap of at least 1/4 inch. This prevents buckling and ensures long-term stability.
Expansion gaps are not optional-they’re built into laminate’s design. Without them, temperature and humidity changes can cause planks to push against walls and each other, leading to warping or lifting. Maintain the manufacturer-recommended gap size and conceal it later with baseboard or quarter-round trim for a clean, finished look.
Conclusion
Conclusively, you ensure a smooth laminate flooring installation by clearing the room, checking the subfloor for flatness and dryness, and letting planks acclimate. You maintain precision by measuring accurately and leaving proper expansion gaps. Your careful prep work directly impacts the final look and longevity of your floor.