
You will follow clear, practical steps to select, prepare, and install pre‑engineered flooring, with tips on materials, subfloor prep, and finishing to ensure durability and a professional result.
Critical Factors to Consider Before Selection
- Assess subfloor integrity and moisture to protect your installation.
- Match traffic expectations, wear layer, and core type to your use and warranty needs.
- Recognizing how subfloor, traffic, and style intersect helps you choose the right pre‑engineered option.
Subfloor Condition and Moisture Level Assessment
Inspect the subfloor for flatness, damage, and moisture; test with a moisture meter and fix any issues before you install pre‑engineered flooring to avoid warping or adhesive failure.
Room Traffic Patterns and Durability Requirements
Map traffic flows and assign flooring classes accordingly; choose wear layers and core constructions that match heavy, moderate, or light use to reduce your risk of premature replacement and maintenance headaches.
Consider an HDF or rigid core for kitchens and entryways, and engineered hardwood with thicker wear layers for living areas; check abrasion class (AC) or commercial rating and match it to your expected footfall and furniture movement patterns.
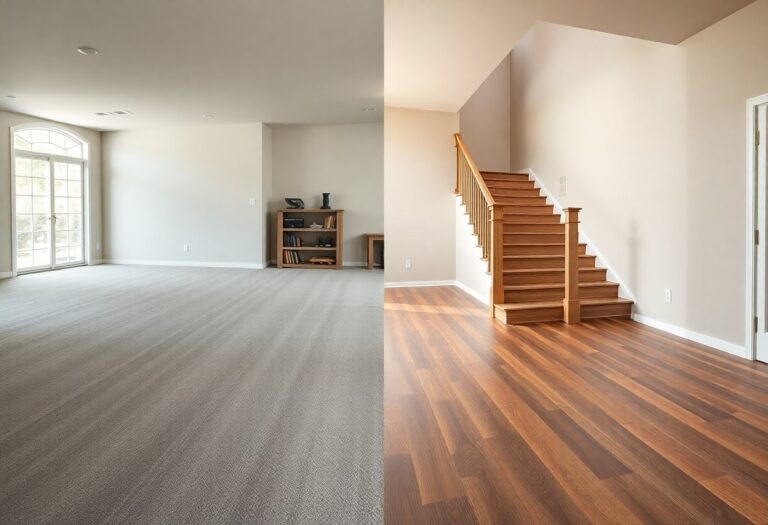
Aesthetic Preferences and Architectural Compatibility
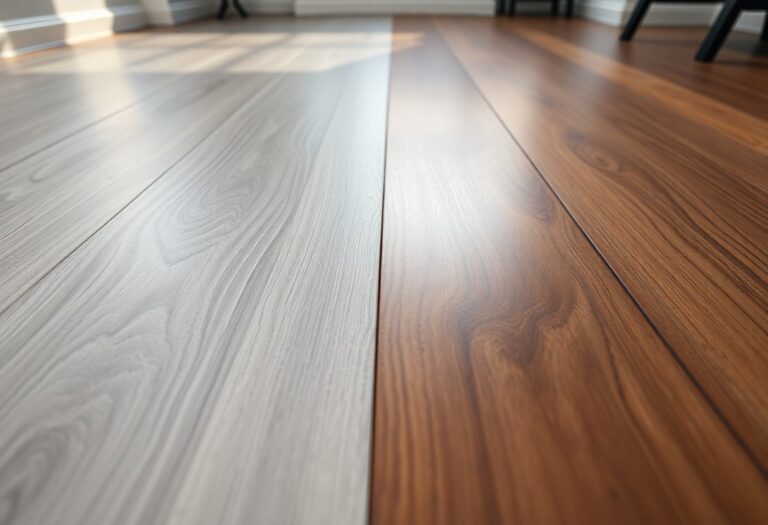
Match your choice to existing trim, wall colors, and period details; sample planks under your room lighting to confirm tone and texture before you commit to a full order.
Balance grain direction, plank width, and finish sheen with the room’s scale and natural light; use transitional thresholds and coordinating moldings so your new floor feels integrated rather than pasted on.

Evaluating the Pros and Cons of Engineered Materials
You should weigh clear advantages-consistent plank dimensions, moisture resistance, and cost efficiency-against potential limits like thinner wear layers and repair constraints when choosing engineered flooring.
| Pros | Cons |
|---|---|
| Dimensional stability (resists humidity) | Thinner wear layer limits sanding |
| Faster installation (click systems) | More frequent plank replacement possible |
| Cost-effective versus solid hardwood | Can delaminate if flooded |
| Wide range of finishes and visuals | Different underfoot sound/feel |
| Improved moisture resistance over solid wood | Warranty limits on refinishing |
| Less acclimation time required | Repairs may require matching exact planks |
Benefits of Dimensional Stability and Ease of Installation
Installing engineered planks gives you stable boards that resist cupping and a faster click-or-glue installation, letting you finish projects quicker with fewer acclimation hassles and lower labor costs.
Limitations Regarding Refinishing and Longevity
Expect limited refinish cycles because thin veneers only allow one or two sandings, which can shorten the effective lifespan compared with solid hardwood.
Over time you will notice wear-layer thickness, household traffic, and moisture exposure determine whether sanding is feasible; you will often replace damaged planks instead of refinishing them. You should review wear-layer measurements and warranty sanding limits, budget for periodic replacements, and consider traffic patterns when estimating long-term value.
Expert Tips for Pre-Installation Preparation
Check your subfloor, moisture levels, and layout plans before you begin. Perceiving how light and traffic will affect plank orientation helps you place boards for longevity.
- Measure room dimensions and plan cuts
- Verify subfloor flatness and moisture
- Map plank direction and expansion gaps
Material Acclimation and Environmental Control
Allow pre-engineered planks to acclimate in the installation room for 48-72 hours, keeping temperature and humidity steady so boards settle and reduce the risk of warping or gaps.
Necessary Tool Procurement and Safety Protocols
Gather all cutting, measuring, and installation tools plus PPE before you start to avoid delays and maintain a safe workspace.
Inspect saw blades, a reliable tape measure, spacers, tapping block, pull bar, and a moisture meter; use eye and ear protection, dust masks, and knee pads, and keep a stocked first-aid kit and fire extinguisher within reach while testing power tools before operation.
Step-by-Step Installation Process
| Step | Action |
|---|---|
|
Follow the sequence to guide you through subfloor prep, underlayment, layout, starter row, joinery, trimming, and finishing so you complete installation efficiently with fewer errors. |
Prep subfloor; apply underlayment; plan layout; set starter row; join boards; trim perimeters; install transitions. |
Subfloor Leveling and Underlayment Application
Level the subfloor with a long straightedge and patch low spots so you create an even surface for underlayment, then roll or tape the underlayment per manufacturer instructions to control moisture and sound transmission.
Layout Planning and Establishing the Starter Row
Measure the room, snap reference lines, and dry‑lay boards so you can establish a starter row that balances board widths at opposite walls and keeps end joints properly staggered.
Plan the starter row by dry‑laying boards across the room, checking color and pattern flow, and adjusting the chalk line to avoid narrow edge pieces; cut the first row precisely so you maintain straight runs, consistent expansion gaps, and an even appearance throughout the installation.
Executing Joinery Techniques and Perimeter Trimming
Engage the click system by angling boards together and lowering them to lock seams, checking each joint as you go so you avoid gaps and maintain a tight fit through the field.
Practice gentle tapping with a block and mallet, use a pull bar at the last rows, and trim planks to allow correct expansion clearance; these steps help you achieve snug joins, prevent movement, and produce clean, professional perimeter finishes.
Maintenance Strategies for Long-Term Performance
Regularly inspect joints, transitions and surface finishes to catch wear early; you should keep a checklist and log inspections quarterly to extend material life.
Recommended Cleaning Agents and Surface Protection
Use pH-neutral cleaners and avoid abrasive products; you should test in an inconspicuous area and apply manufacturer-approved sealants or finishes to protect surfaces.
Preventative Care to Maintain Structural Integrity
Inspect subfloor moisture, fastener torque and edge seals monthly; you should repair gaps promptly to prevent movement and load-related failures.
Schedule proactive maintenance like re-torquing fasteners, resealing edges and addressing subfloor moisture; you should align inspections with seasonal humidity changes, document repairs, and hire qualified contractors for persistent movement or unusual noises.

Summing up
With this in mind, you can plan each phase, choose compatible pre‑engineered components, follow manufacturer instructions, and verify subfloor preparation and finishes to achieve a professional, long‑lasting floor upgrade.