Over a clear checklist, you will systematically assess your subfloor condition, remove baseboards and existing flooring, dry and level surfaces, control humidity, and create a dust-free work zone; by following these preparation steps you ensure proper adhesion, eliminate common installation delays, and protect your finishes and furnishings while saving time and expense.
Understanding SPC Vinyl Flooring
What Is SPC Vinyl Flooring?
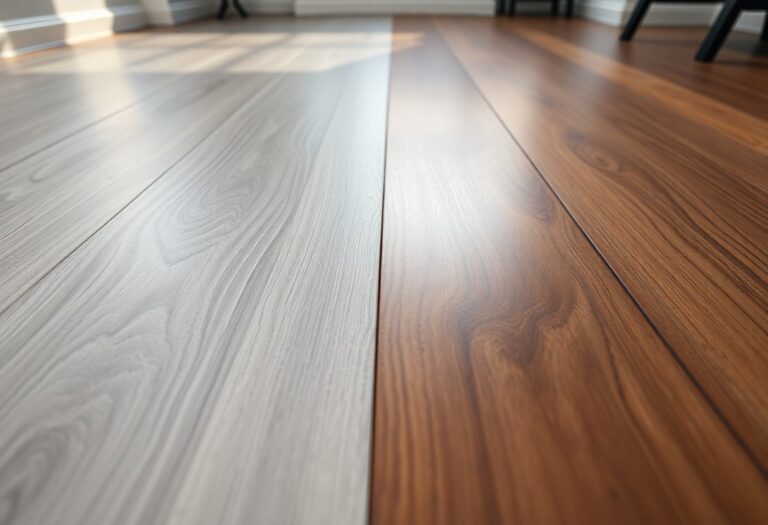
SPC stands for Stone Plastic Composite, a rigid-core vinyl flooring made from limestone powder, PVC, and stabilizers. You’ll find planks typically 3-8 mm thick with a dense core that resists bending and moisture. Many boards use a click-lock profile for floating installs, and the printed vinyl wear layer (commonly 0.3-0.7 mm) provides the visible wood or tile aesthetic.
Benefits of SPC Vinyl Flooring
You gain several practical advantages: SPC is 100% waterproof, highly dimensionally stable, and tolerates temperature swings better than conventional vinyl. With wear layers ranging 0.3-0.7 mm and warranties often between 10-25 years, it’s suitable for kitchens, basements, and high-traffic homes. Scratch and stain resistance also make it pet- and kid-friendly.
Maintenance is straightforward-sweep and damp-mop-no sealing required, and many installers can finish a typical 200-400 sq ft room in a day using floating click systems. SPC also performs well over most subfloors and is compatible with low-temperature radiant heat when you follow manufacturer guidelines, reducing prep work and installation time compared with ceramic tile.
Key Factors to Consider Before Installation
You need to confirm moisture levels, subfloor flatness, room conditions, and material acclimation before starting: use an RH probe (ASTM F2170) targeting <75% RH or a calcium chloride test <3 lbs/1000 ft²/24 hr, keep flatness within 3/16" over 10 ft, and allow 48-72 hours acclimation at 60-80°F. After verifying those items, schedule any remediation and order materials with waste allowance.
- Moisture testing (RH probe or calcium chloride)
- Subfloor flatness and solidity (≤3/16″ over 10 ft)
- Room temperature/humidity and acclimation time (48-72 hrs)
- Material waste allowance (5-10%, 12% for diagonal layouts)
- Existing floor type (tile, wood, carpet) and adhesive removal needs
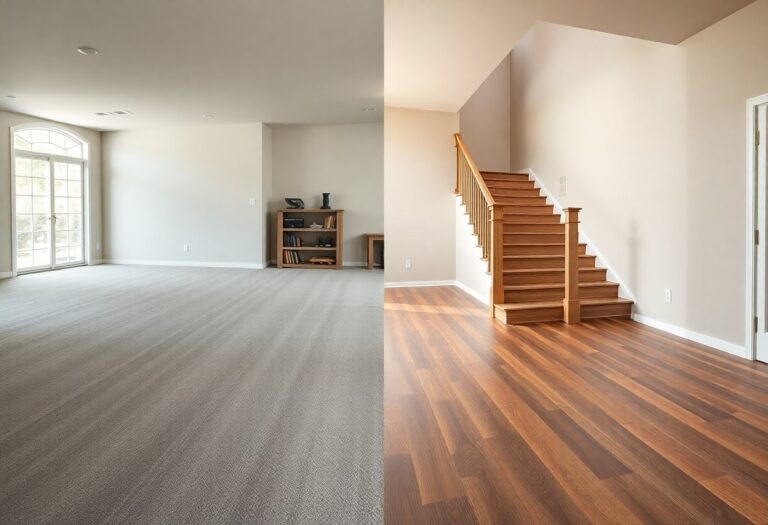
Assessing Your Current Flooring
You should inspect the existing surface for stability, high spots, and contaminants: SPC can float over many hard floors but not over carpet, and tile grout deeper than 1/8″ should be filled or leveled. If plywood is loose or any area flexes, reinforce or replace it; glue residue or thinset ridges often require grinding or a self-leveling compound to prevent telegraphing through the new planks.
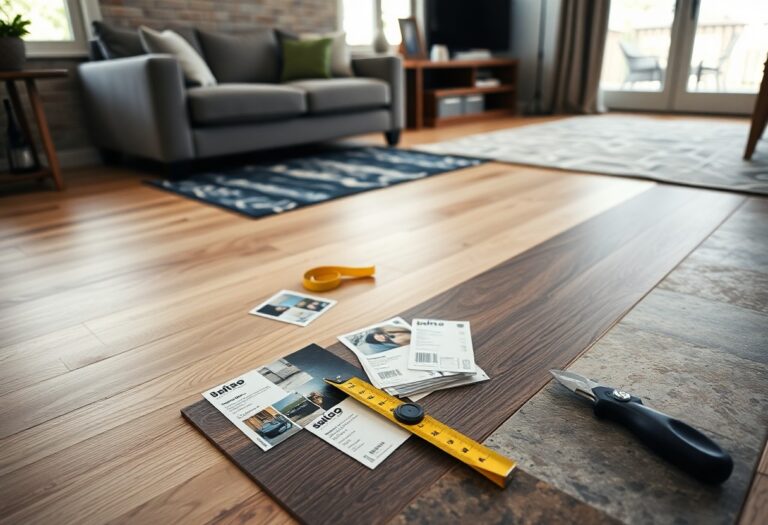
Measuring Your Space
You measure length and width of each room, include alcoves and closets separately, and note changes in direction or thresholds; sketch the layout and record dimensions in feet and inches. Add a waste factor-typically 5-10% for straight installs, up to 12% for diagonal or patterned layouts-so you order sufficient boxes without multiple runs to the store.
For example, a 12 ft × 15 ft room equals 180 sq ft; adding 10% waste yields 198 sq ft. If one box covers 22 sq ft, divide 198 by 22 to get 9 boxes and always round up to the next whole box; account for extra if you plan matching seams across rooms or diagonal installs, where 12-15% waste is safer.
Preparation Steps
Start by mapping the room and allocating time: a 200 sq ft room typically needs 1-3 hours of prep before installers arrive. You should label and bag loose items, protect doorways and vents with painter’s tape, and ensure at least a 2-3 ft clear working perimeter around the installation zone. Confirm power access for tools and plan where removed furniture and fixtures will be staged to avoid rework.
Clearing the Area
Remove all furniture, rugs, wall hangings, and baseboards; lift appliances off their feet and unplug them-store heavy items on dollies or use sliders to prevent strain. You should trim door jambs and undercut casings by about the plank thickness plus 1/16″ for expansion, vacuum and wipe the subfloor, and place removed trim in labeled bags so installers can refit transitions and thresholds quickly.
Addressing Subfloor Issues
Test flatness with a 10 ft straightedge: low/high deviations should be within 3/16″ over 10 ft (or 1/8″ over 6 ft) for SPC. Check moisture using ASTM methods-calcium chloride <3.0 lbs/1,000 sq ft/24 hr or RH ≤75% per ASTM F2170-and repair squeaks, loose boards, or delaminated plywood before installation.
For fixes, grind high spots and apply cementitious self-leveling compound to dips greater than the tolerance; these products typically set for light traffic in 24 hours. Replace water-damaged or soft plywood-aim for a minimum 3/4″ structural subfloor or follow the manufacturer’s spec-and fasten with screws every 6-8″ along edges and 8-12″ in the field. If moisture tests exceed limits, install an epoxy moisture barrier or consult a remediation specialist before proceeding.
Tips for Acclimating SPC Vinyl Planks
You must acclimate SPC planks in the room where they’ll be installed so their dimensions stabilize; keep boxes flat, open them slightly to allow air circulation, and avoid stacking heavier objects on top. Most manufacturers call for 48-72 hours at stable indoor conditions, and you should run your HVAC to maintain consistent temperature and humidity during that period.
- Keep unopened boxes flat on the floor, not on pallets or shelving, for even acclimation.
- Open a few boxes and fan out sample planks to speed equilibration if room airflow is limited.
- Maintain steady environmental controls-no large swings in heat or humidity during acclimation.
- Thou follow the manufacturer’s written acclimation time and record plank lot numbers to avoid shade mismatches.
Ideal Temperature and Humidity Levels
You should maintain a stable indoor temperature between 60-80°F (16-27°C) and relative humidity of 35-65% before, during, and 48-72 hours after installation; these ranges minimize plank expansion or contraction and mirror most manufacturer specifications.
Temperature & Humidity Guide
| Parameter | Recommended Range |
|---|---|
| Temperature | 60-80°F (16-27°C) |
| Relative Humidity | 35-65% |
Recommended Acclimation Time
You’ll typically let SPC vinyl acclimate 48-72 hours in the installation room; some manufacturers accept 24 hours for stable climates, while projects over concrete or in extreme climates often require 72 hours or more.
For concrete subfloors test for moisture (RH or MVER) and, if elevated, allow longer acclimation or remediation; commercial jobs and long cartons of mixed lots may need up to 7 days of staging indoors to ensure uniform temperature and color before installation.
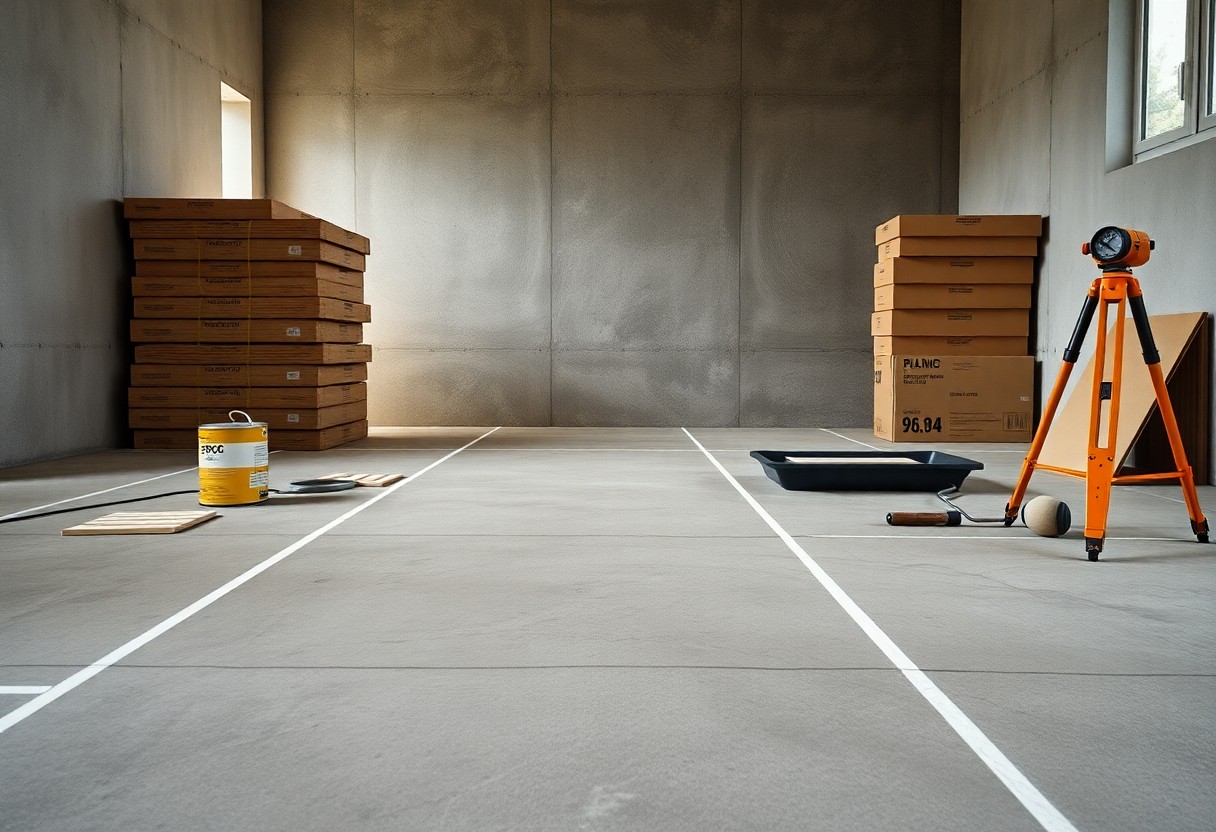
Tools and Materials Needed
You should gather both tools and consumables before you start: for a 300 sq ft room buy 330 sq ft of SPC (10% waste), have a moisture meter, underlayment if required, leveling compound, transition strips, and a basic tool kit. Manufacturers often call for acclimation 48 hours and a flatness of 3/16″ over 10 ft, so plan for a few extra hours and materials to correct dips or high spots before laying planks.
Essential Tools for Installation
Bring a tape measure, chalk line, carpenter’s square, utility knife, rubber mallet, tapping block, pull bar, spacers, and a jigsaw or miter saw with a fine-tooth or carbide blade for clean SPC cuts. You’ll also want a vacuum or shop-vac for dust control, a level to check flatness, and a pry bar for removing thresholds; every installer finds a quality tape measure and a reliable pull bar save hours on a typical 200-400 sq ft job.
Materials to Have on Hand
Stock up on underlayment (if spec’d, commonly 2mm foam), moisture barrier for concrete, leveling compound for subfloor repairs, transition strips, stair nosing, and matching trim. For ordering, add 10% waste for straight patterns and 20% for diagonal installs; buy adhesive only if your product is glue-down or for problem areas per manufacturer guidance.
Test the slab with a moisture meter or a calcium chloride test when in doubt; many SPC brands require slab flatness within 3/16″ over 10 ft and interior RH between about 35-65%, so plan for leveling compound and a vapor barrier if results exceed limits. Also acclimate boxes 48 hours at 65-85°F, keep extra planks for future repairs, and label leftover pieces by room for easy identification.
Installation Process Overview
Begin by confirming your subfloor is clean, dry and flat-patch any dips exceeding 3/16″ over 10′. You should keep room temperature between 60-80°F and maintain a 1/4″ expansion gap around perimeter; stagger end joints 6-8″ and plan seams so waste is under 10% for a typical 300 sq ft room. Expect 2-4 hours for a DIY install of a 300 sq ft room with click-lock SPC; allow 48 hours before heavy traffic if you used adhesive.
Step-by-Step Installation Guide
Sequence the work: prepare the subfloor, roll out underlayment if required, place the starter row with tongue toward the wall using spacers, lock long edges then short ends, trim the last row leaving the expansion gap, and finish with trims and transition strips. Use a tapping block and pull bar to ensure tight seams and check alignment every 6-8 rows.
| Step | Action |
|---|---|
| 1 | Verify flatness ≤3/16″ over 10′, sweep and vacuum thoroughly. |
| 2 | Lay underlayment per manufacturer (e.g., 1-2 mm foam) and tape seams. |
| 3 | Place starter row with 1/4″ spacers; cut from face side for clean edge. |
| 4 | Click long edges first, then lock short ends; stagger seams 6-8″. |
| 5 | Fit final row, trimming lengthwise and maintaining 1/4″ gap. |
| 6 | Install baseboards/thresholds without pinching planks; allow expansion. |
Common Mistakes to Avoid
Overlooking subfloor flatness, skipping acclimation, and failing to leave a 1/4″ expansion gap cause most failures: gaps, buckling, or popping seams. Using the wrong underlayment (e.g., thick cushioning on click systems) or improper adhesive type for SPC compounds problems. Set up a layout to avoid short end joints and check moisture with a meter if installing over concrete.
If you see gaps after a heat spike, it usually indicates insufficient expansion space-remove trim and add a wider gap or transition strip. When seams separate, inspect for debris or damaged locking profiles and use a pull bar to reseat planks; replace any warped pieces. For high-traffic areas, fast-track edge transitions and use recommended adhesive patterns for a permanent bond when specified by the manufacturer.
Conclusion
The thorough preparation ensures you have a dry, level, and clean foundation so you can install SPC vinyl successfully; by clearing your space, correcting subfloor and moisture issues, acclimating the planks, and organizing tools, you reduce installation problems and secure a durable, attractive finish.