Installation of large-format flooring demands planning, precision, and the right tools; you’ll learn proven layout strategies, substrate preparation techniques, and finishing tips that eliminate gaps, lippage, and uneven transitions. This guide gives step-by-step methods, material choices, and professional tricks so your project achieves a durable, factory-quality result you can trust.
Preparing for Installation
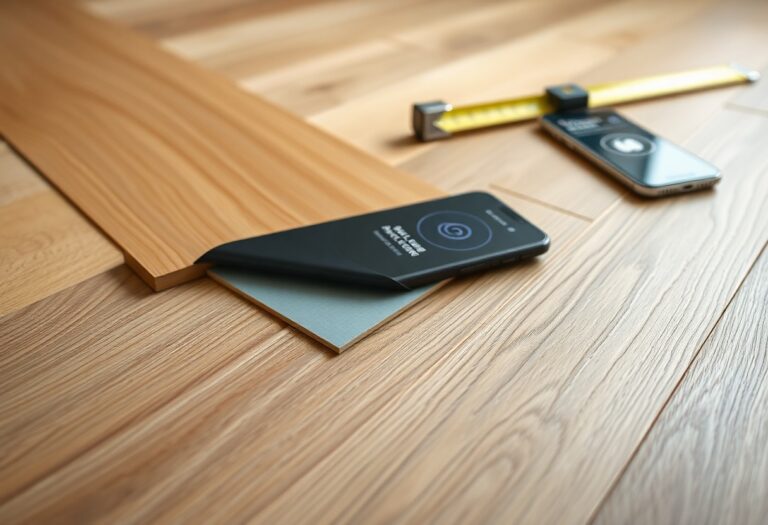
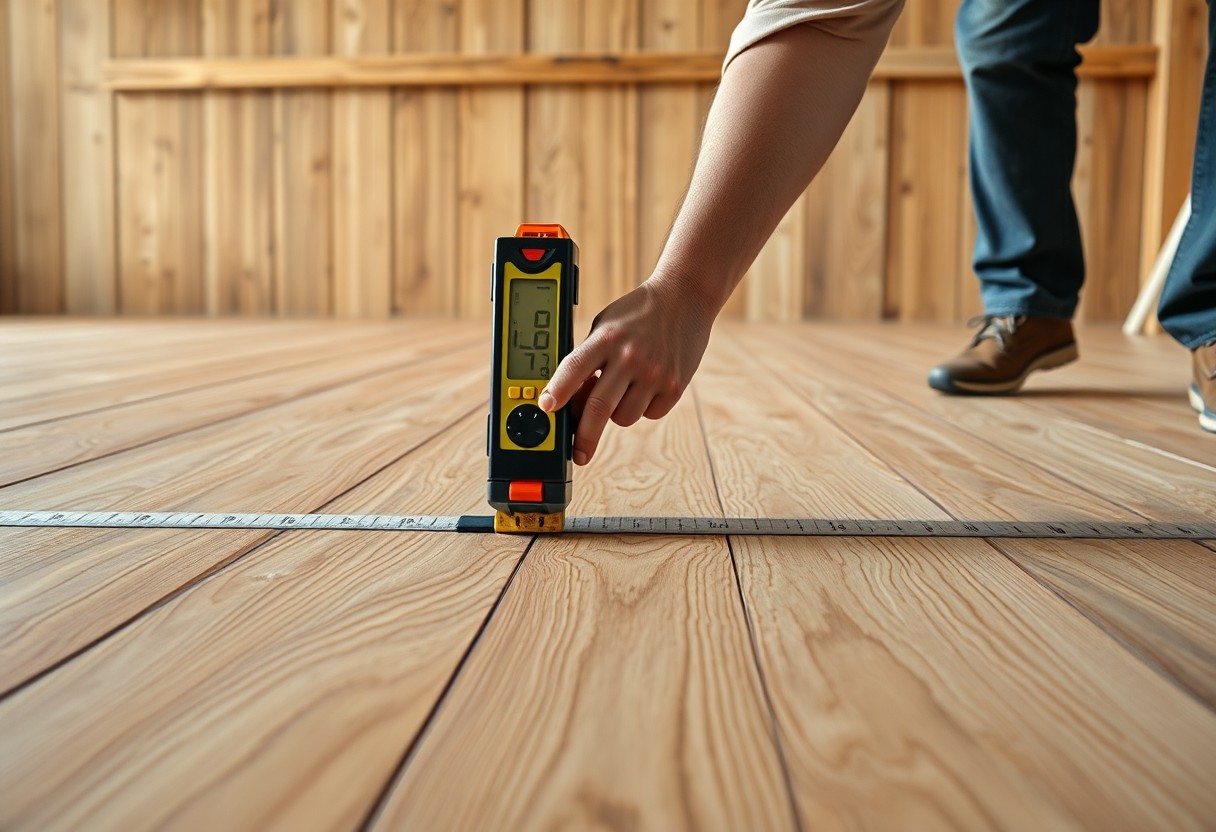
Clearing the room, checking subfloor flatness (≤3/16″ over 10 ft), and acclimating planks 48-72 hours at 60-80°F and 35-55% RH will set you up for success. Measure floor area and add 5-10% waste for straight runs, 10-15% for diagonal patterns. Use a moisture meter to verify manufacturer-specified levels, repair gaps or squeaks, and plan thresholds and transitions before you start.
Choosing the Right Materials
When selecting materials, match product specs to your use: choose engineered or solid hardwood with a 3-6 mm wear layer for refinishing potential, LVP with a 12-20 mil wear layer for heavy traffic, or laminate rated AC4/AC5 for commercial zones. Also pick underlayment-2-3 mm foam for comfort, cork for sound reduction, and a 6 mil vapor barrier over concrete. Order 5-15% extra based on pattern and waste.
Tools You Will Need
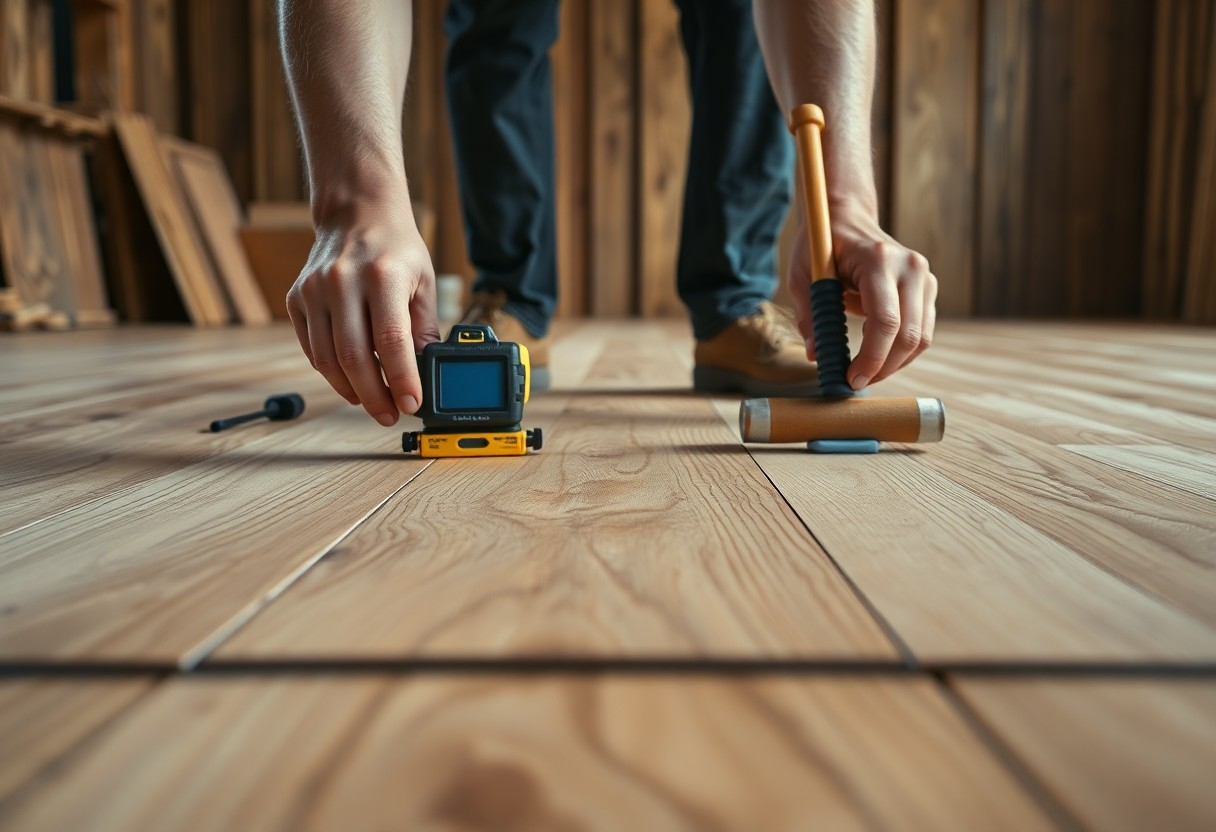
You should have a tape measure, chalk line, 6-8 ft level, and a square for layout and squareness. Add a flooring nailer or stapler for hardwood, mallet with a tapping block, pull bar, spacers, and suction cups for LVP. Power saws-miter saw for straight cuts and jigsaw for profiles-plus a moisture meter, utility knife, vacuum, knee pads, and safety glasses complete the kit.
When installing 500 sq ft, buy 10% extra (about 50 sq ft) and keep 20-30 spare boards for mistakes. You should use 1/4″ spacers to maintain a 1/4-3/8″ expansion gap around walls. For glue-down LVP follow the manufacturer’s trowel notch spec and roll the floor with a 100-150 lb weighted roller; check moisture readings-values above the product limit (often ~4% on concrete) require remediation before proceeding.
Subfloor Assessment
You inspect the subfloor for material type, rot, delamination, and fastener issues, noting whether it’s plywood, OSB, or concrete. Measure gaps and deflection: replace panels with delamination, secure loose boards, and mark areas where thickness or joist spacing deviates from manufacturer specs. Use a moisture meter and straightedge early so you can budget for levelling compounds, vapor control, or plywood overlays rather than discovering problems after ordering materials.
Checking for Levelness
You use a 6-10 ft straightedge or laser level to find high/low spots; many manufacturers allow up to 3/16″ deviation over 10 ft for floating floors, while tile often requires 1/8″ over 10 ft and L/360 deflection. When you find dips greater than spec, fill with a feathering patch or self-leveling underlayment (0-1/4″ feather, then up to 1″ with concrete resurfacer) and shim or sister joists where excessive deflection exists.
Moisture Control Measures
You verify slab moisture with ASTM tests: calcium chloride (ASTM F1869) and in-situ relative humidity probes (ASTM F2170). Typical limits are ≤3.0 lbs/1,000 ft²/24 hr (CaCl) or ≤75% RH, and wood flooring should be acclimated to about 6-9% moisture content and within 2% of the subfloor. If readings exceed limits, install a vapor retarder, epoxy moisture mitigation, or a manufacturer-approved membrane before installing finish flooring.
You place multiple test points-commonly one RH probe per 1,000 sq ft and additional readings within 3 ft of exterior walls, joints, and doorways-to map hot spots. Then you decide between surface solutions (60-100 mil epoxy primers that lower vapor transmission) and systemic fixes (improving drainage, sump pumps, or adding a continuous vapor barrier under new slab). Always document readings and mitigation methods for warranty compliance and future maintenance.
Installation Techniques
Layout Planning
You should measure room dimensions precisely and add about 10% for waste when cutting around doorways and corners. Begin from the longest straight wall, snap a chalk line to keep rows square, and stagger end joints 6-8 inches for structural stability. For runs over 20 feet, plan a transition joint, and align plank direction with the main light source to minimize visible seams.
Layout Checklist
| Measure & Calculate | Measure length/width, add 10% waste; confirm sq ft before ordering. |
| Starting Wall | Choose the longest straight wall; snap a chalk line for first row alignment. |
| Staggering | Offset end joints 6-8 inches to prevent weak seams. |
| Transitions | Plan transition strips for runs >20 ft or between rooms. |
| Light & Pattern | Lay planks parallel to main light source; dry-lay 3 rows to confirm pattern. |
Step-by-Step Installation Process
Begin by acclimating materials 48-72 hours at the job-site temperature, then verify the subfloor is clean, dry and flat to within 3/16″ over 10 feet. Choose a 2mm foam underlayment for floating floors or follow the manufacturer’s adhesive for glue-down systems; use a tapping block and pull bar to lock click systems without damaging edges. Maintain a 3/8″ expansion gap and install thresholds at doorways.
On a 500 sq ft room with two installers you can typically finish in 6-8 hours including prep; solo installers should budget 10-12 hours. When screwing or nailing, place fasteners every 6-8 inches along joists and sand any high spots over 1/16″. For radiant-heated floors confirm max surface temp (commonly 85°F/29°C) and use adhesives rated for heat exposure.
Installation Steps
| Acclimate | 48-72 hours at installation temperature, keep in original cartons. |
| Subfloor Prep | Clean, dry; level tolerance ≤3/16″ over 10 ft; repair any deflection. |
| Underlayment | Use 2mm foam for floating floors or specified cork/foil for sound/heat control. |
| Initial Layout | Snap chalk line, dry-lay 2-3 rows to confirm pattern and cuts. |
| Installation | Click-lock: use tapping block/pull bar; Glue-down: apply adhesive consistently, follow open time. |
| Seams & Cuts | Stagger joints 6-8 inches; use a fine-tooth blade for clean plank edges. |
| Finishing | Install trims, maintain 3/8″ expansion gaps, allow adhesive cure per manufacturer. |
Finishing Touches
Your last pass checks plank alignment, gap consistency, and surface cleanliness: confirm expansion gaps are 1/4″-3/8″ around perimeters, tighten any loose seams with a tapping block, and vacuum grit from grooves before applying trim. You should reattach baseboards or install quarter-round, use 18‑gauge brads into the wall-not the flooring-and wait 24 hours after adhesive spots cure before heavy traffic; for glued areas, test a small section to verify bond strength and finish match under room lighting.
Trimming and Edging
When trimming, undercut door jambs 3/8″ with a jamb saw so planks slide under and maintain the expansion gap; you should make mitered cuts at 45° for inside corners and use a coping saw for tight fits around pipes. Fasten shoe moldings with 18‑gauge nails into the wall studs every 12″ and avoid nailing into the plank; use a pull bar on final rows to close gaps without damaging tongues.
Adding Transition Strips
Choose T‑molding, reducers, or thresholds based on height differential: T‑molding suits equal heights up to 1/16″, reducers cover 1/16″-3/8″ drops, and thresholds bridge doorways or exterior sills. Install metal or wood profiles with construction adhesive plus screws into the subfloor every 8-12″ for long runs, ensuring the top of the profile sits flush and you leave a 1/8″ clearance at each end for expansion.
Measure runs and cut profiles with a mitre saw or hacksaw, deburr edges, and predrill screw slots where required; for aluminum strips use #8 stainless screws and countersink by 1-2 mm so screw heads don’t ride proud. In installations over radiant heat or long continuous areas (over 20 ft), increase your expansion allowance to 3/8″ and use floating-compatible transition clips to accommodate movement while maintaining a flush, professional finish.
Maintenance Tips
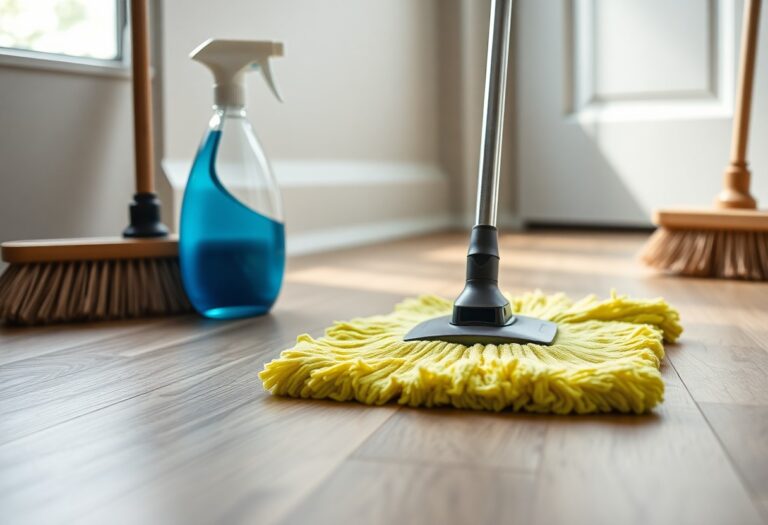
Establish a predictable care routine: vacuum high-traffic areas 1-2× per week, damp-mop weekly with a pH-neutral cleaner, and deep-clean grout every 12-18 months to avoid buildup. Protect edges with felt pads and use walk-off mats to reduce tracked grit by up to 70%. Any maintenance plan should include seasonal humidity checks (35-55% ideal), periodic inspection of expansion gaps, and a recycling schedule for recoats or reseals based on measured wear and traffic.
- Vacuum 1-2×/week with soft-brush attachment
- Damp-mop weekly using pH-neutral cleaner
- Deep-clean grout every 12-18 months and reseal grout 12-24 months
- Recoat hardwood polyurethane every 3-5 years (higher in commercial areas)
- Monitor indoor humidity at 35-55%
Cleaning and Care for Your Flooring
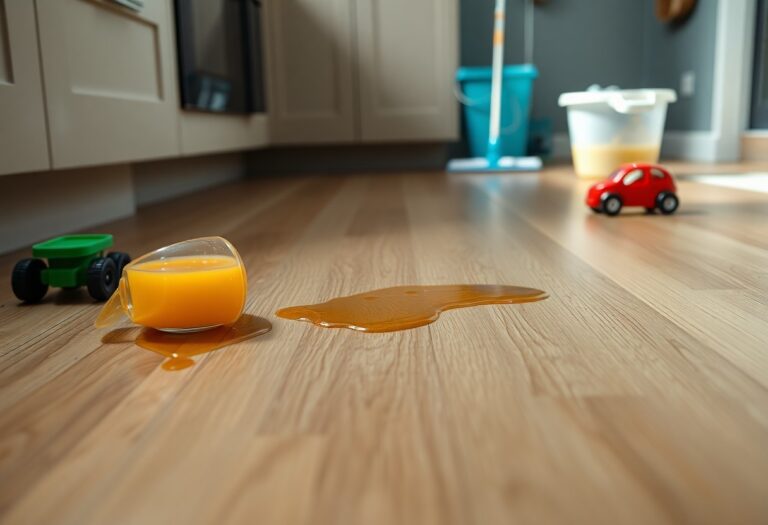
For day-to-day care, vacuum to remove abrasive grit, then use a microfiber damp mop with a pH-neutral solution diluted per label (many manufacturers suggest ~1:40). Avoid steam cleaners on hardwood or engineered boards and acidic cleaners on stone. Wipe spills within five minutes to prevent staining or moisture intrusion; for vinyl, a mild cleaner diluted 1:10 works well without leaving residue.
Long-term Maintenance Best Practices
Plan annual inspections to spot loose boards, seam gaps, or finish wear and measure subfloor moisture when you see cupping. Solid hardwood often requires sanding and refinishing every 7-10 years under typical residential traffic; engineered floors may accept a single light sand. Track product brands, finish types, and repair dates so replacements match the original system.
Handle localized wear early: sand and spot-refinish high-wear runs before they widen, replace worn transitions within 6-12 months, and choose commercial-grade finishes (three coats of oil-modified or waterborne polyurethane) for entryways. If slab RH exceeds ~75%, install vapor mitigation before major refinishing; timely resealing and traffic control can extend surface life by 30-50%.
Troubleshooting Common Issues
When you hit snags, triage by measuring and isolating faults: address gaps over 1/8″ (3 mm), bubbles larger than 1″ (25 mm), and loose planks first. Use a hygrometer to confirm site humidity-35-55% for vinyl/engineered, 40-60% for solid hardwood-and check subfloor flatness (≤3/16″ over 10 ft). Then apply targeted fixes below, documenting plank lot numbers and photos for warranty claims.
Addressing Gaps and Bubbles
If gaps are under 1/4″ you can compress floating joints or inject color-matched wood filler; for 1/4″-3/8″ trim or add a transition strip. Bubbles in glue-down flooring often respond to heat and re-adhering: use a 2″ seam roller, apply adhesive under the bubble with an injection syringe, and weight for 24 hours. For recurring gaps, check moisture and acclimation-seasonal swelling can open seams by several millimeters.
Repairing Damaged Sections
Distinguish surface scratches from structural breaks: sand and fill shallow scratches with a 2-part filler and 180-220 grit finish, while cracked or delaminated planks require replacement. For floating floors, remove planks back to a removable seam; for glue-down, cut out a 6-12″ damaged area and prepare a matched replacement from the same production lot. Seal seams with manufacturer-approved adhesive and allow full cure.
For a full repair, follow these steps: remove baseboards, cut out damaged plank using an oscillating tool or jigsaw, dry-fit a replacement trimmed 1-2 mm under thickness to allow expansion, apply polyurethane or manufacturer-specified adhesive, press and clamp for 24 hours, then sand with 120-220 grit and blend finish with stain or touch-up pens. For vinyl, heat-weld seams or use seam sealer; always test adhesive and finish on scrap before final installation.
Conclusion
Now you can tackle giant flooring installation confidently by applying expert secrets that simplify large-area layout, ensure proper subfloor prep, control adhesive and seam precision, and optimize finishing-follow accurate measuring, acclimation, and consistent technique so your floor is durable, level, and visually seamless.