Flooring is a significant investment in your home, and choosing the right type can enhance both aesthetic appeal and functionality. In this ultimate guide, you will explore the myriad benefits of engineered flooring, along with tips regarding its installation and maintenance. Whether you are renovating or building from scratch, understanding these key aspects will empower you to make informed decisions that suit your style and lifestyle.
Types of Engineered Flooring
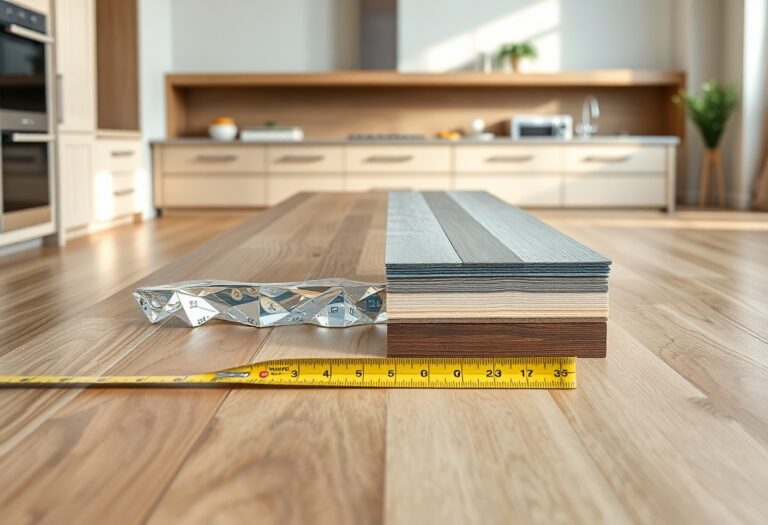
When opting for engineered flooring, you have diverse options tailored to your style and needs. These types are categorized primarily by their core materials and top veneer layer. Each type offers unique aesthetics, durability, and environmental benefits.
- Pine
- Oak
- Maple
- Walnut
- Bamboo
Any choice will enhance your space while providing long-lasting performance.
| Type | Characteristics |
| High-Density Fiberboard (HDF) | Cost-effective, moisture resistant, not as durable |
| Plywood | Strong, stable, good for high-traffic areas |
| Particleboard | Economical, less moisture resistant, suitable for lower traffic |
| Wood Veneer Core | Elegance with a natural wood appearance |
| Metal Core | Highly durable, ideal for commercial settings |
Different Wood Species
Your choice of wood species significantly influences the aesthetic and durability of your engineered flooring. Oak, a popular option, delivers a classic look and is highly resilient. Maple offers a contemporary style with a light color palette, while walnut brings warmth and richness. Pine is softer but provides a rustic charm, whereas bamboo is sustainable and remarkably durable. Each species imparts its unique character to your space.
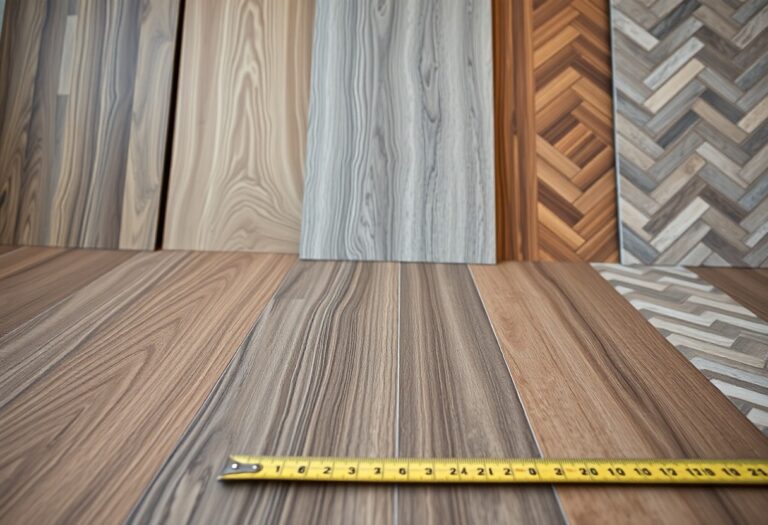
Finishes and Textures
Finishes and textures contribute greatly to the visual appeal and feel of engineered flooring. You can choose between matte, satin, or glossy finishes, each providing different levels of shine and maintenance needs. Textures like handscraped or wire-brushed can enhance the flooring’s character, giving it a more natural look and feel. The finish also affects the durability and ease of cleaning, ensuring it matches your lifestyle.
For instance, a satin finish offers a soft sheen that hides scratches better than high-gloss finishes, making it ideal for busy households. Conversely, a matte finish allows the natural wood grain to shine without unwanted reflections, creating a more rustic appeal. Textured surfaces not only add an aesthetic layer but also provide better grip and hide wear over time, making them practical for various environments.
Benefits of Engineered Flooring
Engineered flooring combines the best of both worlds, offering a solid wood surface on a stable core, enhancing both its longevity and aesthetic versatility. This flooring type is designed to withstand varying humidity levels and temperature fluctuations, making it an ideal choice for diverse environments. With easy installation and maintenance, engineered flooring stands out as a practical yet stylish option for modern homes.
Durability
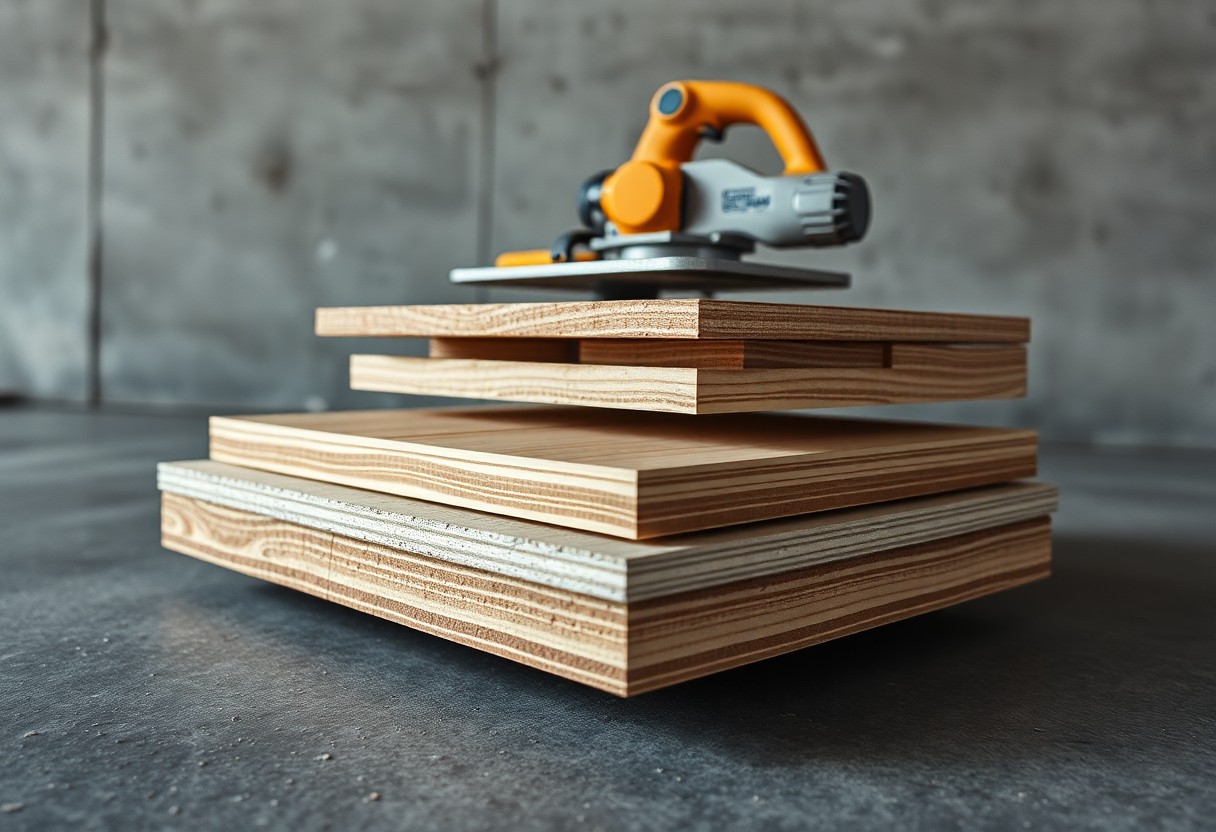
The durability of engineered flooring comes from its multi-layer construction, which resists warping and cracking better than solid hardwood. The top layer is real wood, while the core often consists of plywood or high-density fiberboard. This design makes it suitable for areas with fluctuating moisture, such as basements and kitchens, providing you with a long-lasting floor solution that can handle everyday wear and tear.
Aesthetic Appeal
Engineered flooring delivers exceptional aesthetic appeal, allowing you to choose from a myriad of wood species, finishes, and textures. This versatility means you can achieve the look of solid hardwood without the associated limitations. The wide array of grains and colors available ensures that you can find the perfect match for your interior design style, whether it’s contemporary or traditional.
This flooring option offers a unique advantage as it can mimic rare and exotic woods, providing luxury at a more accessible price point. You can select finishes that enhance the grain or opt for distressed looks that give your floors character. Many engineered boards come in wider planks, which can create a more expansive feeling in your space. With options ranging from polished oak to rustic walnut, engineered flooring allows you to customize your environment seamlessly while maintaining a high-end appearance.
Installation Tips
To ensure a successful installation of your engineered flooring, follow these imperative tips. Begin by acclimating the planks to your room’s temperature and humidity for at least 48 hours prior to installation. This minimizes expansion or contraction post-installation.
- Inspect and level your subfloor.
- Use a vapor barrier if installing over concrete.
- Leave expansion gaps around the perimeter.
- Utilize proper underlayment for noise reduction.
Perceiving the environment and conditions before installation will greatly extend the lifespan of your flooring.
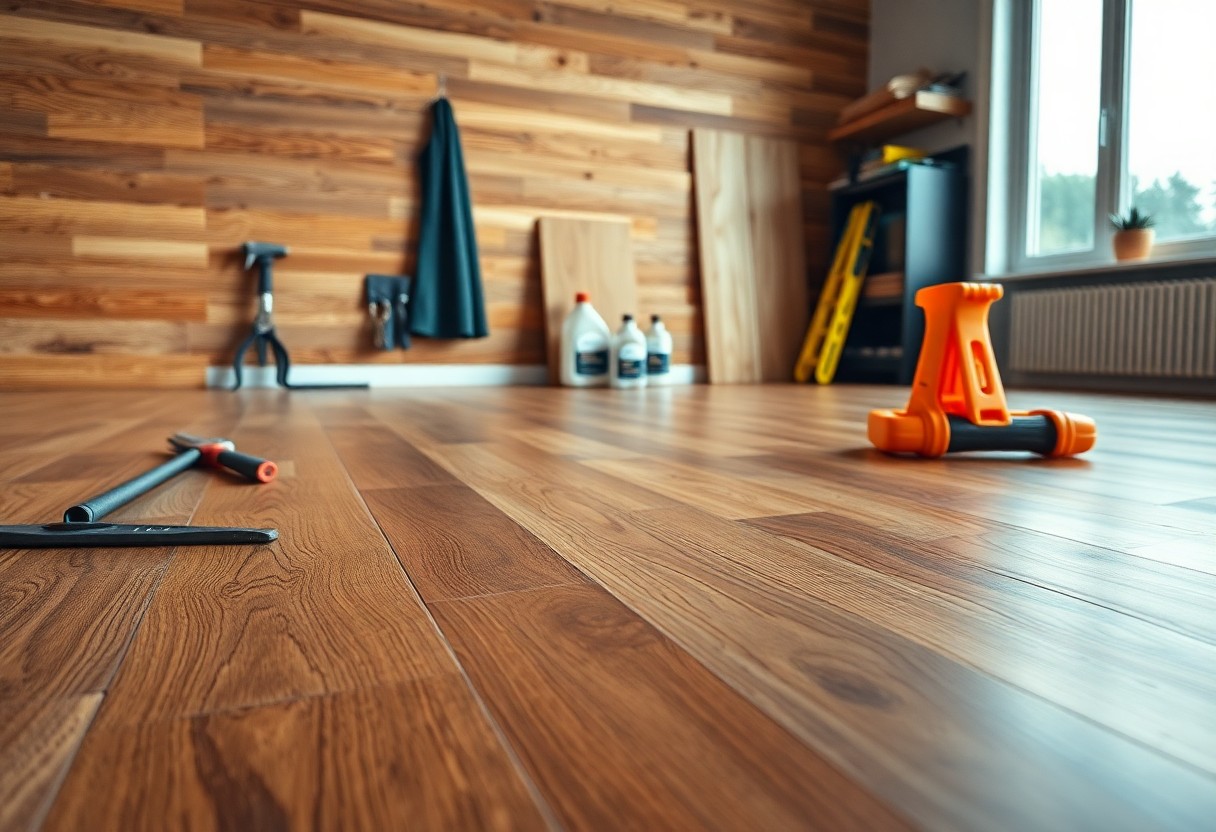
Tools and Materials Needed
Your installation toolkit should include a measuring tape, saw, tapping block, pull bar, spacers, and a mallet. Ensure you also have the right type of underlayment based on your subfloor material. Additional adhesive or nails may be necessary for certain types of engineered flooring.
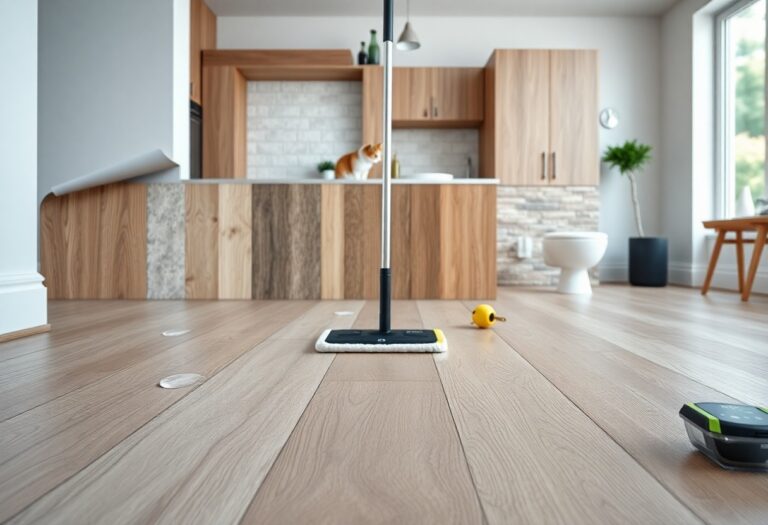
Pre-Installation Preparation
Proper pre-installation preparation is vital for achieving a flawless finish. Start by clearing the room of furniture and debris, ensuring the subfloor is clean, dry, and level. Acclimating the engineered planks in the installation area allows them to adjust to the room’s conditions, reducing the risk of warping or buckling after installation.
In preparation, check the humidity and temperature of the room, aiming for around 60-80°F and 30-50% humidity. This creates the optimal setting for the flooring. Additionally, address any unevenness in the subfloor using a self-leveling compound. Ensuring a well-prepared environment will lead to a more seamless installation experience.
Step-by-Step Installation Process
| Step | Description |
| 1. Measuring and Planning | Accurately assess the area to determine how many planks you’ll need and plan the layout for optimal visual appeal. |
| 2. Preparing the Subfloor | Ensure the subfloor is clean, dry, and level for proper installation. |
| 3. Laying the Planks | Begin laying the planks in your chosen pattern, ensuring tight seams and proper alignment. |
| 4. Finishing Touches | Install baseboards or transition strips for a polished finish. |
Measuring and Planning
Start your installation by measuring the room’s length and width to calculate the total square footage. You’ll need an additional 10% for waste and cuts. Next, develop a layout plan that showcases the planks’ best features while considering the natural light in the space, ensuring that the flow and pattern are visually appealing.
Laying the Planks
Once your subfloor is ready, begin laying the planks from one corner of the room, ideally parallel to the longest wall or the main light source. Use spacers to maintain expansion gaps along the walls, and ensure each plank is snugly fit into the next for a seamless look. A tapping block can help secure tight joints without damaging the edges.
As you progress, stagger the seams of adjacent rows by at least 6 inches to enhance stability and aesthetics. Keep a consistent pattern and periodically check for level and alignment. This ensures not only a beautiful finish but also long-term durability, making your flooring a worthwhile investment.
Factors to Consider Before Installation
Before installing engineered flooring, it’s vital to consider several factors that will significantly affect the outcome and longevity of your flooring. These include:
- Subfloor type and condition
- Climate and humidity levels
- Acclimation of flooring
- Your lifestyle and usage patterns
- Type of engineered flooring you choose
The right preparation will lead to a smoother installation and better performance.
Subfloor Compatibility
Your subfloor plays a pivotal role in the overall success of your engineered flooring installation. Ensure that your subfloor is clean, dry, and level, as uneven surfaces can cause planks to warp or buckle over time. If you have a concrete subfloor, moisture barriers may be necessary to prevent damage. It’s often recommended to check for structural integrity and any signs of damage before proceeding.
Climate and Humidity
Evaluating the climate and humidity levels in your area is vital for maintaining your engineered flooring. High humidity can lead to expansion and warping of the planks, while excessively dry conditions can cause them to contract. Aim to maintain indoor humidity levels between 30-50% through the use of humidifiers or dehumidifiers. This balance protects your flooring investment and enhances its longevity.
To effectively manage climate and humidity, consider adding ventilation in areas prone to moisture buildup, such as basements. Investing in a hygrometer can help you monitor indoor humidity levels accurately, allowing you to take corrective measures before issues arise. Addressing climate factors before installation safeguards your flooring from potential future complications related to moisture and expansion.
Pros and Cons of Engineered Flooring
| Pros | Cons |
|---|---|
| Durability and stability | Limited refinishing options |
| Resistant to moisture | Some can be less authentic in appearance |
| Easy installation methods | Can be more expensive than laminate |
| Wide range of styles | Lower resale value compared to solid wood |
| Environmentally friendly options | May produce VOCs |
| Comfort underfoot | Susceptible to scratching |
| Less prone to warping | Requires proper maintenance |
| Good insulation properties | Not ideal for all subfloors |
| Compatible with radiant heating systems | Acclimation needed before installation |
| Easy to clean | Limited warranty compared to hardwood |
Advantages
Engineered flooring offers numerous advantages, including unparalleled durability and stability due to its multi-layer construction. Its resistance to moisture makes it an ideal choice for areas like basements or kitchens. You can also enjoy a variety of styles that mimic the look of solid wood, giving your space an elegant ambiance. Additionally, the installation process is user-friendly, allowing for DIY projects to be completed efficiently. With options for eco-friendly materials and compatibility with radiant heating, engineered flooring stands out as a versatile choice for many homeowners.
Disadvantages
Despite its benefits, engineered flooring comes with a few disadvantages. A key drawback is the limited number of times you can refinish the surface compared to solid hardwood. You may notice that some designs lack the authentic appearance of traditional wood, which could affect your home’s aesthetic. Though generally lower-priced than solid wood, some engineered options can still be more costly than laminate. Be aware that certain varieties may emit volatile organic compounds (VOCs) and ongoing maintenance is important to keep the floors looking their best over time.
Moreover, engineered flooring is susceptible to scratches, especially in high-traffic areas. This can necessitate greater care, including using rugs or mats in strategic locations. The warranty associated with engineered flooring can also be more limited compared to traditional hardwood, making it crucial to select high-quality brands. Finally, not all subfloors are compatible with engineered flooring, which means you may need to invest additional resources into ensuring proper installation conditions.
Final Words
Now that you have explored the benefits, installation methods, and care tips for engineered flooring, you are well-equipped to make informed decisions for your home. This flooring option combines aesthetic appeal with practical advantages, ensuring long-lasting value. By following the proper installation guidelines and maintenance practices, you can enjoy the beauty and durability of engineered flooring for years to come. Transform your space confidently, knowing you have the right knowledge at your fingertips.