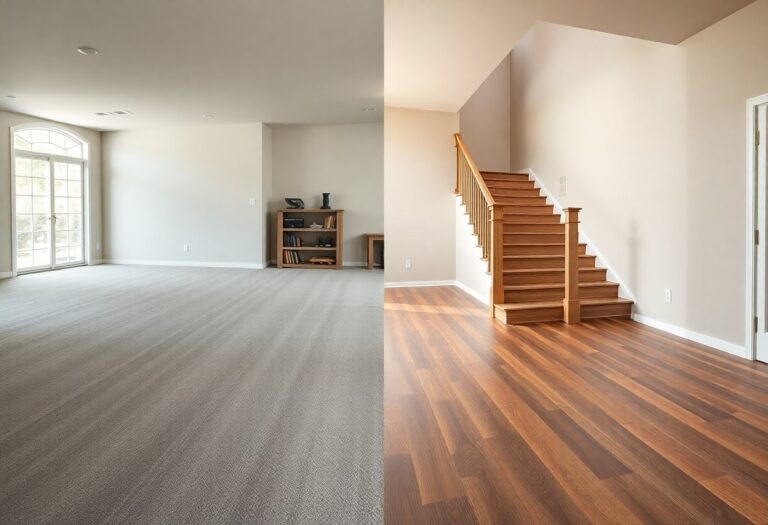
This comprehensive guide will empower you with the imperative knowledge and steps needed for a successful dry back vinyl flooring installation in Kitchener. You will learn about the materials required, preparation techniques, and installation methods tailored to suit your space and style. With practical tips and expert insights, you can confidently transform your floors and enhance your home’s aesthetic with durability and ease.
Crafting the Ideal Environment for Installation
Setting up the right environment is fundamental for a successful dry back vinyl flooring installation. Proper conditions ensure the material adheres well and performs optimally in your space. This means preparing your subfloor and maintaining an ideal climate to prevent future issues like warping or peeling.
Assessing Subfloor Conditions
Inspecting your subfloor is imperative for installation success. It should be clean, dry, flat, and structurally sound. Any debris, moisture, or inconsistencies can lead to problems down the line. Specifically, concrete subfloors must not exceed 3% moisture content while wood subfloors should be stable and free from excessive flexing.
Creating the Perfect Climate
A comfortable climate will maximize the life of your vinyl flooring. Ideal installation temperatures should range between 65°F and 85°F (18°C to 29°C). Humidity levels should be kept between 30% and 50%. Such conditions minimize expansion and contraction of the vinyl, allowing for a snug fit and excellent performance over time.
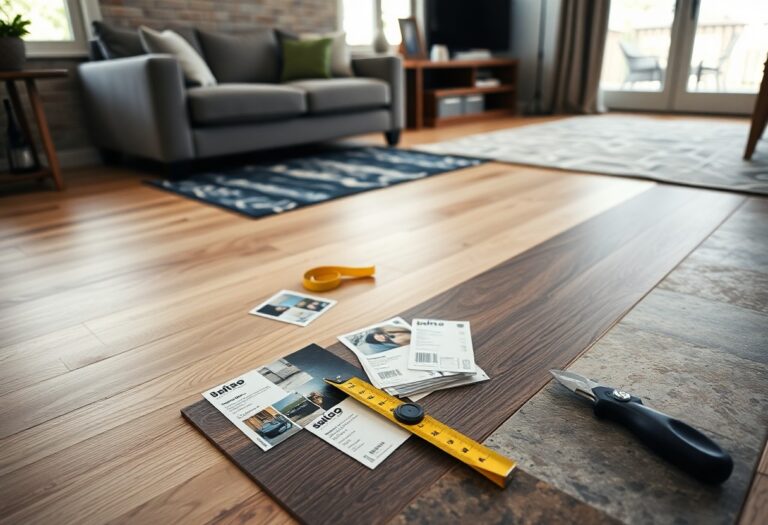
Tools and Materials: What You Really Need
Having the right tools and materials on hand simplifies the installation of dry back vinyl flooring, ensuring a professional look. Key items include a utility knife, straight edge, measuring tape, chalk line, and trowel for adhesive application. Additionally, don’t overlook an underlayment, which can enhance comfort and soundproofing. By gathering everything beforehand, you can streamline the process and avoid unnecessary interruptions.
Essential Tools for a Flawless Finish
The vital tools for achieving a flawless finish include a floor scraper for removing old flooring, a rolling pin to ensure proper adhesion, and spacers to maintain even gaps along the walls. A level is also vital to check the surface beneath the vinyl, ensuring your final installation remains flat and even throughout. This careful preparation sets the stage for a successful project.
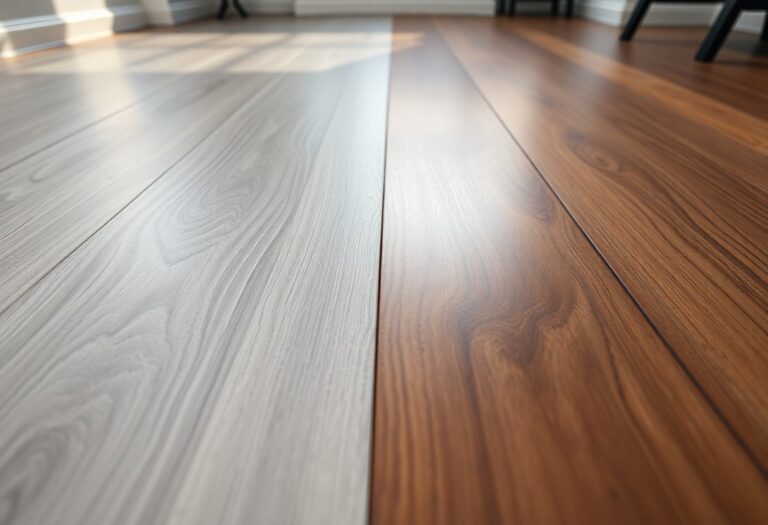
Selecting the Right Vinyl Planks
Your choice of vinyl planks can significantly impact the overall aesthetic and functionality of your flooring. Look for planks that match your decor and lifestyle, whether it’s a wood-look design for a cozy feel or a pattern for a more modern look. Consider factors such as thickness, wear layer durability, and the backing material to ensure compatibility with your environment.
Focus on thickness and wear layer when selecting vinyl planks. A minimum thickness of 4 mm is recommended for residential use, while commercial applications may require thicker options for heightened durability. The wear layer, typically ranging from 6 mil to 20 mil, dictates your flooring’s resistance to scratches, stains, and overall wear. Choosing a higher mil count offers better protection in high-traffic areas, making it a smart investment for longevity and performance.
Mastering the Installation Process Step-by-Step
| Step | Action |
| 1 | Prepare the subfloor and ensure it’s level. |
| 2 | Gather tools and materials needed for installation. |
| 3 | Plan your layout for proper plank placement. |
| 4 | Begin laying down the planks according to your layout. |
| 5 | Finish with trimming and edge sealing. |
Pre-Installation Preparation
Preparing your space before installation saves time and ensures a smoother process. Start by cleaning the subfloor thoroughly, checking for imperfections, and making it level. Acclimate your vinyl planks to the room temperature for 48 hours to prevent expansion or contraction post-installation. Have all your tools and materials organized within reach to streamline your workflow and minimize interruptions during the process.
Techniques for Precise Plank Placement
For flawless plank placement, establish a reference line down the center of the room. This allows you to work symmetrically from a central point, helping to minimize cut pieces at the edges. Use spacers to maintain uniform gaps between the planks and walls, promoting expansion. Ensuring every plank clicks securely in place prevents shifting and enhances durability.
Measure carefully, cutting where necessary to fit planks against walls or other obstacles. The use of a chalk line to mark your starting point ensures all planks align correctly from the outset. Regularly check the alignment as you work, adjusting as needed, since even a slight shift can lead to misalignment and a less professional finish.
Seamlessly Finishing the Edges
Finishing the edges of your flooring enhances its overall appearance and protects the seams. Use quarter round or baseboard trim to cover gaps between the flooring and walls, ensuring a clean transition. For added detail, caulk the edges to create a seamless look that complements your home’s decor while allowing for slight movement of the floor underneath.
Choosing the right trim style can further elevate the aesthetic of your installation. Consider matching the trim color to your flooring, or using contrasting colors for a modern edge. Properly securing and sealing the edges not only improves the visual appeal but also increases longevity, reducing the risk of moisture seeping underneath the planks.
Troubleshooting: Common Pitfalls and Expert Solutions
Even with careful installation, issues can arise that affect the performance of dry back vinyl flooring. Identifying these challenges early can save you from significant headaches later. From uneven subfloors causing visual imperfections to improper acclimatization leading to expansion, knowing how to troubleshoot these common pitfalls is vital. This section will provide actionable solutions to keep your flooring looking great and performing well.
Identifying and Resolving Gaps and Creaks
Gaps and creaking noises can detract from the aesthetic and functionality of your flooring. Start by checking for gaps between planks; improper subfloor preparation or temperature fluctuations may cause these. If you notice creaking, it could signify loose boards or insufficient adhesive. Tightening screws or adding more adhesive can resolve the issue, ensuring a smoother and quieter surface.
Preventing Moisture Damage in Kitchener’s Climate
Kitchener’s variable climate presents unique challenges for flooring longevity. Adequate moisture barriers and humidity control are vital in preventing water damage. During installation, ensure that a quality underlayment is in place, which can mitigate moisture from below. Additionally, using dehumidifiers or proper ventilation in high-humidity seasons can further protect your flooring investment.
In Kitchener, where humidity levels can fluctuate dramatically, proactive measures are necessary to avoid moisture damage. Consider installing an additional moisture barrier beneath the flooring, especially in basements and ground-level installations. Regular monitoring of indoor humidity levels is vital; aim for 30-50% relative humidity. Using mats at entry points can help absorb moisture from shoes, minimizing water exposure. Proper maintenance, including promptly addressing spills, guarantees the durability of your vinyl flooring against Kitchener’s climate challenges.
Post-Installation Care: Maintaining Your Floors’ Beauty
After installation, proper care is crucial to preserve the stunning appearance of your dry back vinyl flooring. Regular maintenance not only enhances its aesthetic but also prolongs its lifespan. By following a few straightforward care practices, you can keep your floors looking as good as new for years to come.
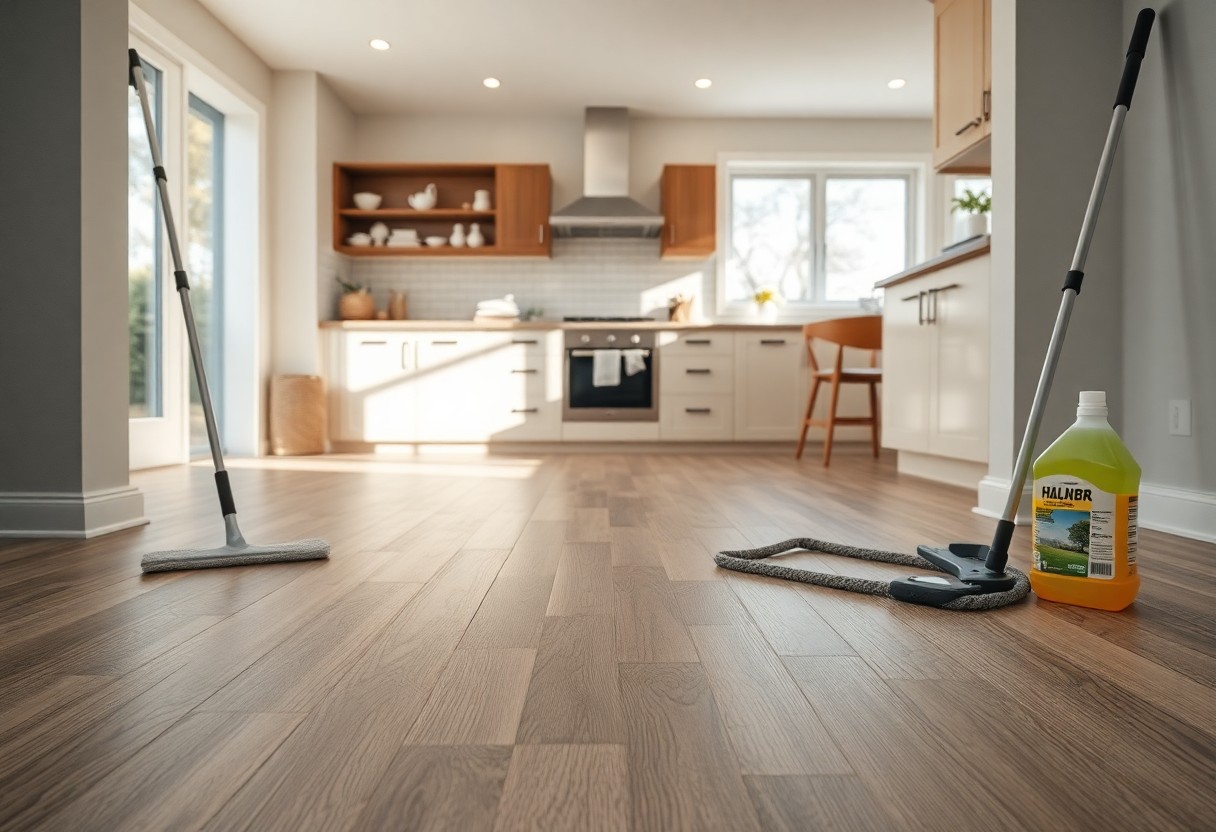
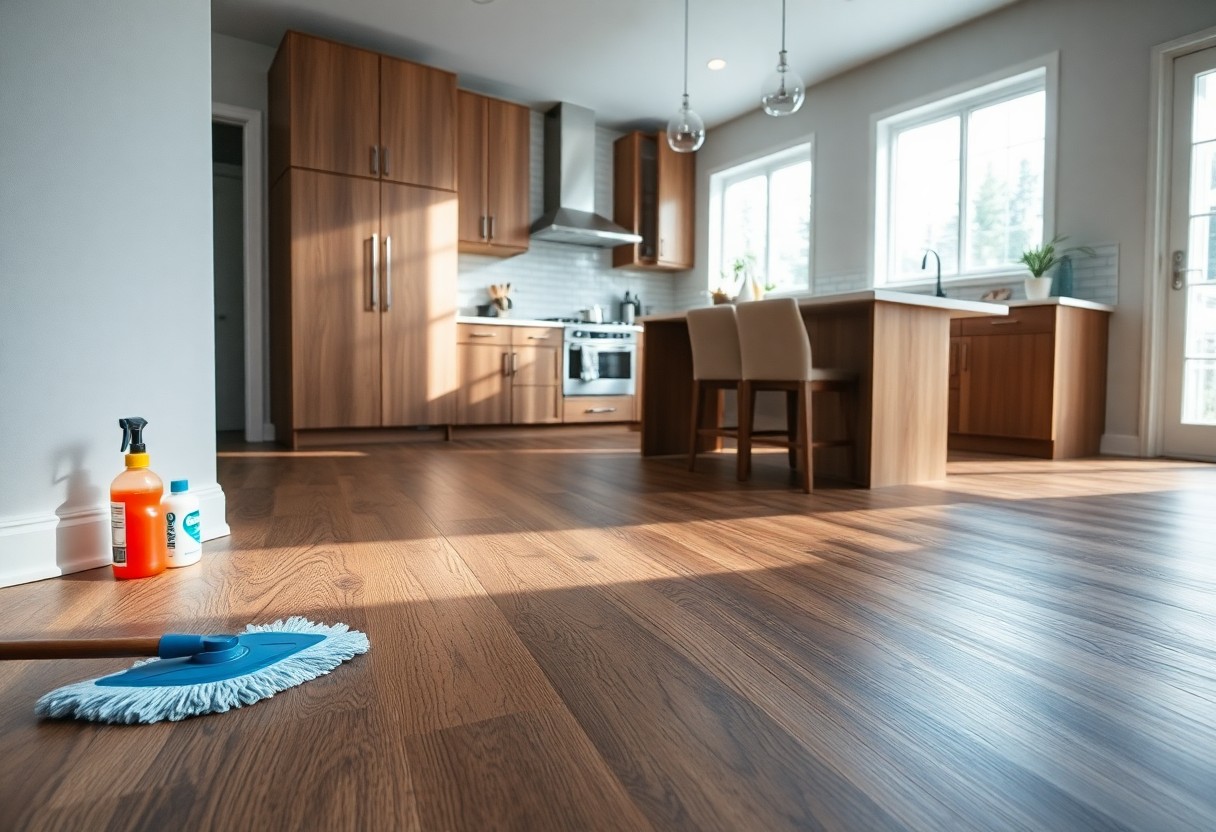
Cleaning and Proper Care Practices
Start with a routine cleaning schedule to eliminate dirt and debris that can scratch the surface. Use a soft-bristle broom or a vacuum cleaner specifically designed for hard floors. For deeper cleaning, a damp mop with a mild vinyl floor cleaner works effectively. Avoid harsh chemicals or abrasive materials to maintain the finish and avoid damage.
Tips for Longevity and Performance
To ensure your flooring stands the test of time, avoid dragging heavy furniture and consider using felt pads under furniture legs. Regularly check for signs of moisture, as excess water can lead to swelling and warping. Maintaining consistent indoor humidity levels can drastically improve the overall durability of your flooring.
- Place mats at entryways to minimize dirt and moisture.
- Use a dehumidifier in high-moisture environments.
- Interval clean spills promptly to prevent stains.
- Arrange for professional deep cleaning every few years.
- The right maintenance can ensure years of enjoyment from your floors.
Staying proactive about maintenance can significantly enhance the longevity and performance of your flooring. Regular inspections for any wear and tear, along with immediate attention to scratches or dents, will keep your vinyl looking its best. Always ensure that high-traffic areas are monitored closely, as these spots usually require extra care.
- Consider applying a protective sealant periodically for added resilience.
- Keep pets’ nails trimmed to prevent scratches.
- Remove shoes before entering to minimize dirt and grime.
- Follow manufacturer guidelines for cleaning products.
- The right tactics in maintaining your flooring can greatly enhance its lifespan.
To wrap up
So, as you launch on your dry back vinyl flooring installation in Kitchener, ensure you follow the imperative steps outlined in this guide. By preparing your subfloor properly, using the right tools, and adhering to installation techniques, you can achieve a beautiful and long-lasting finish. Your attention to detail during the process will yield impressive results that enhance your space’s functionality and aesthetic appeal. Trust in your abilities, and enjoy the satisfaction of completing your flooring project successfully.