You might think installing white oak flooring is a simple task, but there are common pitfalls that can jeopardize the beauty and longevity of your investment. In this guide, you’ll learn about the key installation mistakes to avoid, ensuring your new floor not only looks stunning but also stands the test of time. By being mindful of these missteps, you can achieve a professional finish that enhances your home’s overall appeal while providing durable functionality.
Selecting the Right Materials: Avoiding Costly Missteps
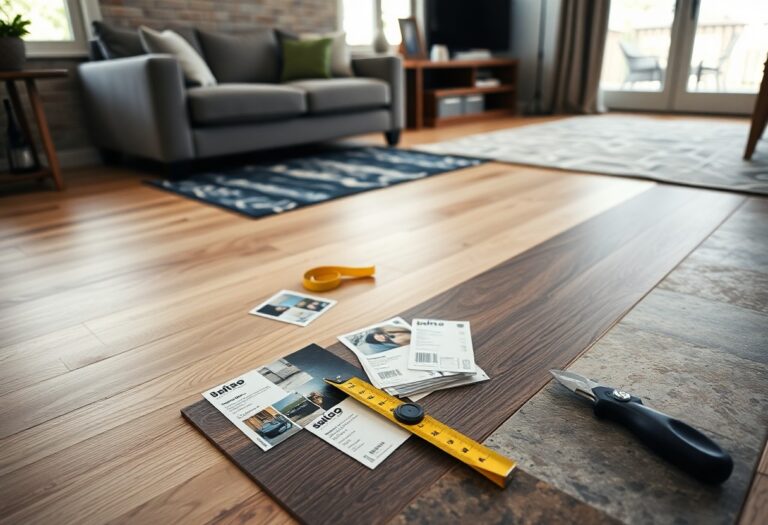
Making informed decisions about materials can save you from expensive pitfalls during your white oak flooring installation. The choices you make regarding the type and quality of wood directly influence not only the appearance but also the durability and longevity of your floor. Opting for inferior materials may lead to problems such as cupping, warping, or gaps over time. Ensure that you source from reputable suppliers who provide information about the origin, treatment, and specifications of the wood you choose.
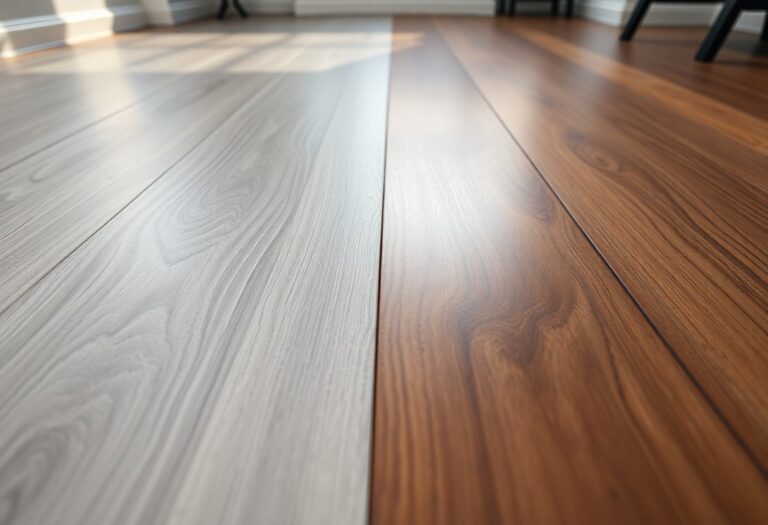
Understanding Wood Quality and Grading
Wood grading plays a significant role in determining the overall quality of your white oak flooring. Grading systems categorize wood based on visual characteristics such as knots, grain patterns, and color consistency. Higher grades, like Select and #1 Common, feature fewer imperfections and offer a more uniform appearance. Investing in higher-grade wood will not only elevate the look of your space but will also enhance the floor’s resilience against daily wear and tear.
The Impact of Acclimation on Installation
Acclimation is a pivotal step that prepares your white oak flooring for installation by allowing it to adapt to the environmental conditions of your home. Skipping or rushing this process can lead to uneven expansion or contraction after installation, resulting in gaps or buckling in the floor. Ideally, wood planks should acclimate to the intended installation area for a minimum of 72 hours, stored in a climate-controlled environment to harmonize with humidity and temperature levels.
Investing time in proper acclimation ensures that your white oak flooring has the best chance of performing as expected once installed. During this period, the wood absorbs moisture from the air in your home, reaching a moisture content that matches its surroundings. This practice minimizes the chances of significant movement post-installation. Each region may have different humidity levels, so considering local climate conditions will further enhance the outcome of your installation. Aim for an equilibrium moisture content between 6-9% to prevent future complications.
The Importance of Proper Subfloor Preparation
Prioritizing subfloor preparation sets the stage for a successful white oak flooring installation. A well-prepped subfloor enhances stability, minimizes movement, and ultimately prolongs the lifespan of your floors. Without addressing underlying issues, the risk of squeaks, buckling, or warping increases significantly, compromising your investment. Ensure a solid foundation by following proper preparation techniques, which will pay dividends for years to come.
Evaluating and Repairing Subfloor Integrity
Begin by assessing your subfloor for any signs of damage or wear. Look for loose boards, cracks, or areas that have been compromised by moisture. Addressing these concerns early on is vital; replacing or reinforcing damaged sections can prevent further issues down the road. After making necessary repairs, ensure your subfloor is level and uniformly smooth to maximize the longevity of your white oak flooring.
Moisture Control: Why It Can’t Be Overlooked
Moisture control is a key aspect of subfloor preparation that demands your attention. High humidity or water exposure can lead to a host of problems, including mold growth and wood expansion. Prior to installation, using a moisture meter to evaluate your subfloor’s moisture content can save you from future headaches. Aim for a moisture level below 12% for optimal results, and consider using moisture barriers if you’re working in areas prone to dampness.
In regions where humidity is a concern, implementing additional moisture control measures is a necessity. For instance, utilizing an impermeable moisture barrier beneath your subfloor can thwart moisture intrusion from below, while proper ventilation helps in regulating indoor humidity levels. It’s advisable to store your white oak flooring in an acclimation environment for at least 48 hours before installation, allowing it to adjust to local moisture conditions. This proactive approach will reduce the risk of undesired expansion or contraction after installation, thus safeguarding your flooring’s integrity over time.
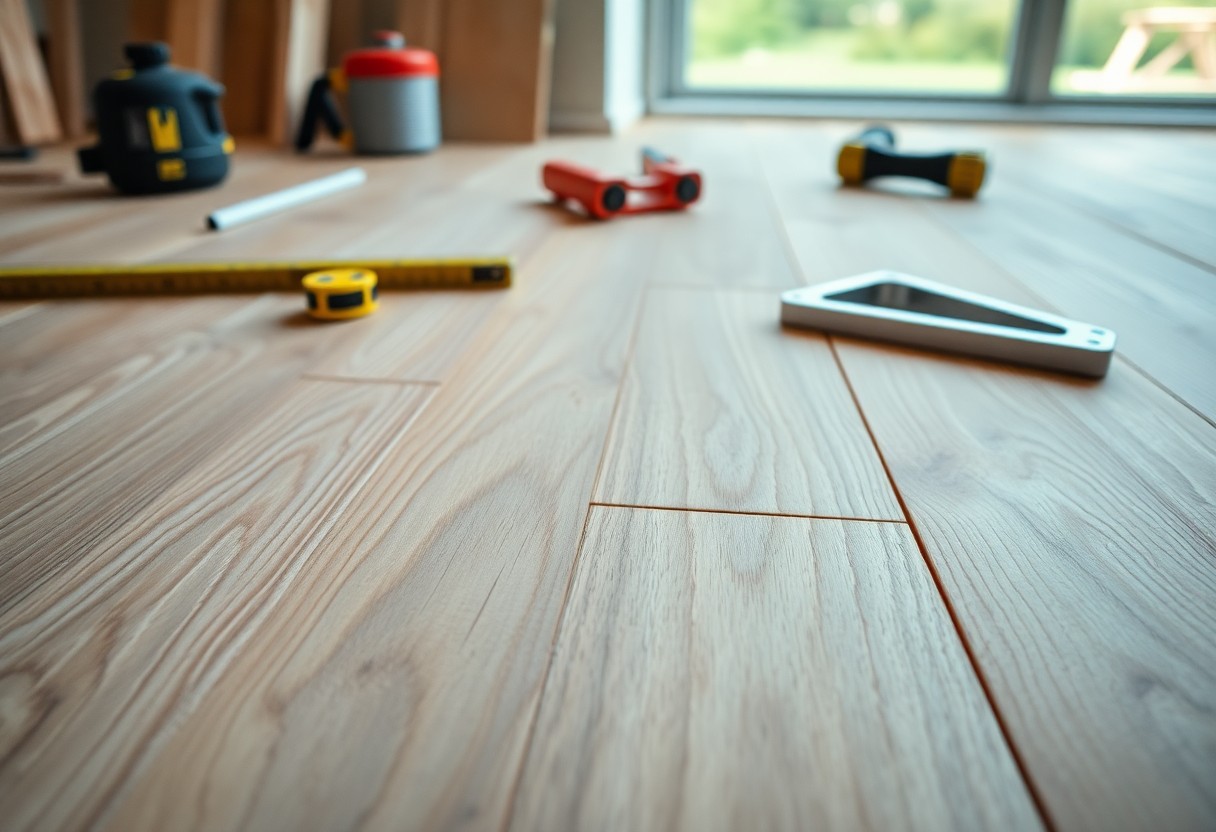
Mastering Installation Techniques: Techniques That Make or Break
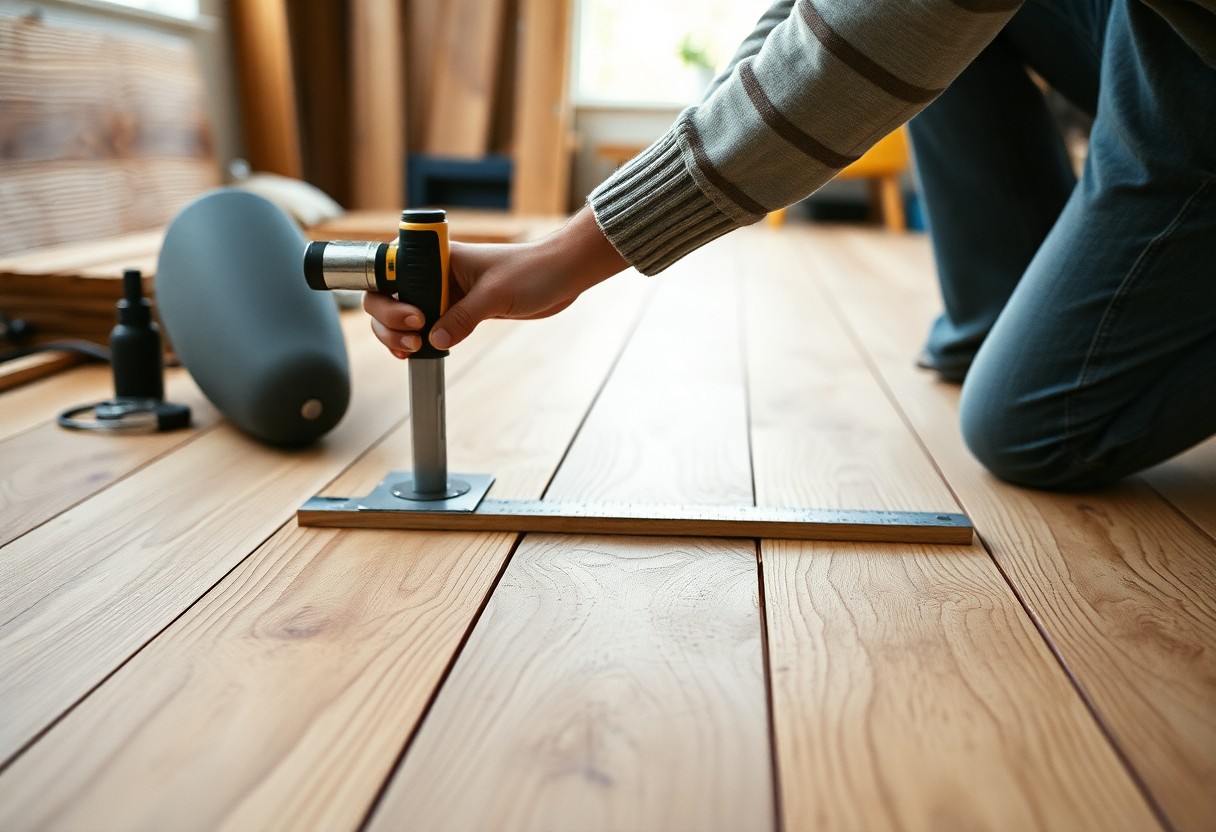
Effective installation techniques can significantly affect the longevity and aesthetics of your white oak flooring. Failing to employ proper methods can lead to gaps, squeaks, and even premature wear. Techniques such as using the right fasteners and appropriately aligning planks are vital. You must focus on precision and consistency, ensuring that every plank fits snugly, as this directly impacts both the visual appeal and durability of your floor.
The Role of Expansion Gaps in Long-Term Performance
Expansion gaps are important for your white oak flooring to accommodate natural movement due to humidity and temperature changes. Neglecting to include these gaps can lead to buckling or warping as the wood expands. A rule of thumb is to leave a 1/4-inch to 1/2-inch gap along walls and stationary fixtures, allowing your flooring to breathe while maintaining its integrity over time.
Nail-Down vs. Glue-Down: Choosing the Right Method
Your choice between nail-down and glue-down installation methods can impact both the look and performance of your white oak floor. Nail-down is often preferred for solid hardwoods, providing a secure hold and allowing for easier repairs, while glue-down is ideal for engineered wood, offering a stable foundation on concrete subfloors.
Nail-down installation is particularly effective for solid white oak flooring, as it allows the wood to expand and contract naturally while keeping it securely anchored. On the other hand, glue-down applications excel when you are working with engineered planks on concrete surfaces because the adhesive can provide additional moisture resistance. Assess your specific flooring type and subfloor conditions to determine which method best suits your needs. Properly executed, either technique contributes significantly to the overall performance and longevity of your flooring.
Attention to Detail: The Finish Work That Lasts
In the world of white oak flooring installation, meticulous attention to detail during the finishing stage can truly elevate your project. This phase involves proper sanding, staining, and sealing, which can significantly impact the longevity and aesthetics of your floors. Failing to conduct these steps with precision could lead to an uneven finish, reduced durability, and an overall less appealing result. Invest time in perfecting these details to ensure your flooring stays beautiful and functional for years to come.
Improper Sanding and Finishing: What Many Overlook
Many homeowners underestimate the importance of proper sanding and finishing techniques. Sanding not only smooths the surface of your white oak but also prepares it for the finish, creating a bond that enhances durability. If you overlook this step or rush through it, the result will likely be scratches and an uneven surface that detracts from the beauty of the wood. Inconsistent sanding can lead to areas that absorb stain differently, resulting in a patchy appearance.
The Significance of Sealants in Wood Longevity
Sealants play a core role in extending the life of your white oak flooring by creating a protective barrier against moisture, spills, and wear. Treatments with high-quality sealants can effectively prevent scratches and reduce the likelihood of water damage. Additionally, using the right sealant can enhance the wood’s natural grain, providing a rich aesthetic while fortifying it against the daily grind of foot traffic. Notably, floors treated with sealant last significantly longer than those left unprotected, proving that attention to this detail pays off in spades.
Recognizing and Mitigating Installation Errors
Addressing installation errors early in the process can prevent significant issues later on. By staying vigilant during the installation of your white oak flooring, you can detect problems like gaps, uneven planks, or improper acclimation before they become major concerns. Regularly assessing the integrity of your flooring not only ensures a quality finish but also extends the lifespan of your investment.
Identifying Common Installation Blunders
Some frequent mistakes during white oak flooring installation include inadequate acclimation time, improper layout patterns, and neglecting to check for moisture levels in the subfloor. You might also face issues like inappropriate nail or staple placements, leading to squeaks or movement. Recognizing these blunders can help you correct them promptly, ensuring that your flooring remains stable and visually appealing.
The Importance of Professional Inspections
Enlisting the expertise of professionals for inspections can save you from unforeseen complications. An experienced installer will spot irregularities that you might overlook, from subfloor issues to improper seams. They typically have advanced tools and techniques to assess the installation thoroughly, providing peace of mind that your flooring meets all industry standards. This leads to a longer-lasting, flawless finish that enhances the overall beauty and value of your home.
Summing up
To wrap up, avoiding common mistakes during your white oak flooring installation can significantly enhance the longevity and appeal of your floors. Be mindful of proper acclimation, subfloor preparation, and installation techniques to ensure your investment holds up over time. Ensuring you have a clear understanding of moisture levels and utilizing the right tools will also contribute to a smooth installation. By paying attention to these key areas, you can achieve a stunning and lasting result that enhances your home’s value and beauty.