There’s an art to installing white oak flooring that can transform your space into a timeless masterpiece. In this ultimate guide, you will discover vital tips and techniques that will help you navigate the installation process with confidence. From preparing your subfloor to choosing the right finish, you will gain insights that ensure your white oak flooring not only looks stunning but lasts for years to come. Whether you’re a DIY enthusiast or hiring a professional, this guide will equip you with the knowledge you need for a successful installation in Kitchener.
The Essential Materials: Choosing the Right White Oak Flooring
Selecting the right materials is key for a successful white oak flooring installation. The quality of the wood directly impacts the durability, aesthetic appeal, and longevity of your floors. White oak is known for its strength and beauty, making it a popular choice. However, it’s crucial to source your flooring from reputable suppliers who offer high-quality, sustainably harvested wood to ensure you’re making a sound investment. Consider factors such as grain patterns, color variations, and potential imperfections, as these will influence the overall look of your floors.
Evaluating Different Grades of White Oak
Understanding Finish Options and Their Impact
The finish you select for your white oak flooring significantly affects its appearance, durability, and maintenance needs. Options range from oil-based finishes that offer deep penetration and a natural look to water-based finishes that dry quickly and provide a clear, durable coat. Each finish option has its unique benefits; for instance, oil-based finishes enrich the wood’s natural grain but may require more maintenance over time, while water-based finishes are less prone to yellowing. The right choice will depend on your lifestyle and how much wear and tear you expect your floors to endure.
Additionally, a matte finish gives a sophisticated, contemporary look that highlights the wood’s texture, while a glossy finish can add elegance and reflect light, making spaces feel larger. The choice between matte and gloss can also influence how dirt and scratches appear. People with pets or children might prefer a satin finish, which offers a balance between durability and aesthetics. Each finishing option offers a distinct approach to enhancing the natural beauty of white oak flooring, so consider both your style preferences and practical needs when making a decision.

Preparing Your Space: The Key Steps Before Installation
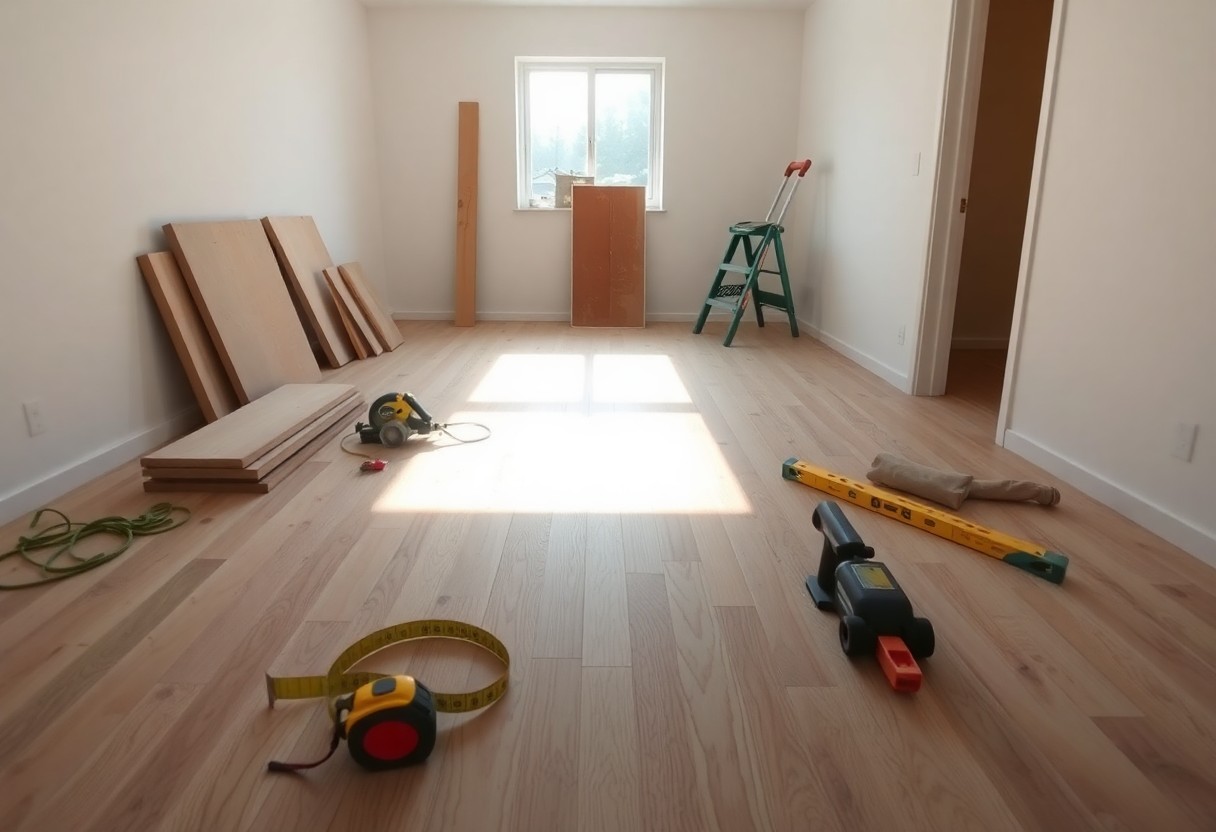
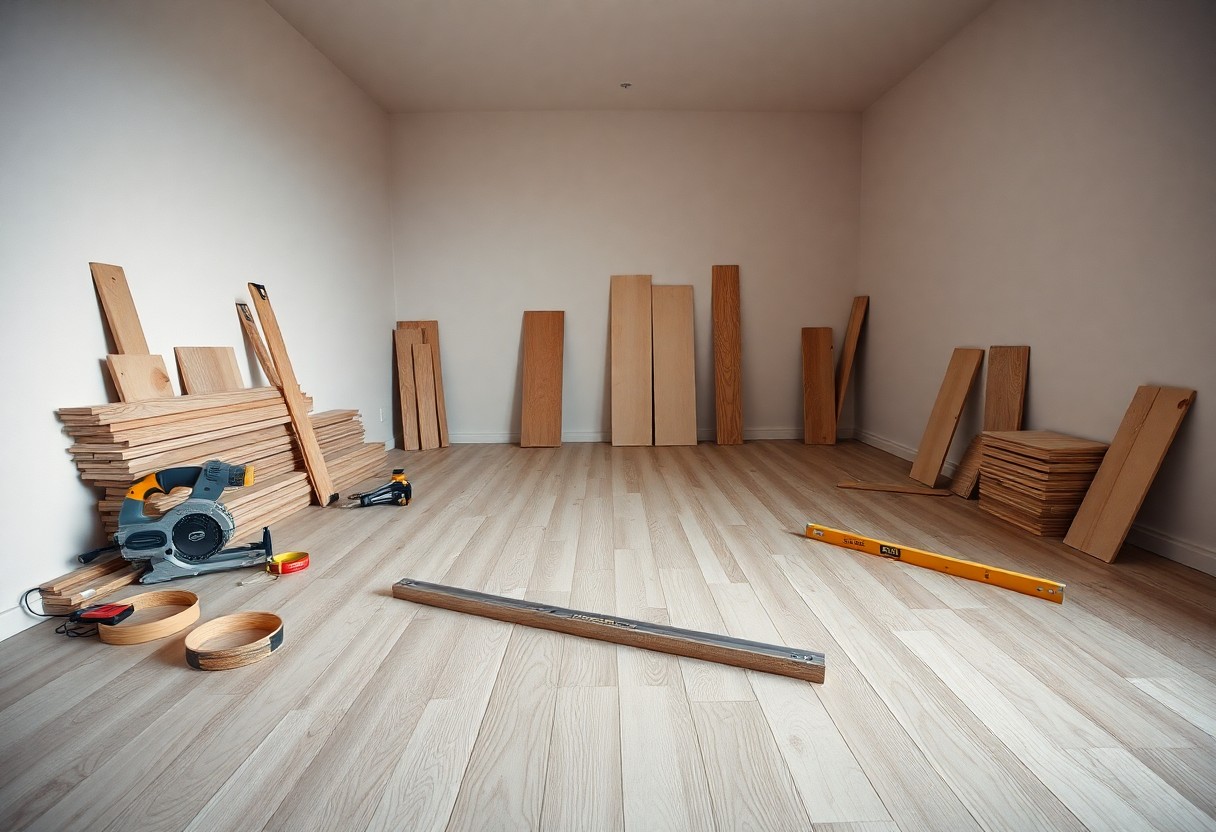
Effective preparation sets the stage for a successful white oak flooring installation. Start by clearing your space of furniture and any obstructions, allowing ample room to work. Removing old flooring or underlayment may also be necessary to ensure you’re starting with a clean, level surface. Measure your room carefully and plan your layout to avoid surprises during installation. Having your tools and materials organized will enhance efficiency, making the process much more manageable for you.
Assessing Subfloor Conditions and Requirements
Your subfloor plays a vital role in the longevity and performance of your white oak flooring. Begin by checking for any signs of moisture, unevenness, or damage. A moisture meter can help you gauge the humidity levels; ideally, subfloor moisture should remain below 12%. If necessary, address any repairs before installation—like filling gaps, leveling uneven areas, or replacing damaged boards—to form a solid foundation for your new flooring.
Climate Control: Acclimatizing Your Flooring
Acclimatizing your white oak flooring is imperative to avoid expansion or contraction after installation. Store the planks in the room where they’ll be laid for at least 48 to 72 hours. This allows the wood to adjust to the room’s temperature and humidity levels, ensuring it fits perfectly once installed. Keeping the planks in their packaging until you’re ready to install them will help maintain their acclimatized condition.
Proper acclimatization takes into account seasonal variations. For instance, if you’re in Kitchener during winter, the humidity may be low, which can cause wood to shrink. Conversely, during summer, when humidity is higher, the wood may expand. Maintaining a consistent humidity level of around 30-50% using a hygrometer can help mitigate these effects. Additionally, temperature should ideally range between 60-80°F for optimal acclimation. Taking these steps ensures that your white oak flooring remains aesthetically pleasing and structurally sound over time.
Mastering the Installation Techniques: Tools and Methods
Your choice of installation methods for white oak flooring can significantly affect the overall outcome. Whether it’s a nail-down, glue-down, or floating installation, each technique requires specific tools and skills. A good combination of quality tools like a pneumatic nailer, a trowel, and a flooring mallet will aid you in achieving a professional finish. Additionally, understanding your subfloor type and acclimating the wood before installation can prevent future issues, ensuring your flooring remains stable and visually appealing.
Nail Down vs. Glue Down: Which Is Right for You?
Deciding between nail-down and glue-down installation often depends on your subfloor conditions and personal preference. Nail-down applications are ideal for plywood or oriented strand board (OSB), providing a secure fit and allowing for more flexibility with seasonal changes. On the other hand, glue-down installations work better on concrete subfloors, creating a strong bond but requiring meticulous leveling beforehand to avoid uneven surfaces.
The Art of Layout: Patterns That Make a Statement
Choosing the right layout for your white oak flooring enhances the aesthetics of your space. Traditional straight lay patterns favor a classic look, while diagonal patterns introduce a sense of drama and flow. Herringbone or chevron layouts create unique focal points, ideal for open-concept areas. These patterns not only highlight the natural beauty of the oak grain but also subtly influence the perception of space, making a room appear larger or more inviting based on your design choice. Designing with intention ensures a visually striking result that elevates your home’s interior.
Seamless Transitions and Finishing Touches
With your white oak flooring installation complete, focusing on seamless transitions and the right finishing touches elevates the overall aesthetic of your space. A smooth flow between rooms creates a cohesive look, while well-chosen baseboards and moldings finalize the design, ensuring both visual appeal and structural integrity. Attention to detail during this stage can vastly enhance your flooring’s impact, making your home feel polished and welcoming.
Creating Smooth Transitions Between Rooms
To achieve seamless transitions between rooms, consider using thresholds or transition strips that match the wood’s color and grain. Ensure the transition is level to avoid tripping hazards, and use a consistent expansion gap for both adjoining rooms to accommodate any natural wood movement. You might even choose to align the planks in a running bond pattern, which helps to maintain a continuous flow of design throughout your space.
Finalizing with Baseboards and Moldings
Baseboards and moldings serve as the finishing detail that frames your beautiful flooring and enhances the overall decor. Choose materials and styles that complement your white oak finish; a clean, modern design can add sophistication, while more ornate moldings may contribute to a traditional feel. Once you’ve selected the right profiles, ensure they are securely fastened and neatly caulked for a polished look.
Paying attention to the height and style of baseboards is just as imperative as selecting their material. Consider 3-4 inch baseboards to create a contemporary feel, or go taller for a more grandeur effect. Choosing a slight color contrast can highlight the flooring while ensuring the installation remains visually striking. Additionally, don’t overlook the importance of caulking between the baseboard and floor, which not only provides a finished look but also helps protect against dirt and moisture ingress. Thoughtful execution here ties the entire project together, showcasing the craftsmanship of your white oak flooring installation.
Maintaining Your Investment: Care Strategies for Longevity
To ensure your white oak flooring remains beautiful and durable over time, proactive maintenance plays a key role. A combination of daily cleaning and immediate attention to any wear and tear will help preserve the integrity and look of your investment. Regular upkeep not only protects the wood but also enhances its natural beauty, ensuring your floors remain a stunning element of your living space.
Daily Cleaning and Maintenance Routines
Developing a daily cleaning routine will keep dust and debris from becoming a significant problem. Use a soft-bristle broom or a microfiber mop to sweep up dirt and particles that may scratch the surface. For deeper cleaning, a damp mop with a pH-neutral cleaner specifically formulated for hardwood floors is ideal. Avoid excess water, as it can warp the wood, and always dry the surface immediately after cleaning to maintain its finish.
Dealing with Common Issues: Scratches and Dents
Scratches and dents are common but manageable issues with white oak flooring. For minor scratches, a simple touch-up with a wood filler that matches your flooring can disguise the imperfection and keep your floor looking smooth. If deeper dents occur, hardwood floor repair kits provide color-matched wax sticks to fill in and hide damage effectively, restoring your floor’s seamless appearance.
Most manufacturers also recommend using a protective finish, which can be reapplied periodically. This can help reduce the visibility of wear and scratches, extending the life of your floor significantly. If a scratch is particularly deep, a professional refinishing service can sand down the affected area, allowing for a fresh coat of stain or sealant to restore your floor’s original beauty. Regularly assessing your floor’s condition and addressing issues promptly will enhance longevity and keep your investment looking exceptional.
Conclusion
Conclusively, installing white oak flooring in Kitchener can be a rewarding endeavor when equipped with the right knowledge and techniques. By following the tips outlined in this guide, you can ensure a successful and efficient installation process that enhances the beauty and functionality of your space. Prioritize planning, prepare your subfloor appropriately, and employ careful installation methods to achieve lasting results. Your floor will not only elevate your home’s aesthetic but also provide enduring value for years to come.


