SPC vinyl flooring is an excellent choice for achieving a stylish and durable space in your home. In this comprehensive guide, you will learn the step-by-step process for installing SPC flooring yourself, allowing you to save money while enhancing your interior. You’ll discover the tools and materials you need, as well as the techniques that will help you achieve a professional finish. With a little patience and commitment, you can transform your floors and create a beautiful environment that reflects your personal style.
Preparing Your Space for Success
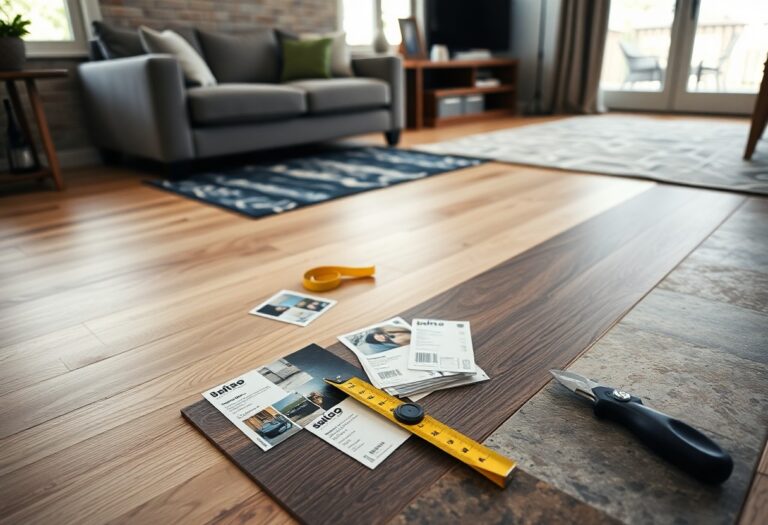
Prior to laying down your SPC vinyl flooring, setting the stage in your space ensures a smooth installation process. Clear the area of all furniture and obstacles, enabling easy access to the subfloor. A clean environment minimizes the chances of dirt or debris compromising your new flooring. Check for adequate lighting as well, as it helps you spot any imperfections during installation.
Assessing Subfloor Conditions
The condition of your subfloor significantly impacts the effectiveness of your SPC vinyl flooring installation. Take time to inspect for any damage, such as cracks, moisture, or uneven surfaces. These issues can lessen adhesion or lead to future problems. A level and dry subfloor is vital; use a leveling compound if necessary to address any discrepancies.
Calculating Material Needs
A precise calculation of the materials required ensures you have enough flooring to complete your project. Measure the length and width of your space, then multiply these dimensions to find the total square footage. On top of this, add around 10% extra for waste due to cuts and miscommunications during installation, which allows for a margin of error. For example, if your room measures 200 square feet, ordering approximately 220 square feet of SPC vinyl will be prudent.
The accurate calculation of material needs prevents delays and additional trips to the store. Be sure you account for each room or section you plan to cover, as each may have unique dimensions. Including extra flooring can also be beneficial for future repairs or replacements, maintaining consistency in your home’s decor. Moreover, having a separate list of required underlayment materials will streamline your shopping process, ensuring you complete the project efficiently and effectively.
Selecting the Right SPC Vinyl Flooring
Choosing the right SPC vinyl flooring can significantly influence the functionality and visual appeal of your space. With numerous variations in thickness, density, and texture available, it’s important to identify what aligns with your needs. Consider factors such as foot traffic, moisture levels, and overall aesthetic before making a decision. Prioritize options that combine durability with style to ensure a lasting and satisfying installation.
Understanding Material Variations
SPC vinyl flooring comes in a range of material variations, which can affect comfort, durability, and sound absorption. Common thicknesses range from 4mm to 8mm, with thicker options offering enhanced resilience against wear and tear. Look for variations in core construction, as higher density SPC can withstand heavy foot traffic and moisture better than lighter alternatives.
Evaluating Style and Aesthetic Options
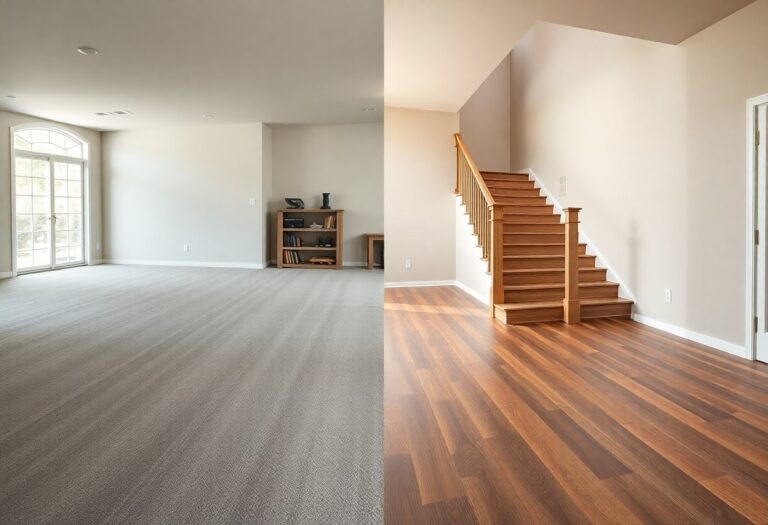
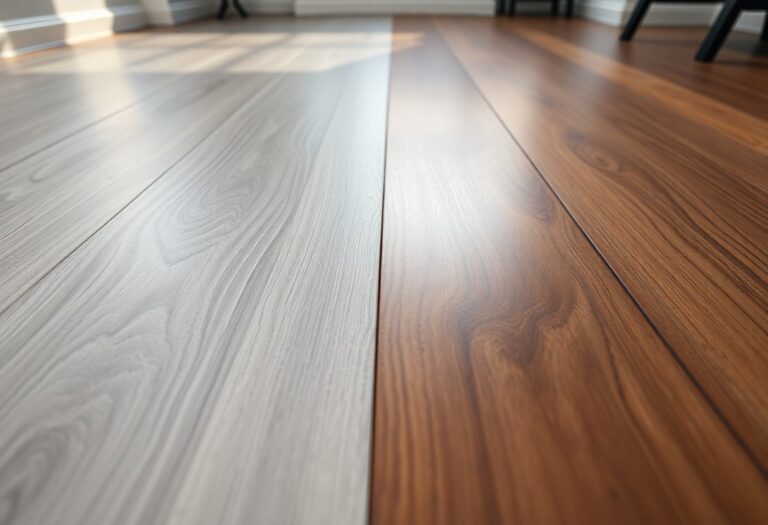
Your choice of SPC vinyl flooring can dramatically enhance the ambiance of your home. Many styles mimic hardwood or natural stone, providing a versatile range to match any decor. Consider colors that compliment your existing palette and patterns that add depth or visual interest, while being mindful of how different textures interact with light.
In today’s market, SPC vinyl flooring comes in various styles, including distressed finishes that evoke rustic charm or sleek, modern designs perfect for contemporary spaces. For instance, opting for a wood-look SPC with varied plank widths can create a more natural, homely feel. Additionally, embracing shades like warm greys or deep browns can help you set a distinct mood, enhancing your interior design theme. Exploring color swatches and visualizers online can further assist you in making a well-informed decision, ensuring your selection harmonizes beautifully with your overall vision.
Essential Tools and Equipment for Installation
Equipping yourself with the right tools and equipment can transform your SPC vinyl flooring installation from a daunting task to a rewarding experience. Having everything you need at your fingertips will streamline the process, allowing for efficiency and accuracy from start to finish. In this section, you’ll find a comprehensive list of must-have tools along with recommendations for keeping your workspace safe and efficient.
Must-Have Tools for Every DIYer
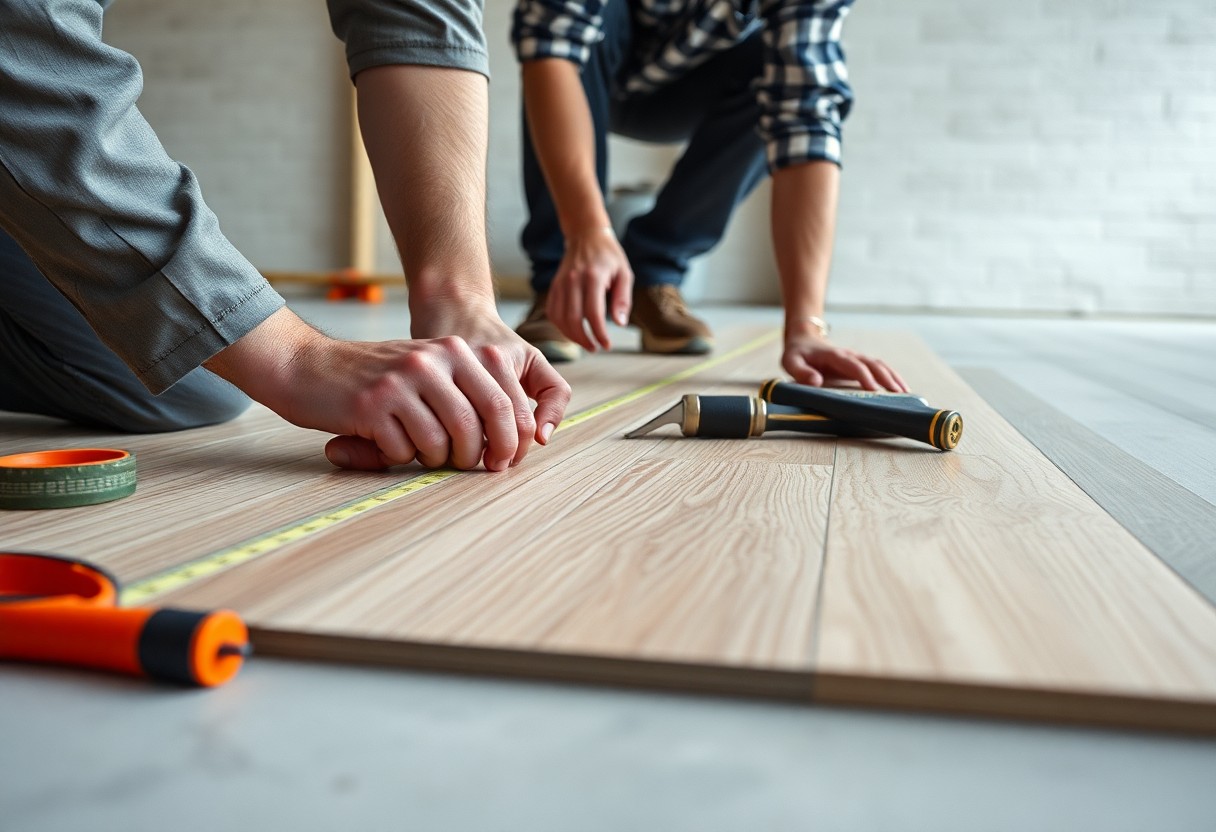
You’ll need a few important tools to tackle your SPC vinyl flooring installation. A tape measure is vital for accurate dimensions, while a utility knife will help you cut the planks with precision. A rubber mallet can assist in snugly fitting your flooring pieces together, and a straightedge will be helpful when making straight cuts. A tapping block is another handy tool to use for connecting planks without damaging them. Lastly, having a square on hand will ensure your corners and edges are perfectly aligned.
Safety Gear and Precautions
Wearing appropriate safety gear during your installation not only protects you but also enhances your overall efficiency. Gear such as safety goggles can shield your eyes from debris, while knee pads provide comfort when kneeling for extended periods. Maintaining a clutter-free workspace reduces the risk of trips or falls, fostering a safer environment while utilizing sharp tools. Always ensure your workspace has adequate ventilation, particularly when cutting materials, to minimize exposure to dust and particles that could irritate your lungs.
Using safety gear like gloves, goggles, and masks is a simple yet effective way to safeguard against potential hazards. For example, gloves protect your hands from sharp edges and accidental cuts, while goggles guard against dust and flying debris generated during cutting. Dust masks or respirators can be invaluable, especially if you’re working in a less-than-ventilated area, as they filter out harmful particles. Investing in quality safety equipment not only demonstrates professionalism but also allows you to focus solely on delivering a beautiful flooring finish without unnecessary worries.
Mastering the Installation Process
Mastering the installation process of SPC vinyl flooring requires a clear understanding of both the laydown techniques and how to effectively manage seams and transitions. These elements play a vital role in achieving a polished and professional finish that enhances your space.
Step-by-Step Laydown Techniques
| Step | Description |
|---|---|
| 1 | Begin by laying the first plank in one corner, ensuring it’s straight against the wall. |
| 2 | Continue to lay planks side by side, using spacers to maintain an expansion gap along walls. |
| 3 | Cut the last plank to fit, leaving a slight gap for expansion if necessary. |
| 4 | Repeat the process row by row, checking for alignment and levelness as you proceed. |
Handling Seams and Transitions
Handling seams and transitions in your SPC vinyl flooring creates a seamless and visually pleasing environment. Pay attention to the areas where different flooring materials meet, such as doorways and room transitions, using transition strips or molding as necessary to bridge the gap while maintaining a cohesive look.
To handle seams effectively, start by ensuring all planks are properly interlocked according to the manufacturer’s guidelines. Avoid staggered seams in adjacent rows to minimize the visibility of transitions. For doorways or thresholds, opt for transition strips that match your flooring for a seamless visual flow. Use adhesive or track systems as required for your specific flooring model, ensuring that finishes align perfectly for both aesthetics and durability. This attention to detail will contribute greatly to the overall professionalism of your installation. Keep in mind, neat and intentional seams will highlight your flooring choice while enhancing the room’s design.
Post-Installation Finishing Touches
The final phase of your SPC vinyl flooring installation focuses on the finishing touches that enhance both aesthetics and longevity. This includes adding transition strips between different flooring types, securing baseboards, and ensuring all seams are sealed properly. These details not only complete the look of your newly installed floors but also prevent potential damages while enhancing the overall durability of your flooring system.
Cleaning and Maintenance Best Practices
To maintain the pristine condition of your SPC vinyl flooring, routine cleaning is necessary. Utilize a soft broom or vacuum without a beater bar to remove dirt and debris, followed by a damp mop using a pH-neutral cleaner. Avoid harsh chemicals that could harm the finish and always clean spills immediately to prevent staining. Regularly checking for wear and tear will extend the life of your flooring significantly.
Inspecting for Quality and Correction
After installation, a comprehensive inspection of your SPC vinyl flooring is vital. Look for any visible imperfections such as gaps, misalignment, or surface damage. Use a floor level to identify unevenness, ensuring a perfect fit and finish. If discrepancies are found, take corrective actions promptly to prevent further complications down the road.
During your inspection, pay close attention to surface uniformity and the integrity of the locking mechanism between planks. Gaps can allow moisture to seep underneath, leading to potential warping. If you notice any of these issues, immediate adjustments can often be made by reseating the plank. In severe cases where damage is extensive, replacing a plank may be necessary. By addressing these concerns right away, you ensure your investment maintains its quality and appearance for years to come.
To wrap up
Conclusively, by following this step-by-step guide for SPC vinyl flooring installation, you can ensure a successful and satisfying DIY project. You are now equipped with the knowledge and tips needed to prepare your space, lay the flooring, and finish with confidence. With attention to detail and the right tools, you will achieve a beautifully updated floor that enhances your home’s aesthetics and functionality. Enjoy the satisfaction of completing your project, and take pride in your newly installed SPC vinyl flooring.