There’s a lot to consider when it comes to installing vinyl flooring in your home. This guide will equip you with vital information to make your installation process as smooth as possible. You’ll learn about the different types of vinyl flooring, the tools you’ll need, and the step-by-step procedures to ensure a successful project. Whether you’re a DIY enthusiast or a beginner, understanding these key aspects will help you achieve the best results for your space.
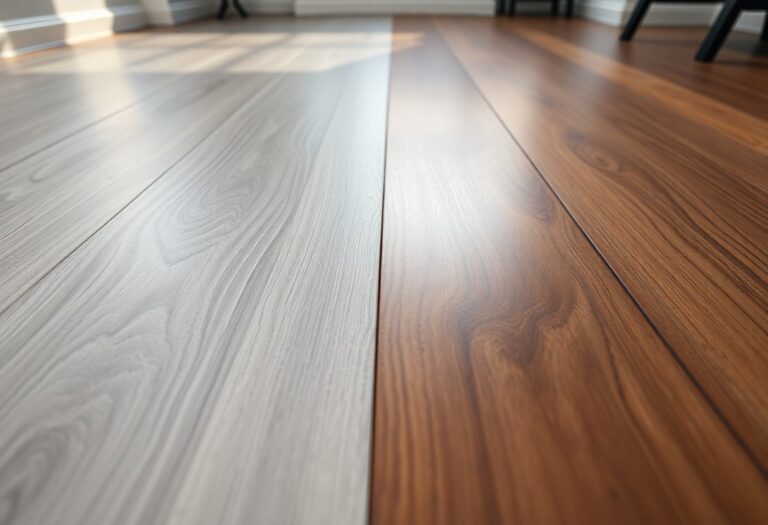
Decoding Vinyl Flooring Options
Vinyl flooring comes in various forms, each offering unique aesthetics and functionality. The main types to consider include vinyl plank, vinyl sheet, and luxury vinyl tiles (LVT). Depending on your needs, such as moisture resistance, installation preferences, or design aspirations, these options allow you to tailor the flooring experience to fit your lifestyle and space requirements.
Exploring Vinyl Plank vs. Vinyl Sheet
Vinyl plank flooring mimics the appearance of hardwood and is often favored for its enhanced visual appeal and ease of installation. In contrast, vinyl sheet flooring is a seamless and water-resistant option, making it suitable for high-moisture areas like bathrooms and kitchens. Choosing between the two largely depends on the desired look and functional needs of your space.
Assessing Durability and Wear Layers
Durability in vinyl flooring is primarily determined by the wear layer, a transparent protective coating that safeguards against scratches, stains, and fading. Standard wear layers can range from 6 mils to 20 mils or more, with thicker layers offering enhanced protection in high-traffic areas. For example, residential-grade products typically feature wear layers of 6-12 mils, while commercial versions might boast 20 mils or greater. Understanding these specifications helps you select a product that can withstand your lifestyle while maintaining its appearance over time.
When evaluating the durability of vinyl flooring, consider the wear layer thickness as a critical factor. A thicker wear layer not only protects against daily wear and tear but also extends the overall lifespan of your flooring. For instance, if you have pets or frequent foot traffic, opting for a luxury vinyl with a 20 mil wear layer could save you from premature repairs and replacement, providing peace of mind in busy environments. Conversely, lighter usage areas may thrive just as well with standard options, balancing functionality with your budget.
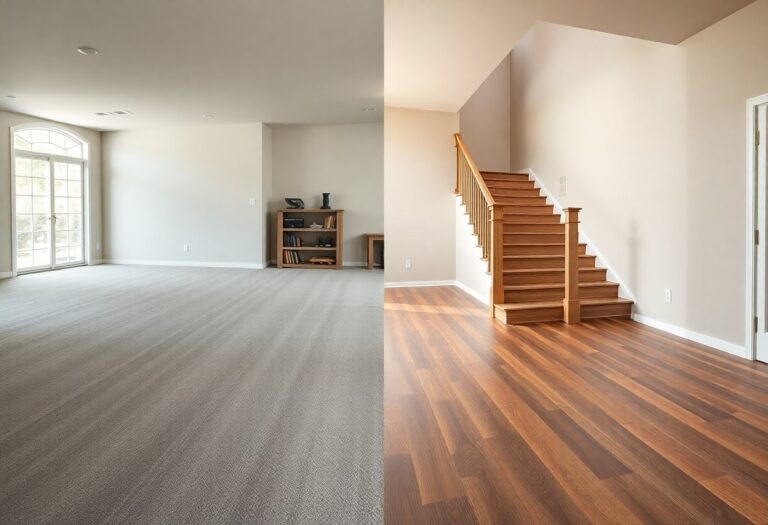
Preparing Your Space for Installation
Getting your space ready for vinyl flooring installation means ensuring a clean, dry, and dust-free environment. Clear the area of furniture, appliances, and any obstacles so you can work efficiently. Additionally, check the subfloor for any cracks or imperfections and address those, as a smooth surface is crucial for optimal results. This preparation sets the stage for a successful flooring project.
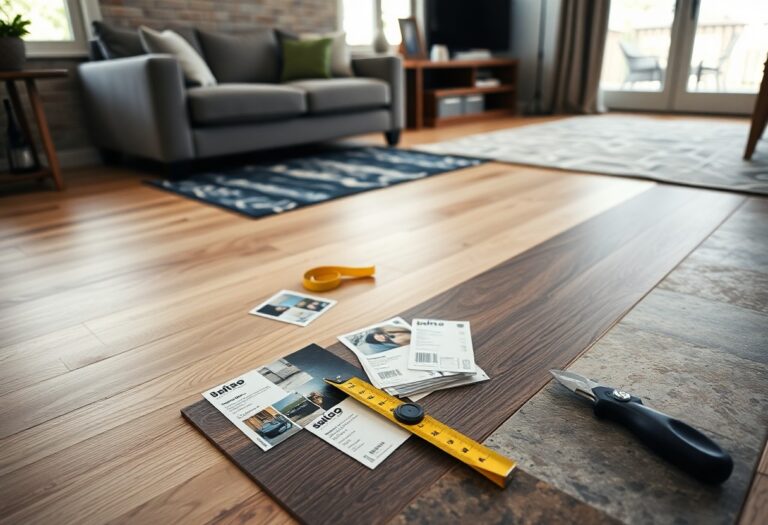
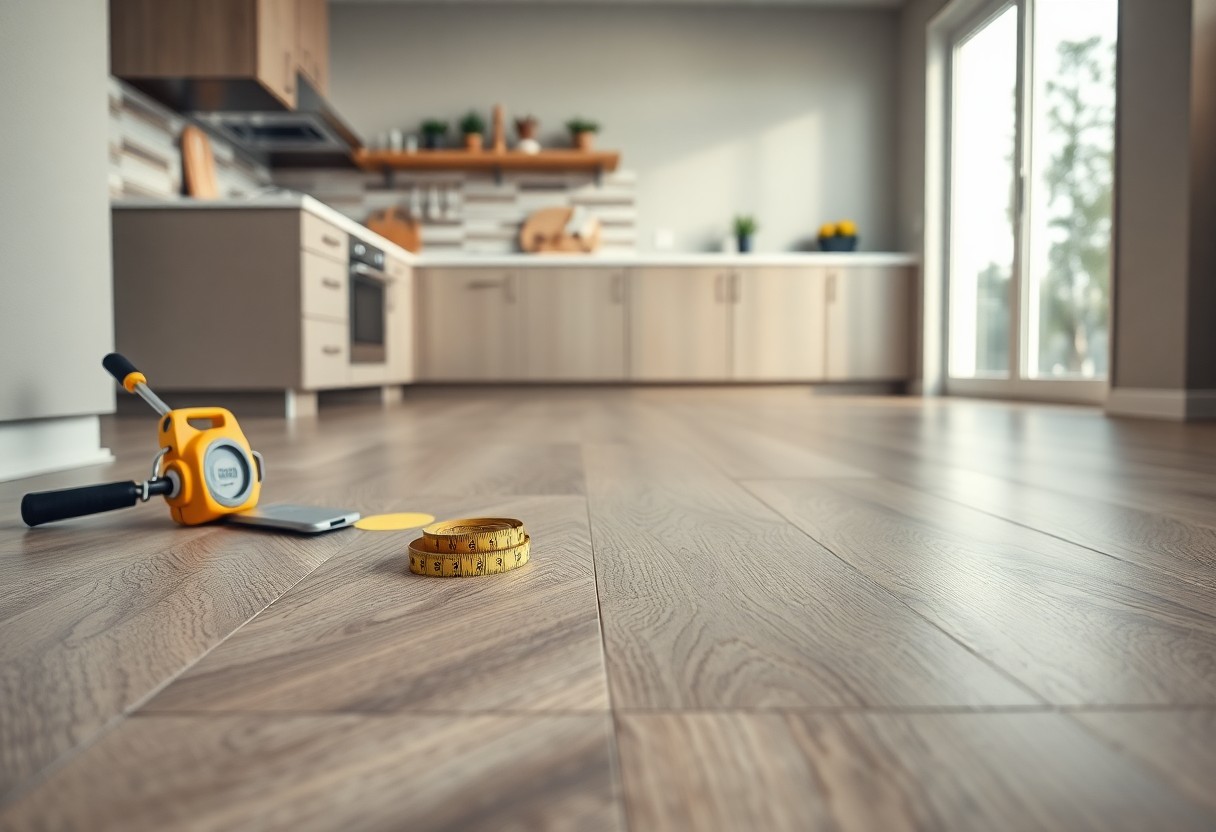
Key Tools and Materials Needed
As you gear up for your installation, gather crucial tools and materials such as a utility knife, straightedge, tape measure, and adhesive (if applicable). Having a flooring roller will help ensure proper adhesion, while spacers will provide necessary expansion gaps at the walls. Prepare to keep a clean workspace with rags or a broom for quick cleanups during the installation process.
Essential Pre-Installation Preparations
Before laying down your new vinyl flooring, ensure the subfloor is clean, dry, and level. Moisture levels should be checked with a moisture meter, and it’s crucial to allow vinyl planks to acclimate in the room for at least 48 hours. This step prevents expansion or contraction post-installation, ensuring your flooring maintains its integrity and appearance over time.
Properly acclimating your vinyl products is a must. Store them in the room where they’ll be installed, allowing the temperature and humidity levels to normalize to the environment. Inspect your subfloor closely for any uneven areas, and use self-leveling compounds if needed. This additional effort upfront can save you from issues such as buckling or gaps in your new flooring later down the line. Taking these pre-installation steps ensures a smoother installation process and long-lasting results for your new vinyl floor.
Mastering the Installation Techniques
Proper installation techniques can significantly impact the longevity and appearance of your vinyl flooring. Pay close attention to subfloor preparation, ensuring it’s clean, dry, and level to avoid bumps and dips undermining your new floor. Familiarize yourself with the various installation methods, such as glue-down, click-lock, or loose lay formats, as each requires specific approaches. A little practice and a precise approach will yield a professional-looking finish that enhances your space.
DIY Installation vs. Hiring Professionals
Choosing between a DIY installation and hiring professionals depends on your skills, budget, and the project’s complexity. If you have a knack for home improvement and the time to invest, tackling this project can save you money while providing a sense of accomplishment. On the other hand, if you’re unfamiliar with flooring installation or lack the tools, hiring a professional can ensure a flawless finish and peace of mind.
Step-by-Step Guide to Laying Vinyl Flooring
A systematic approach to laying vinyl flooring helps in achieving a seamless finish. Start by measuring your space and cutting the vinyl accordingly, ensuring you leave a small expansion gap. After laying the underlayment, if necessary, proceed with the installation method chosen—whether it’s gluing down planks, clicking them into place, or rolling out sheets. Finally, trim the edges to fit snugly against walls and fixtures for a clean look.
Step-by-Step Guide to Laying Vinyl Flooring
| Step | Description |
| 1 | Measure your room and purchase the needed vinyl flooring material. |
| 2 | Prepare the subfloor by cleaning and leveling it. |
| 3 | Install underlayment if required. |
| 4 | Begin laying the vinyl, starting from a corner or the center of the room. |
| 5 | Ensure proper alignment and tightening between planks or sheets. |
| 6 | Trim excess material along the edges and install transitions as needed. |
Each step in the installation process builds upon the last, ensuring that your vinyl flooring will look great and last for years. Make certain to follow the specific instructions provided by the manufacturer, as well as maintain consistent temperatures and humidity levels before, during, and after installation. Knowing the flooring layout beforehand can save you time while also making sure that the finished product enhances your home aesthetics.

Navigating Post-Installation Care
After installation, proper care ensures your vinyl flooring retains its luster and durability for years to come. This involves adopting the right cleaning methods, managing foot traffic, and addressing any issues that may arise promptly. A well-maintained floor not only enhances the aesthetics of your space but also prolongs the life of the flooring material.
Best Practices for Maintaining Your Vinyl Floors
To keep your vinyl floors looking their best, sweep or vacuum regularly to eliminate dirt and debris that can scratch the surface. Damp mop with a gentle cleaner designed specifically for vinyl, avoiding harsh chemicals that may cause discoloration. Consider placing mats or rugs at entry points to minimize the dirt tracked onto your floors, and maintain consistent humidity levels to prevent expansion or contraction.
Handling Common Issues and Repairs
Dealing with common issues like scratches, dents, or seams can be straightforward if you act quickly. For minor scratches, apply a bit of matching floor polish, and for deeper dents, using a repair kit designed for vinyl can effectively mask damage. Additionally, when seams start to separate, use a vinyl seam sealer to keep them intact and prevent dirt infiltration.
Addressing issues promptly is key to preventing further damage. For example, a small, unnoticed scratch can become a larger problem if dirt accumulates in it and penetrates the surface. Invest in a vinyl repair kit, including patches or adhesives, for quick fixes at home. If damage is extensive or the flooring has become warped due to moisture, consulting a professional may be necessary to replace affected sections and ensure a seamless look. Keeping a close eye on the condition of your floors will help maintain their longevity and aesthetic appeal.
Cost-Effectiveness: Weighing Your Investment
Choosing vinyl flooring is often about more than just aesthetics; it’s about making a smart investment. You’ll find that vinyl flooring offers a balance of durability, low maintenance, and affordability. While it might seem like a significant expense upfront, your decision can save you money in maintenance and replacements down the road, making it a cost-effective choice for both residential and commercial spaces.
Analyzing Long-term Savings vs. Initial Costs
Curating a budget for vinyl flooring installation includes weighing initial costs against long-term savings. High-quality vinyl flooring, though it may require a larger upfront investment, often lasts over 10 years with minimal upkeep, saving you on repair or replacement expenses. Consider how much value it adds to your space in terms of aesthetics and durability, potentially increasing your property’s resale value.
Understanding Cost Fluctuations in Vinyl Flooring
Vinyl flooring prices vary due to several factors, including type, quality, and market demand. During peak renovation seasons, costs can rise, while sales events or off-peak times could present more budget-friendly options. Additionally, the economic landscape can influence material costs, so keeping an eye on trends or seeking advice from flooring installers can help you secure the best pricing.
Fluctuations in vinyl flooring prices are often influenced by production costs and raw material availability. For instance, if a specific type of vinyl experiences a surge in demand, you might notice a spike in price. An engaging example is luxury vinyl tiles, which have seen a rise as homeowners look for high-end aesthetics on a budget. Staying informed about industry trends and conducting comparisons can position you to choose the right moment to buy, maximizing your investment in vinyl flooring.
Final Words
As a reminder, before you commence on your vinyl flooring installation project, ensure you’ve gathered all necessary tools, materials, and knowledge about the process. Understanding the various types of vinyl flooring, proper measurements, and adhesive options will set you on the right path to achieving a successful installation. Take your time to prepare your space, follow instructions closely, and don’t hesitate to seek help if needed. With the right approach, you’ll enjoy the benefits of your new flooring for years to come.